How to Assemble a Lithium Battery by Yourself?
Assembling a lithium battery by yourself can be a rewarding project, whether you’re a DIY enthusiast or a professional. However, it’s crucial to follow the correct steps and precautions to ensure safety and performance. In this article, we’ll guide you through the process of assembling a lithium battery, from preparing the materials and tools to testing the final product.
1. Prepare Materials and Tools
Before you start, make sure you have all the necessary materials and tools. You’ll need:
- Lithium battery cells: Choose cells with the appropriate voltage, capacity, and discharge rate for your needs.
- Protection board: This is essential for preventing overcharging, over-discharging, and short circuits.
- Battery case: To house the cells and protection board.
- Soldering iron and solder: For making electrical connections.
- Insulating tape or glue: To secure the cells and protection board in the case.
- Multimeter: For testing the battery’s voltage, current, and resistance.
- Anti-static clothing and gloves: To protect yourself and the battery from static electricity.
For a wide selection of high-quality lithium battery cells, protection boards, and cases, visit CNS Battery’s solution page.
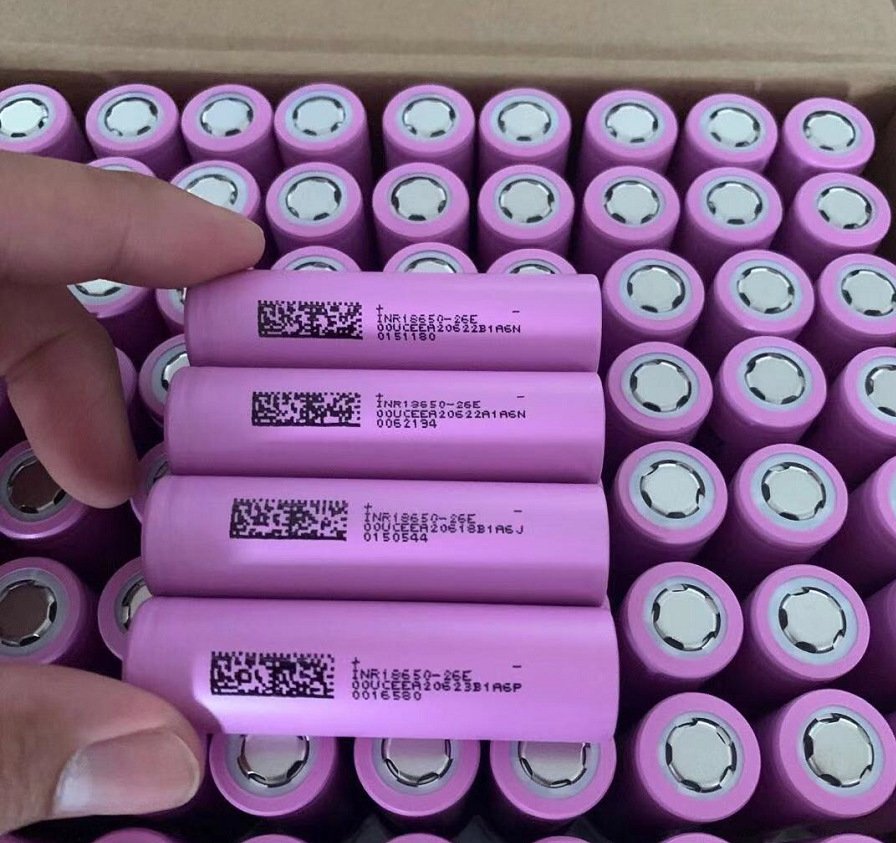
2. Choose and Prepare the Cells
Select lithium battery cells that meet your requirements in terms of voltage, capacity, and discharge rate. Avoid mixing old and new cells, as this can lead to inconsistencies and reduce performance.
3. Solder the Cells to the Protection Board
Carefully solder the positive and negative terminals of the cells to the corresponding terminals on the protection board. Ensure that the solder joints are strong and free of cold joints or solder leaks.
4. Connect the Cells in Series or Parallel
Use insulating materials like green shell paper to separate the cells and prevent short circuits. Connect the cells in series to increase the voltage or in parallel to increase the capacity, depending on your needs.
5. Assemble the Battery Pack
Place the soldered cells and protection board into the battery case, making sure that the polarity matches the markings on the case. Secure the cells and protection board using insulating tape or glue to prevent them from moving around inside the case.
6. Encapsulate and Test the Battery Pack
Once everything is in place, encapsulate the battery pack using insulating tape or heat-shrink tubing to enhance its insulation and stability. Use a multimeter to test the battery’s voltage, current, and resistance to ensure it meets your requirements and is safe to use.
7. Perform Charge and Discharge Tests
Finally, perform charge and discharge tests to verify the battery pack’s performance. This will help you identify any issues and ensure that the battery pack is functioning correctly.
Precautions
- Work in a clean and safe environment: Avoid working near flammable materials or sources of ignition.
- Handle the cells with care: Avoid dropping or crushing the cells, as this can damage them and lead to safety hazards.
- Follow proper soldering techniques: Ensure that the solder joints are strong and free of cold joints or solder leaks.
- Test the battery pack thoroughly: Before using the battery pack, test it thoroughly to ensure it meets your requirements and is safe to use.
For expert guidance and support in assembling lithium batteries, contact CNS Battery at amy@cnsbattery.com.
Image:
A visual representation of the steps involved in assembling a lithium battery.
Source:
- https://g.pconline.com.cn/ (Authoritative resource on technology and gadgets)