The Ultimate Checklist for Leaf ZE0 Battery Installation
If you own a Nissan Leaf ZE0 (typically the 2011-2015 model year), you know that battery degradation is the primary enemy of your daily driving range. Replacing the battery pack is often the most cost-effective way to breathe new life into your reliable EV. However, the installation process requires precision, safety awareness, and the right tools.
As a leading manufacturer of OEM-compatible Nissan Leaf batteries, we at CNS BATTERY have supported thousands of successful installations worldwide. Whether you are a DIY enthusiast or a professional mechanic, this comprehensive guide is designed to ensure your Leaf ZE0 battery replacement goes smoothly, safely, and efficiently.
⚠️ Safety First: Preparing Your Workspace
Before you even touch a wrench, safety is paramount. Lithium-ion batteries store high voltage, and a single mistake can lead to injury or damage.
- Disconnect the Power: Ensure the vehicle is completely powered down. Locate and disconnect the 12V auxiliary battery to cut off all low-voltage power to the vehicle’s systems.
- Personal Protective Equipment (PPE): You must wear insulated gloves and safety goggles. We strongly recommend wearing non-conductive clothing.
- Workspace: Work in a dry, well-ventilated area. Ensure your tools are insulated and free from any metal debris that could cause a short circuit.
📦 Step 1: Removing the Old Battery Pack
The Nissan Leaf ZE0 battery is located under the floor of the vehicle. Accessing it requires removing interior panels and underbody covers.
- Remove Interior Trims: Carefully remove the rear seat cushions and the center console trim to access the high-voltage (HV) service plug area.
- Extract the HV Plug: Locate the orange high-voltage service plug in the center tunnel. Pull it out to disconnect the main power flow. Wait at least 10 minutes for the capacitors to discharge.
- Lift the Vehicle: Use a hydraulic lift or jack stands to raise the vehicle securely.
- Remove Underbody Shields: Remove the plastic underbody panels to expose the battery pack casing and the high-voltage cables.
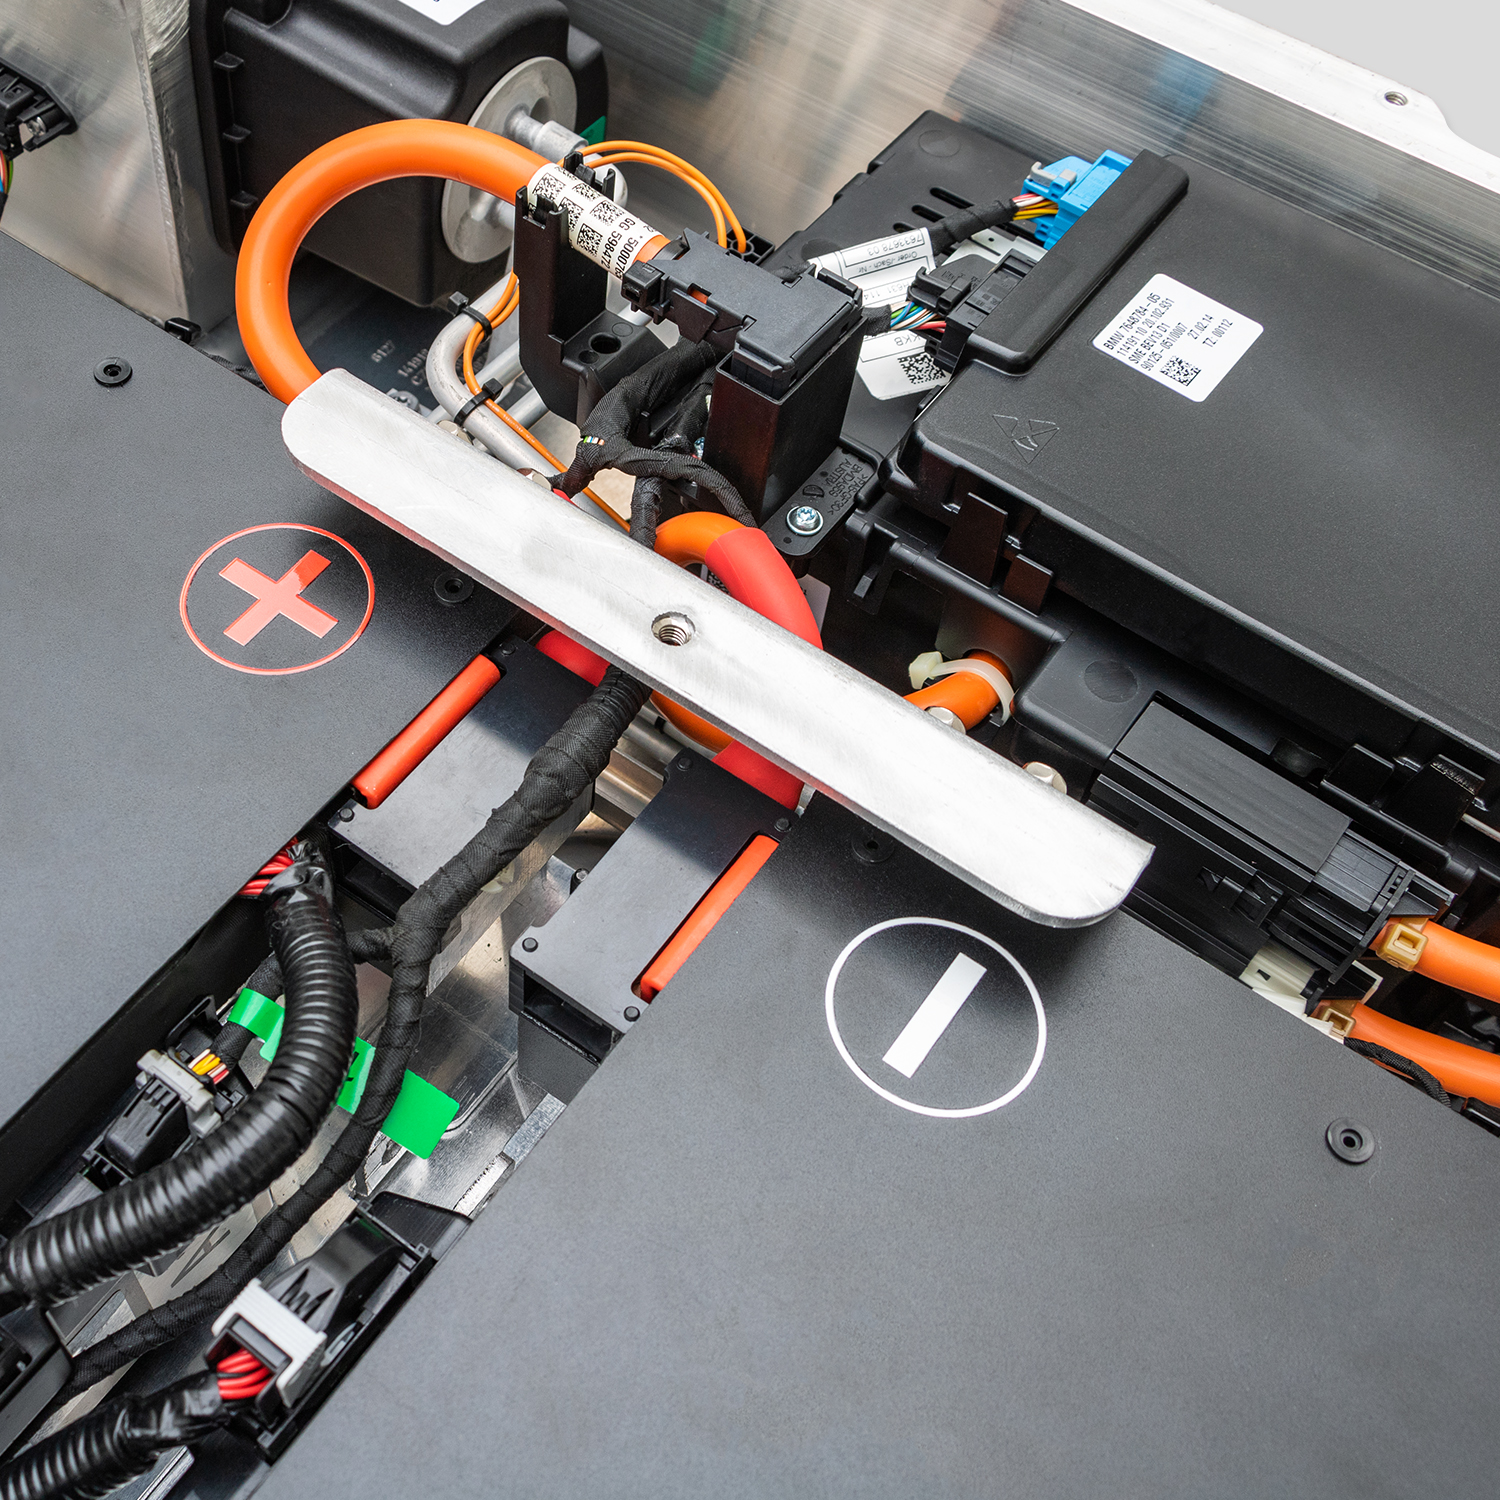
- Disconnect Cables: Mark the position of the main HV cables (positive and negative) and the signal cables. Disconnect them carefully, ensuring no dust enters the connectors.
- Unbolt the Pack: The battery is secured by multiple bolts to the chassis. Remove these bolts systematically and lower the heavy pack with appropriate lifting equipment.
🔋 Step 2: Installing Your New CNS Battery
Now that the old unit is out, it’s time to install your new power source. If you are using a CNS Battery pack, you will notice the engineering is designed for a direct OEM fit.
Why Choose a CNS Battery for Your ZE0?
We specialize in providing brand-new CATL cells for Nissan models. Unlike refurbished or recycled packs, our batteries offer:
- Zero Cycle Count: Brand new cells mean maximum longevity.
- OEM Standard Fitment: No modifications required; it bolts in exactly like the original factory part.
- Enhanced Capacity Options: While the original ZE0 came with 24kWh or 30kWh options, many owners upgrade to our 40kWh or even 62kWh modules for significantly extended range.
- Positioning: Lift the new CNS battery into place. Ensure the cable glands and mounting points align perfectly.
- Secure the Bolts: Reinstall the chassis bolts and torque them to the manufacturer’s specifications.
- Reconnect Cables: Reattach the HV cables and signal wires. Double-check the polarity to ensure it is correct.
- Reinstall Shields: Put the underbody panels and interior trims back in place.
⚙️ Step 3: System Integration & BMS Programming
This is the most critical step. Simply plugging in the battery does not guarantee the car will start. The Battery Management System (BMS) needs to recognize the new hardware.
- Initial Power-Up: Reconnect the 12V battery and the orange HV service plug.
- Diagnostic Check: Use an OBD2 scanner to check for any fault codes. Clear any existing codes related to the old battery.
- BMS Calibration: The BMS may require a “learning cycle.” This usually involves a full discharge (driving until empty) followed by a full charge using a Level 1 or Level 2 charger. This allows the BMS to recalibrate the State of Charge (SOC).
Expert Tip: If you encounter any programming errors during this phase, our technical support team offers remote video guidance to walk you through the BMS setup process.
🚗 Step 4: The First Drive & Break-In
After installation, your new battery needs a “break-in” period to reach optimal performance.
- Initial Charge: Plug the car into a charger. The dashboard should show normal charging activity.
- Test Drive: Take the car for a short drive. Monitor the dashboard for any warning lights.
- Avoid Fast Charging Initially: For the first few cycles, we recommend avoiding DC fast charging to allow the cells to stabilize chemically.
📝 The Final Verification Checklist
Before you consider the job done, verify the following:
- All high-voltage connectors are sealed and tightened.
- No error messages are displayed on the dashboard.
- The battery level indicator shows full bars after charging.
- The charging port light functions correctly.
Replacing the battery in your Nissan Leaf ZE0 is a significant investment in your vehicle’s future. By following this checklist and using a high-quality, compatible pack, you can restore your car to “like new” condition, often at a fraction of the cost of a new vehicle.
Ready to revive your Nissan Leaf?
Get a free, no-obligation quote for a brand-new, high-performance battery tailored to your ZE0 model. Our experts are ready to help you calculate the perfect capacity upgrade for your driving needs.
❓ Frequently Asked Questions (FAQ)
Q1: How long does it take to install a new battery in a Nissan Leaf ZE0?
A: For a professional technician, the physical installation typically takes 1 to 2 hours. However, if you include the BMS programming, calibration, and a test drive, we recommend setting aside half a day to ensure everything is perfect.
Q2: Can I upgrade my ZE0 from a 24kWh to a 40kWh or 62kWh battery?
A: Yes, this is a very popular modification. Many of our customers upgrade their ZE0 models to larger capacity packs (such as 40kWh, 50kWh, or 62kWh) to drastically increase their driving range. Our packs are designed with OEM compatibility in mind, making these upgrades feasible with the correct BMS configuration.
Q3: What kind of warranty does a new CNS battery come with?
A: We stand by the quality of our products. All CNS Automotive Batteries come with a minimum 2-year or 80,000 km warranty (whichever comes first). This covers defects in materials and workmanship, and we also offer prorated coverage for performance degradation, ensuring your battery maintains at least 70% capacity over the warranty period.
Q4: Is it safe to do this installation myself?
A: While the process is mechanically straightforward (bolt-on replacement), working with high-voltage components is dangerous. If you are not a certified electrician or experienced mechanic, we strongly recommend having a professional handle the installation to avoid voiding your warranty or risking injury.