How DIY Enthusiasts Can Save Money on Leaf AZE0 Battery Installation
If you drive a Nissan Leaf AZE0 and are facing the dreaded “Battery Degradation,” you likely know the drill: the official dealer quote is astronomical, and the used battery market is a gamble. But what if you could get a brand-new, high-capacity battery and save thousands of dollars by doing the installation yourself?
As a Nissan Leaf battery specialist at CNS BATTERY, I’ve helped thousands of AZE0 owners upgrade from their failing 40kWh packs to robust new 62kWh units. I’ve seen the relief on their faces when they realize they don’t need to buy a new car or pay a mechanic a fortune.
This guide is for the savvy DIYer. We will break down exactly how much you can save, the tools you need, and why choosing the right supplier (like us) is the key to a stress-free, profitable upgrade.
🤑 The DIY Math: How Much Can You Save?
Let’s be honest: the primary motivation for a DIY installation is the wallet. When you buy a new Nissan Leaf AZE0 battery and install it yourself, you are cutting out two major costs: the markup of the middleman shop and the labor fee of the mechanic.
Here is a realistic breakdown comparing the options for a 62kWh replacement:
| Option | Battery Cost | Labor/Markup Cost | Total Estimated Cost |
|---|---|---|---|
| DIY with CNS | ~$7,800 | $0 (Your Time) | ~$7,800 |
| Mechanic Installs Pre-Built | ~$8,500 | $800+ | ~$9,300+ |
| Official Nissan Dealer | ~$16,000 | Included | ~$16,000 |
The Verdict: By doing it yourself, you aren’t just saving the $800 labor fee; you are also avoiding the “shop markup” that mechanics add to the battery cost itself. You are buying factory-direct, saving over 50% compared to the original manufacturer.
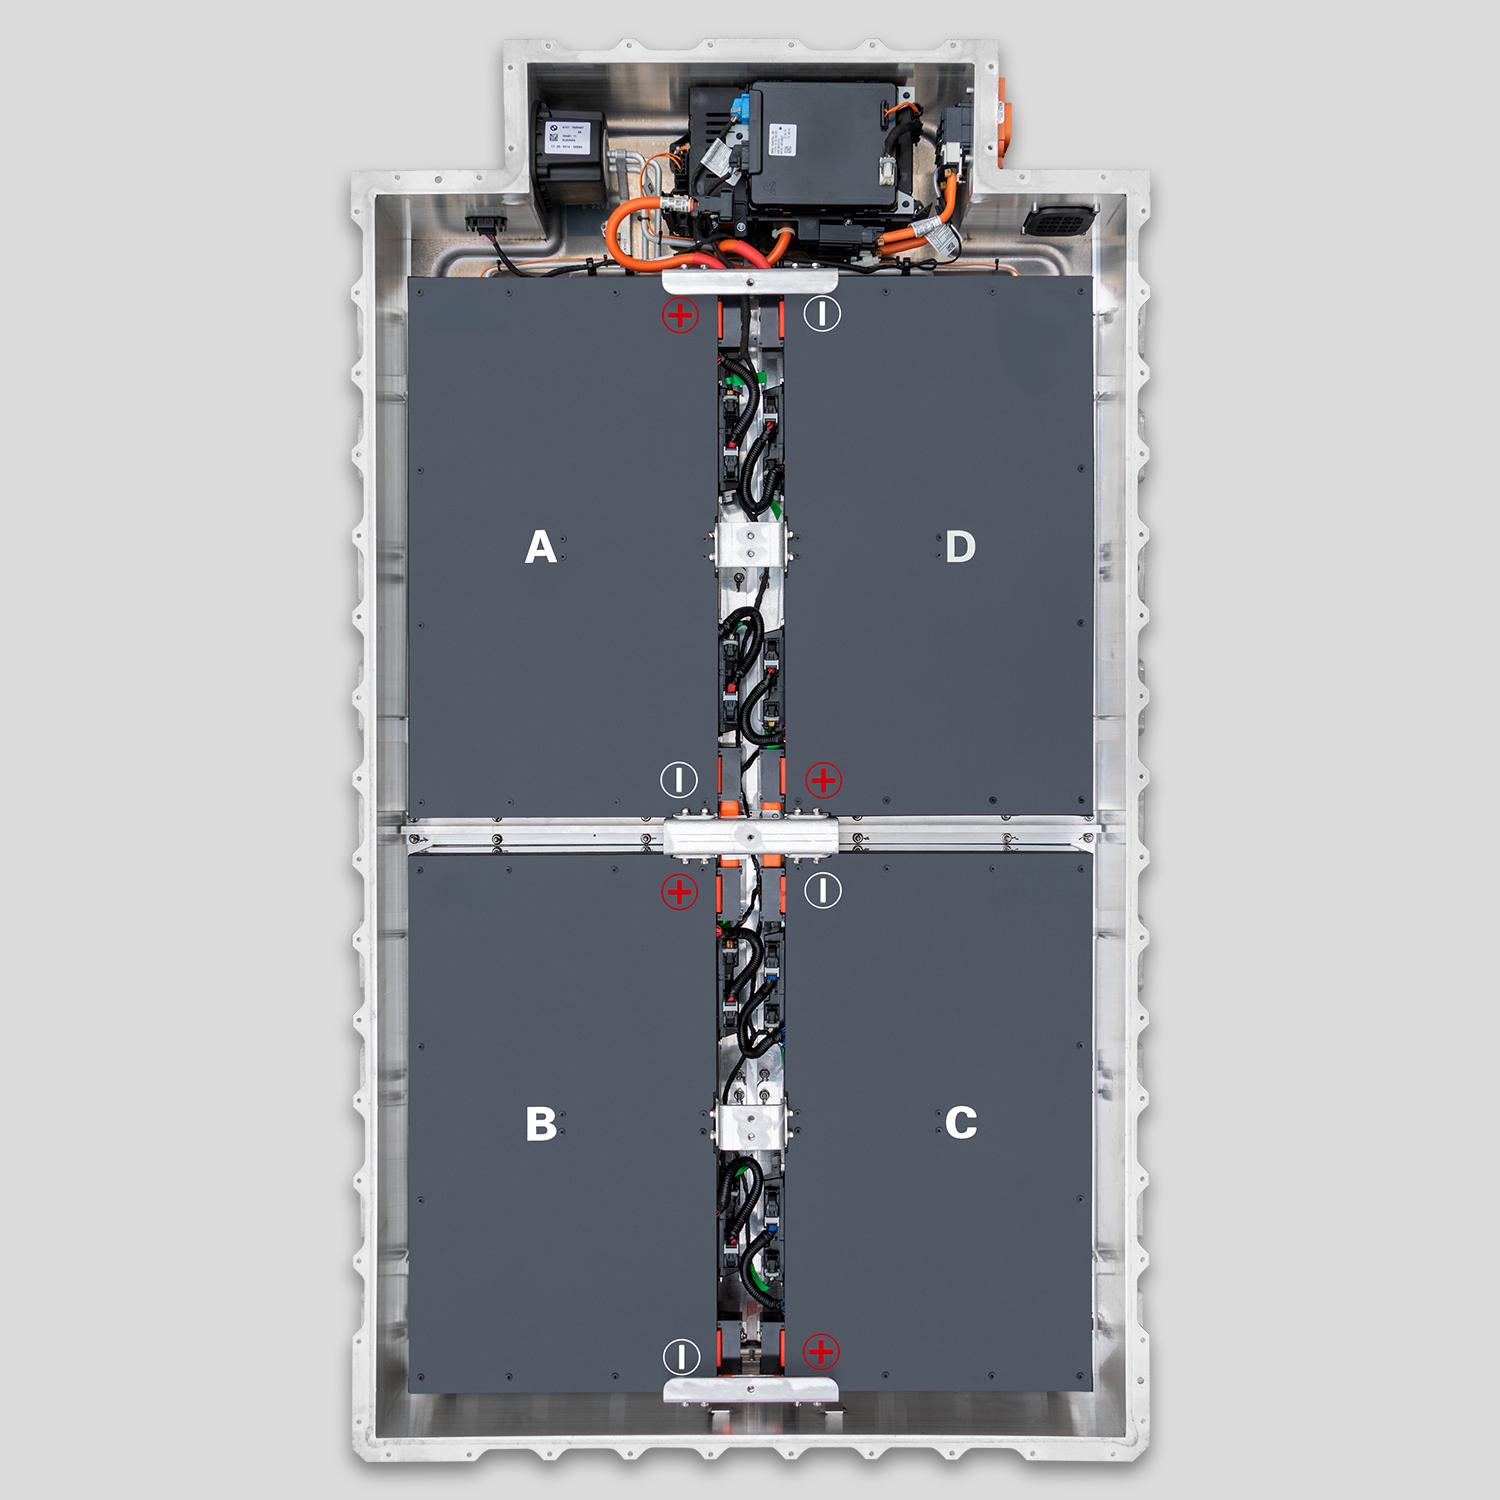
🛠️ Is the AZE0 Battery a “Plug and Play” Job?
The Nissan Leaf AZE0 (2018-2023) is actually one of the best models for a DIY upgrade. Unlike older models that sometimes require complex BMS reprogramming or adapter cables, the AZE0 architecture is straightforward.
What “Plug and Play” Actually Means for You:
- Physical Fit: The chassis dimensions for the 40kWh, 50kWh, and 62kWh packs are identical. The mounting points, brackets, and suspension arms match perfectly.
- Electrical Connection: The high-voltage connectors and signal cables are standardized. You are literally just unplugging the old unit and plugging in the new one.
- No Hacking: You do not need to modify the car’s software. A genuine new battery (like those from CNS) communicates seamlessly with the car’s ECU.
Note: While the physical swap is simple, you will need to clear the “Battery Error” codes from the old battery using an OBD2 scanner or by contacting our tech support for a quick reset guide.
📦 What’s in the Box? (And Why Quality Matters)
You might be tempted to buy the cheapest battery you find online, but for a DIY job, quality control is non-negotiable. If you install a faulty battery, you have to do the entire job again.
At CNS, when we build a Leaf AZE0 battery pack, we don’t just stuff cells into a box. We engineer them for your specific use case.
Our Standard for a DIY Kit:
- Brand New CATL Cells: We use brand new, A-grade prismatic cells from CATL (Contemporary Amperex Technology Co. Limited). This is the same tier of cell technology used by major OEMs. We do not use recycled or salvaged cells, which can swell or fail within months.
- Integrated BMS: Our Battery Management System is pre-programmed. It monitors temperature, voltage, and current to keep your new battery safe.
- Robust Housing: The AZE0 sits low to the ground. Our packs feature reinforced ABS+PC housing to protect against road debris and water ingress (IP67 rated).
🦸♂️ The DIY Installation Guide: 5 Steps to Success
If you have basic mechanical skills and a floor jack, you can do this. Here is the process based on hundreds of successful customer installations.
Step 1: Safety First
- Disconnect the 12V Battery: This cuts power to the entire car. Do not skip this step.
- Gear: Ensure the car is in “Park.”
- Location: Work on a flat, level surface. Use jack stands—never work under a car held only by a jack.
Step 2: Access the Pack
- The AZE0 battery is located under the cabin floor. You will need to remove the underbody plastic shields.
- Warning: Be careful of sharp edges and potential rust on older models.
Step 3: Disconnect the Old
- Locate the high-voltage (HV) orange connectors and the signal cables. Disconnect them.
- Remove the 16mm bolts securing the battery to the chassis (there are several, usually 8-10).
Step 4: Swap and Mount
- Carefully lower the old battery out.
- Slide the new CNS 62kWh pack into place. Align the mounting holes.
- Reconnect the HV and signal cables. Ensure they are seated firmly (you should hear a click).
Step 5: The Test Drive
- Reconnect the 12V battery.
- Turn the car on. The dashboard should light up normally.
- Troubleshooting Tip: If you get a battery error (usually a red car symbol), contact our support team. We will guide you through clearing the history codes via Bluetooth OBD2, usually in under 5 minutes.
💡 Pro Tips from the Expert
As someone who has overseen the production of these packs, here are my top three tips for a flawless DIY:
- Check the VIN: Before you buy any battery, cross-check the compatibility. While the AZE0 is standardized, minor variations exist. We offer a free VIN compatibility check to ensure the bracket holes and connectors match your specific year.
- The “Friend” Rule: Even if you are handy, having a friend to help lift the old battery (which weighs about 300kg/660lbs) is crucial for safety and preventing back strain.
- Winter Warning: If you live in a cold climate, do not charge the new battery to 100% immediately if it has been sitting outside in freezing temperatures. Let it warm up in the garage or drive gently for the first 10 miles to warm the cells.
📝 Conclusion: Revive Your Ride Today
Replacing the battery in your Nissan Leaf AZE0 is no longer a financial death sentence. By choosing a high-quality, new-cell replacement and rolling up your sleeves, you are looking at a car with a brand-new 10-year lifespan for half the price of a used economy car.
Don’t let the fear of complexity stop you. Thousands of Leaf owners are doing this every month. It is a satisfying project that saves the planet (by recycling the old pack properly) and your bank account.
Ready to take the plunge? Get a free quote for your custom Leaf AZE0 battery upgrade today.
Get Your Free Custom Quote Now
❓ Frequently Asked Questions (FAQ)
Q1: Will a DIY installation void my car’s warranty?
A: Generally, no. The battery is a wear-and-tear item. However, if a mechanic needs to look at a different component later, they might ask if the battery was replaced. Our packs are OEM-standard, so they do not cause damage to other parts of the vehicle.
Q2: How long does the installation take?
A: For a DIYer with the right tools, it usually takes 1.5 to 2.5 hours. This includes the time to jack the car up, remove the shields, unbolt the old pack, and bolt in the new one.
Q3: What tools do I need?
A: You will need a floor jack, jack stands, a socket wrench set (specifically a 16mm socket for the main bolts), and insulated gloves for handling the high-voltage cables. We also recommend a torque wrench to ensure the bolts are tightened to the correct specification (usually 100-120 Nm).
Q4: What if I get stuck during installation?
A: Don’t panic. We offer lifetime technical support. If you have a question about a wire or a bracket, our engineers are available via email or video call to guide you through it. You are not alone in this project.