How to Install Your e-NV200 Van Battery: A Complete Guide
Reviving your Nissan e-NV200 doesn’t have to mean a trip to the dealership or a massive budget. Whether your original battery has degraded over time or you’re looking to upgrade your commercial van’s range, replacing the battery pack is a cost-effective solution. At CNS BATTERY, we specialize in OEM-compatible Nissan and BMW batteries, and we know that a successful installation is key to getting your vehicle back on the road safely and efficiently.
This guide will walk you through the entire process, from pre-installation checks to the final programming, ensuring you have all the information you need for a smooth swap.
🛠️ Pre-Installation: Preparation is Key
Before you even touch a wrench, proper preparation ensures safety and prevents damage to your new CNS e-NV200 battery.
1. Safety First
- Disconnect the Power: Ensure the vehicle is completely powered off. Remove the key fob from the range and disconnect the 12V auxiliary battery to cut all power sources.
- Personal Protective Equipment (PPE): Wear insulated gloves and safety glasses. High-voltage systems demand respect.
2. Verify Compatibility
This is the most critical step. While our batteries are designed to match OEM standards, you must confirm the KWH rating (such as 40kWh or 50kWh) and the physical dimensions match your specific e-NV200 model year. If you are unsure, our technical experts offer a free compatibility assessment based on your VIN number.
3. Tools Required
You will typically need:
- Socket wrench set
- Torque wrench (for precise reassembly)
- Insulated screwdrivers
- A floor jack or lift (the battery pack is heavy)
🔋 Step-by-Step Installation Process
The e-NV200 battery replacement is generally a “plug-and-play” procedure, but attention to detail is mandatory.
1. Removing the Old Battery
- Access the Pack: Depending on your model, you may need to remove interior floor panels or underbody covers.
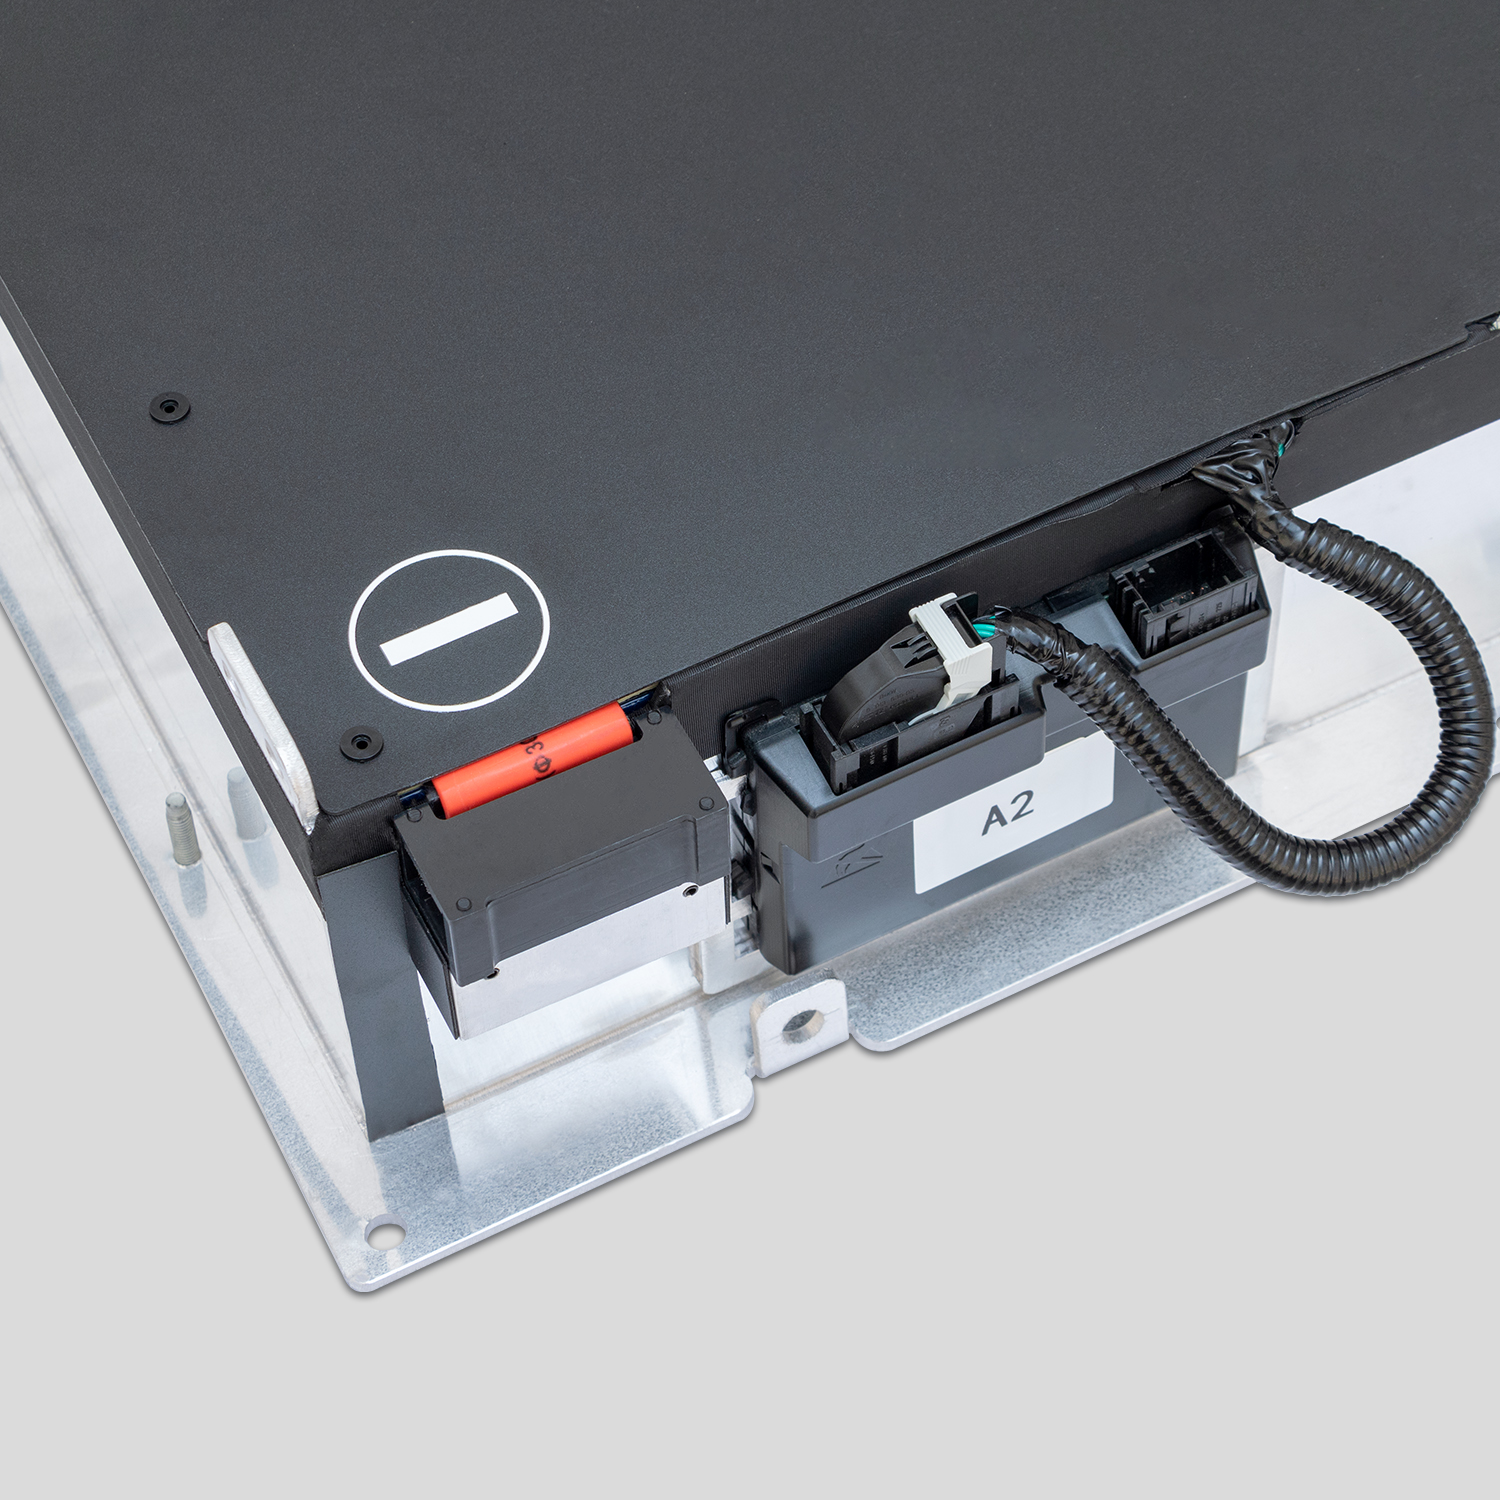
- Disconnect HV Cables: Carefully disconnect the high-voltage connectors. Note: Always cap or isolate these immediately to prevent accidental contact.
- Unbolt the Pack: Remove the retaining bolts securing the battery to the chassis. The pack is heavy, so use a jack to support it as you unbolt.
- Lower and Remove: Slowly lower the old battery pack using the jack.
2. Installing the New CNS Battery
- Positioning: Lift the new CNS battery pack into place using the jack. Align it with the mounting points.
- Secure Mounting: Tighten the retaining bolts to the manufacturer’s specified torque settings. Do not overtighten.
- Reconnect HV Cables: Reattach the high-voltage connectors. You should hear a distinct “click” indicating a secure connection.
- Reconnect 12V: Reconnect the auxiliary 12V battery to restore low-voltage power to the vehicle.
💻 Post-Installation: Programming and Testing
Once the physical installation is complete, the electrical system needs to recognize the new pack.
BMS Programming
Unlike simple component swaps, an EV battery requires the Battery Management System (BMS) to be programmed. This step ensures the vehicle communicates correctly with the new cells.
- The Process: Our batteries come pre-configured, but the vehicle’s software may need to be reset or updated to acknowledge the new capacity and health status.
- Expert Support: If you encounter issues during this phase, CNS offers remote video guidance. Our engineers can walk you through the diagnostic steps via video call to ensure the BMS syncs perfectly.
The First Test Drive
After programming:
- Power on the vehicle. Check the dashboard for any error codes.
- Observe the battery state of charge (SOC). It should reflect the new capacity (e.g., 12 bars for a full pack).
- Take a short test drive in a safe area to confirm acceleration and regenerative braking are functioning normally.
🆚 Why Choose a CNS Battery for Your e-NV200?
When replacing the heart of your commercial van, you need reliability. Here is how a CNS e-NV200 battery compares to the alternatives.
| Feature | CNS Brand-New Battery | Refurbished/Used Batteries | OEM (Original Manufacturer) |
|---|---|---|---|
| Cell Quality | Brand-new CATL cells | Aged, degraded cells | Original factory cells |
| Price | ~50% cheaper than OEM | Cheap upfront, high failure risk | Very expensive |
| Warranty | 2 Years / 80,000 km | Often none or very short | Standard warranty |
| Reliability | Zero failure rate guarantee | High risk of swelling/failure | Reliable but costly |
The CNS Advantage
- Ultimate Safety: We utilize cells from CATL, the world’s largest lithium-ion battery manufacturer, ensuring top-tier thermal management and safety standards.
- Cost Efficiency: Save thousands compared to dealership prices without sacrificing performance.
- Expert Support: You are not alone. We provide step-by-step installation videos and direct access to our technical team.
📝 Expert Tips for Longevity
To maximize the lifespan of your new e-NV200 lithium battery:
- Avoid Extreme States: Try not to leave the battery at 0% or 100% for extended periods if the van will be stationary for weeks.
- Winter Care: In cold climates, park in a garage if possible. While our packs are sealed against coastal salt air, extreme cold can temporarily reduce range.
- Regular Diagnostics: Use an OBD2 scanner periodically to check for any cell imbalances.
📩 Get Your Free Quote Today
Replacing your Nissan e-NV200 battery is the smart way to extend the life of your commercial vehicle. With CNS, you get the perfect blend of OEM-grade quality and aftermarket affordability.
If you have questions about compatibility or need help selecting the right KWH rating for your delivery routes, don’t hesitate to reach out. Our team is ready to help you get back on the road.
Contact CNS BATTERY Experts for a Free Custom Quote
❓ Frequently Asked Questions (FAQ)
1. How long does it take to install an e-NV200 battery?
For a professional technician, the physical installation usually takes about 1 to 2 hours. DIY users might take a bit longer, especially if watching the installation video step-by-step. Remember to factor in an additional 30 minutes for the BMS programming check.
2. Is it difficult to install a CNS battery myself?
It is designed to be straightforward. The process is largely “plug-and-play,” meaning the connectors match the original factory specifications. However, due to the weight of the pack and high-voltage risks, we recommend having basic mechanical experience or working with a friend who is familiar with cars. We provide detailed video tutorials to guide you through every step.
3. What if my van shows an error code after installation?
While rare with our plug-and-play design, error codes can sometimes appear due to the BMS needing a handshake with the vehicle. Do not panic. CNS offers lifetime technical support. You can contact our customer service, and we will arrange remote video guidance to resolve the issue, often within minutes.
4. Does the battery come with a warranty?
Yes. All CNS Automotive Batteries come with a minimum 2-year or 80,000 km warranty (whichever comes first). This covers defects in materials and workmanship, and we guarantee the battery maintains at least 70% capacity during this period.
5. How much range can I expect from a new CNS e-NV200 battery?
The range depends on the KWH capacity you select (e.g., 40kWh or 50kWh) and your driving conditions. Generally, customers report a full charge range of approximately 348km under standard conditions, which is a significant improvement over degraded original packs.