🛠️ The Ultimate DIY Guide: Upgrading Your Nissan Leaf to 62kWh
Is your Nissan Leaf struggling to keep up with your daily commute? Do you dread the “Turtle Mode” warning on long drives? If you own a ZE0, AZE0, or ZE1 model, upgrading to a 62kWh battery pack is the most effective way to revive your EV, transforming it from a city runabout into a capable long-distance vehicle.
At CNS BATTERY, we specialize in OEM-compatible Nissan EV batteries. We understand that range anxiety is the primary reason owners seek replacements. While visiting a dealership can cost upwards of $16,000, a DIY upgrade with a high-quality aftermarket pack, such as those utilizing brand-new CATL cells, can cut that cost in half while restoring your car’s original performance.
This comprehensive guide will walk you through the entire process, from pre-purchase checks to the final programming, ensuring you have the confidence to complete this life-changing upgrade yourself.
📦 Step 1: Pre-Installation Preparation
Before you crack open your toolkit, preparation is key to a smooth installation.
Verify Compatibility
Not all Leafs are created equal. Ensure your model is compatible with the 62kWh upgrade:
- Nissan Leaf ZE0 (2011-2017): This is the most common candidate. The upgrade will increase your range significantly, but you may need to address the “12-Bar” limitation in the dashboard (discussed later).
- Nissan Leaf AZE0 (2018-2022): Generally plug-and-play compatible.
- Nissan Leaf ZE1 (2018+): Ensure the physical dimensions and connectors match your specific year.
Pro Tip: Before purchasing, use our free VIN Compatibility Assessment service. This ensures the wiring harness and connectors match your specific vehicle, preventing frustrating mismatches.
Tools You Will Need
Gather these essentials before starting:
- Torque Wrench & Socket Set: For safely removing underbody shields and bolts.
- Insulated Gloves: Safety first! High-voltage components require protection.
- Battery Disconnect Tool: To isolate the 12V battery.
- Lifting Equipment: A car lift, jack stands, or ramps.
- Programming Cable: An OBD2 cable compatible with Nissan Leaf programming software (e.g., Nissan Consult III or compatible aftermarket tools).
🔋 Step 2: Removing the Old Battery
This process typically takes 1-2 hours for a DIYer.
- Disconnect Power: Open the hood and disconnect the 12V negative terminal. Wait at least 10 minutes for the capacitors to discharge.
- Remove Underbody Shields: Jack up the car. Remove the plastic underbody covers to access the battery pack bolts.
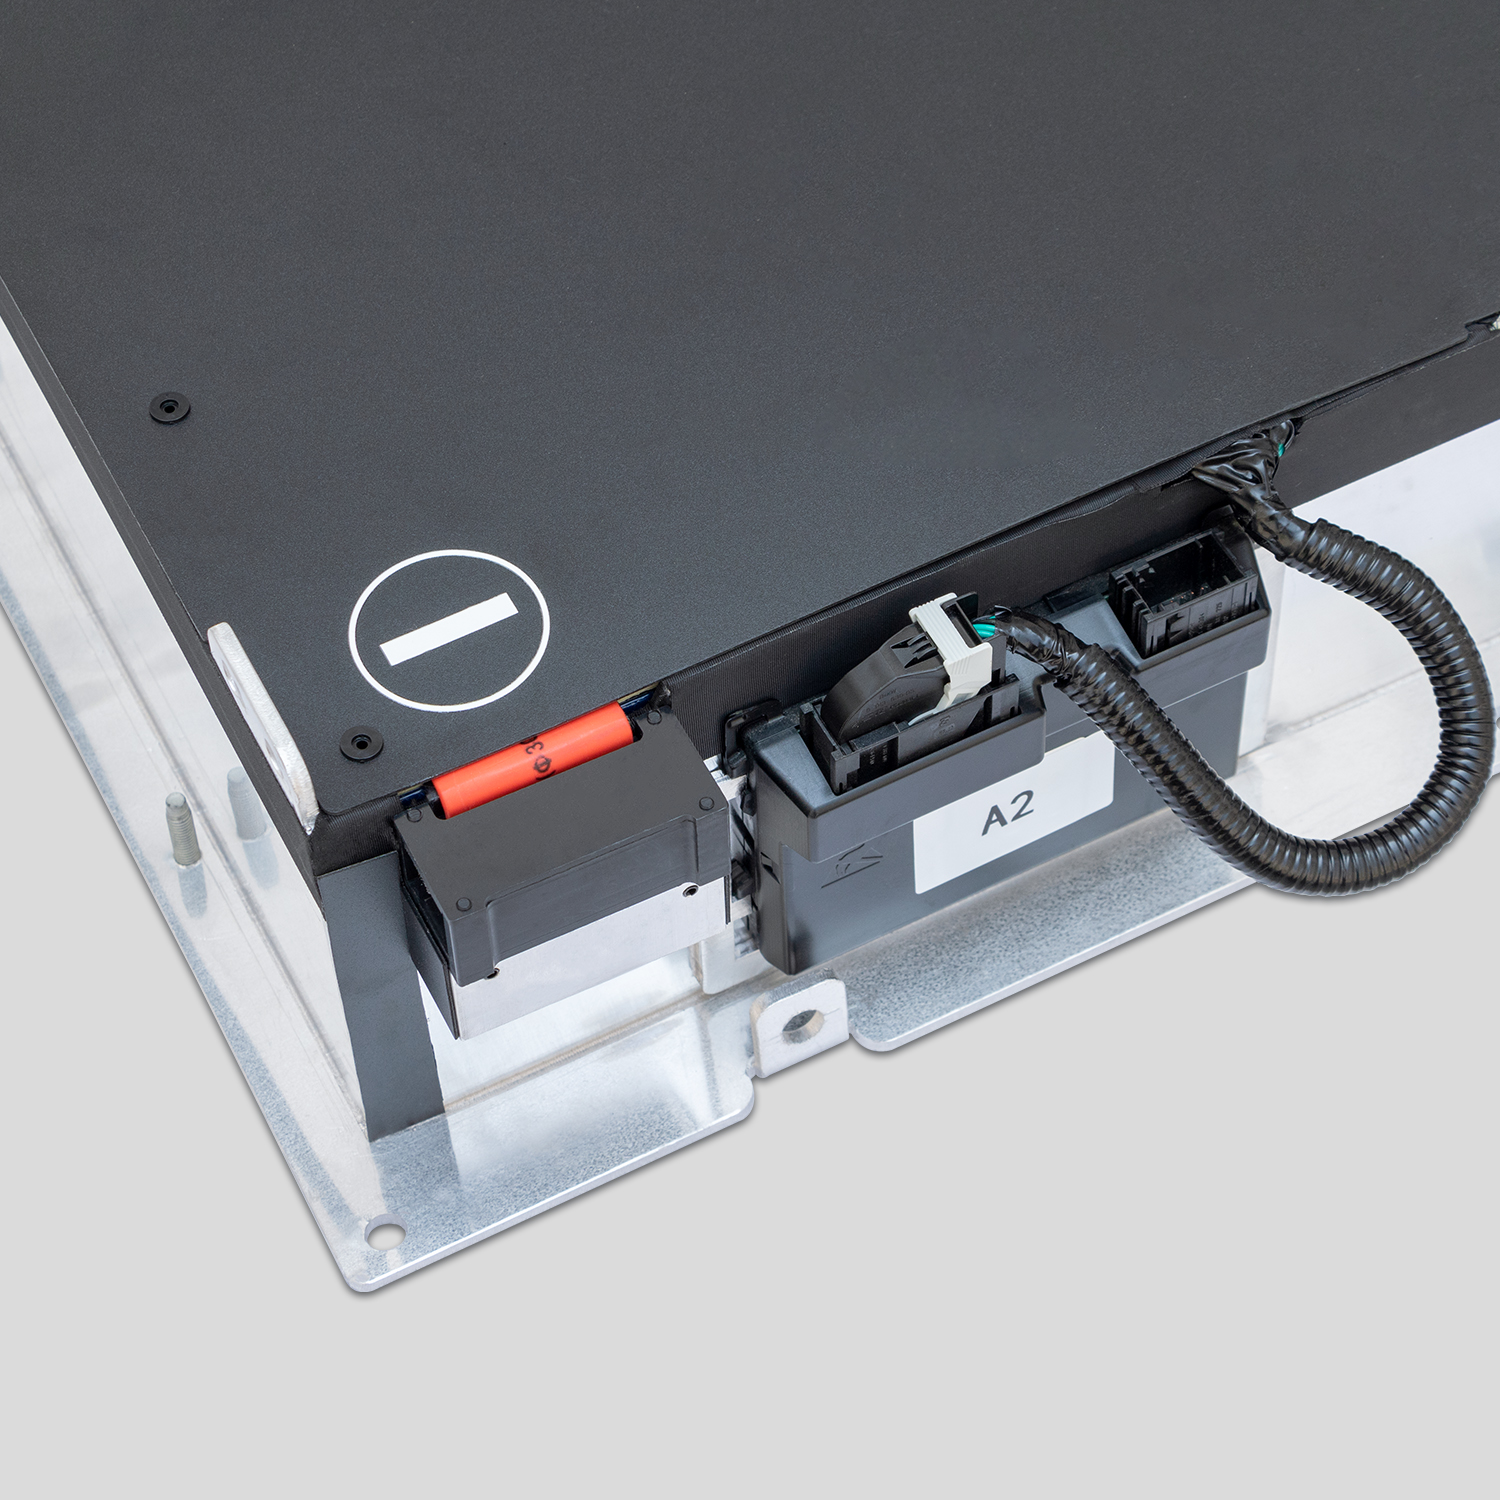
- Locate Service Disconnect: Inside the battery pack housing (usually on the side), you will find a bright orange service plug. Remove this to physically cut high-voltage power.
- Unbolt the Pack: The battery is secured by approximately 32 bolts (specific numbers vary by model year). Carefully unbolt the pack from the chassis.
- Disconnect Wiring: Carefully disconnect the high-voltage cables and the low-voltage communication harnesses. Take photos during this step to remember the routing for the new battery.
✨ Step 3: Installing the New 62kWh Pack
Now that the old battery is out, it’s time for the upgrade.
- Positioning: Carefully lift the new 62kWh lithium battery pack into place. These packs are heavy (approx. 300-400kg), so consider getting a helper or using a transmission jack.
- Secure the Bolts: Reinstall the chassis bolts. Tighten them to the manufacturer’s specifications (usually around 100-120 Nm, but refer to your specific manual).
- Reconnect Harnesses: Reconnect the low-voltage communication cables and the high-voltage terminals. Ensure all connections are tight and secure to prevent arcing.
- Reinstall Shields: Put the plastic underbody covers back on.
💻 Step 4: Programming & “Bar” Fix (The Critical Step)
This is where many DIYers get stuck. Simply plugging in the battery won’t magically give you 12 bars on a ZE0 model.
The “Bar” Issue Explained
The Nissan Leaf ZE0 (2011-2017) was originally designed for a 24kWh or 30kWh battery. The dashboard logic is hardwired to show a maximum of 12 bars, regardless of the actual kWh capacity installed.
The Solution:
To utilize the full 62kWh capacity, you need to modify the BMS (Battery Management System) software or use a hardware emulator (depending on the aftermarket pack specifications). CNS BATTERY packs often come pre-programmed or with specific instructions for this step.
Programming Steps:
- Connect your laptop to the OBD2 port.
- Use compatible software (like Nissan LEAF Programmer) to write the new battery parameters to the BMS.
- For ZE0 models, you will need to select the “62kWh” or “Lizard” profile in the software to unlock the full voltage range.
Note: If you purchased your battery from CNS, our technical support team offers remote video guidance to walk you through this programming step, ensuring a successful “first try” ignition.
🚗 Step 5: Testing and First Drive
- Reconnect 12V: Reconnect the 12V battery terminal.
- Power On: Turn the car on (do not start driving yet). Check the dashboard for error codes.
- Initial Charge: Plug the car into a Level 2 charger. The car should recognize the new capacity. A full charge on a 62kWh pack should show approximately 180-200 miles of range (EPA estimate) or roughly 270km in real-world conditions.
- Test Drive: Take a short drive in a safe area. Test acceleration and braking to ensure the regenerative braking system is communicating correctly with the new BMS.
📈 Why Upgrade to a 62kWh Battery?
Upgrading isn’t just about more numbers; it’s about changing your driving experience.
| Feature | 24kWh / 30kWh (Original) | 62kWh (Upgrade) |
|---|---|---|
| Real-World Range | 80km – 110km | 240km – 280km |
| Highway Viability | Very Low (Turtle mode likely) | Excellent |
| Recharge Frequency | Daily | 2-3 Times per Week |
| Resale Value | Low (Old tech) | High (Like new) |
Key Benefit: With a 62kWh upgrade using brand-new CATL cells, you are essentially buying a new electric car for less than half the price of a new Leaf. The charging speed will be faster (utilizing the full 6.6kW onboard charger), and the thermal management system will be more efficient.
🛡️ Frequently Asked Questions (FAQ)
Q1: Will a 62kWh battery fit in my 2013 Nissan Leaf (ZE0)?
Yes, physically the dimensions are the same. However, as mentioned in the guide, the dashboard will only show 12 bars. You will need to ensure the BMS programming is updated to recognize the full voltage range of the 62kWh cells. Without programming, the car may think the battery is full or empty when it isn’t.
Q2: What are the risks of a DIY installation?
The primary risks are physical injury from dropping the heavy pack or electrical shock. Always wear insulated gloves and use proper lifting equipment. The secondary risk is BMS programming errors. If the software isn’t calibrated correctly, it can lead to inaccurate State of Charge (SoC) readings. This is why we highly recommend having a professional assist with the programming if you are not technically experienced, or utilizing our remote support service.
Q3: How much does a 62kWh DIY upgrade cost compared to a dealership?
Dealership replacements for old Leafs are often prohibitively expensive, ranging from $12,000 to $16,000, and sometimes they simply tell you the car is not repairable. A high-quality DIY 62kWh pack from a reputable manufacturer like CNS BATTERY typically costs around $7,800 – $8,200, offering a 50%+ cost saving.
Q4: Does the upgrade include a warranty?
Yes. When you purchase a battery from us, you receive a comprehensive 24-month / 80,000km warranty. This covers defects in materials and workmanship, including protection against premature degradation (ensuring the battery maintains at least 70% capacity). This warranty is significantly longer than what most refurbished battery sellers offer.
Ready to take the plunge and upgrade your Nissan Leaf? Don’t let the complexity hold you back.