Top DIY Tools for New Nissan Leaf Battery Installation
Installing a new Nissan Leaf battery is a major milestone in reviving your electric vehicle. Whether you are upgrading to a high-capacity 62kWh pack or replacing an aging module, having the right tools is the difference between a smooth, professional-grade installation and a frustrating afternoon in the garage.
At CNS BATTERY, we understand that our customers range from seasoned mechanics to passionate DIY enthusiasts. To ensure your project is a success, we have compiled this comprehensive guide to the Top DIY Tools you need. This list is based on the specific requirements of Nissan Leaf models (ZE0, AZE0, ZE1) and our own installation best practices.
🛠️ The Essential Toolkit: Safety First
Before you touch a single bolt, prioritize your safety. Lithium-ion batteries operate at high voltages, and the Nissan Leaf’s battery pack is heavy. Safety is the most critical “tool” in your kit.
1. Personal Protective Equipment (PPE)
Never skip this step. You are working with high-voltage components.
- Insulated Gloves: Rated for electrical safety (Class 0 or 00) to prevent shock.
- Safety Glasses: To protect your eyes from debris or accidental sparks.
- Non-Conductive Shoes: Rubber-soled boots are a must.
2. Lifting Equipment
The Nissan Leaf battery pack is heavy. A standard 40kWh or 62kWh pack can weigh between 300kg to over 380kg (660lbs to 840lbs).
- Heavy-Duty Transmission Jack or EV Battery Jack: A standard trolley jack is often insufficient. You need a jack rated for at least 1000kg (2200lbs) with wide, stable feet.
- Long Wooden Planks or Support Blocks: To safely support the vehicle and the jack during the procedure.
🔧 The Core Hardware: Wrenches and Torque
Using the correct hardware ensures that your connections are secure and your vehicle remains reliable. Never guess the torque specifications.
3. Torque Wrench (Critical)
This is non-negotiable. The high-voltage (HV) terminals and ground connections require specific torque to prevent overheating or damage.
- Recommended: A 1/2″ drive torque wrench with a range covering 8 N·m to 50 N·m.
- Why: Under-tightening causes arcing and heat; over-tightening strips threads or cracks terminal posts.
4. Socket Set & Wrenches
Ensure you have the correct sizes to match your Leaf’s specific hardware.
- High-Voltage Terminals: Typically require a 13mm or 17mm socket/wrench (depending on the specific terminal nut size).
- Ground Cables: Usually require a 10mm socket.
- Undertray and Cover Bolts: A standard socket set ranging from 8mm to 14mm will cover the plastic undertray and access covers.
5. Insulated Hand Tools
- Ratchet Set: For general disassembly of covers and brackets.
- Extension Bars: To reach bolts in deep or awkward positions.
- Pry Bars (Plastic or Soft): For gently separating plastic clips on the undertray without breaking them.
🔋 Electrical & Diagnostic Gear
A new battery from CNS BATTERY is designed for plug-and-play compatibility, but you need the right gear to verify everything is functioning correctly.
6. Digital Multimeter (DMM)
Essential for checking voltages before and after installation.
- Use: Verify the new battery voltage matches the specifications before connecting the main harness.
- Safety Check: Ensure no short circuits exist in the vehicle side harness before final connection.
7. OBD2 Diagnostic Scanner
While a brand-new CNS BATTERY pack should communicate seamlessly with your Nissan Leaf, a scanner is vital for modern EV work.
- Function: To reset the Battery Management System (BMS) if required, clear any old error codes from the previous battery, and verify communication between the car and the new pack.
- Note: Many modern Leaf owners use Bluetooth OBD2 adapters with smartphone apps (like Leaf Spy) to monitor the handshake process.
📋 The Installation Process: A Step-by-Step Overview
Now that your toolkit is ready, let’s map out the process. A CNS BATTERY replacement is designed to fit OEM standards, ensuring a seamless swap.
Step 1: Preparation and Isolation
- Park: On a flat, level surface.
- Disconnect: Turn off the car and remove the key. Open the hood and disconnect the 12V auxiliary battery negative terminal. This is crucial to de-energize the vehicle’s control systems before you touch the high-voltage components.
Step 2: Accessing the Pack
- Remove Undertray: Carefully remove the plastic undertray bolts using your socket set. Keep track of the different bolt lengths.
- Expose: Once the undertray is off, you will have full access to the battery pack’s high-voltage terminals and mounting points.
Step 3: Disconnecting the Old Battery
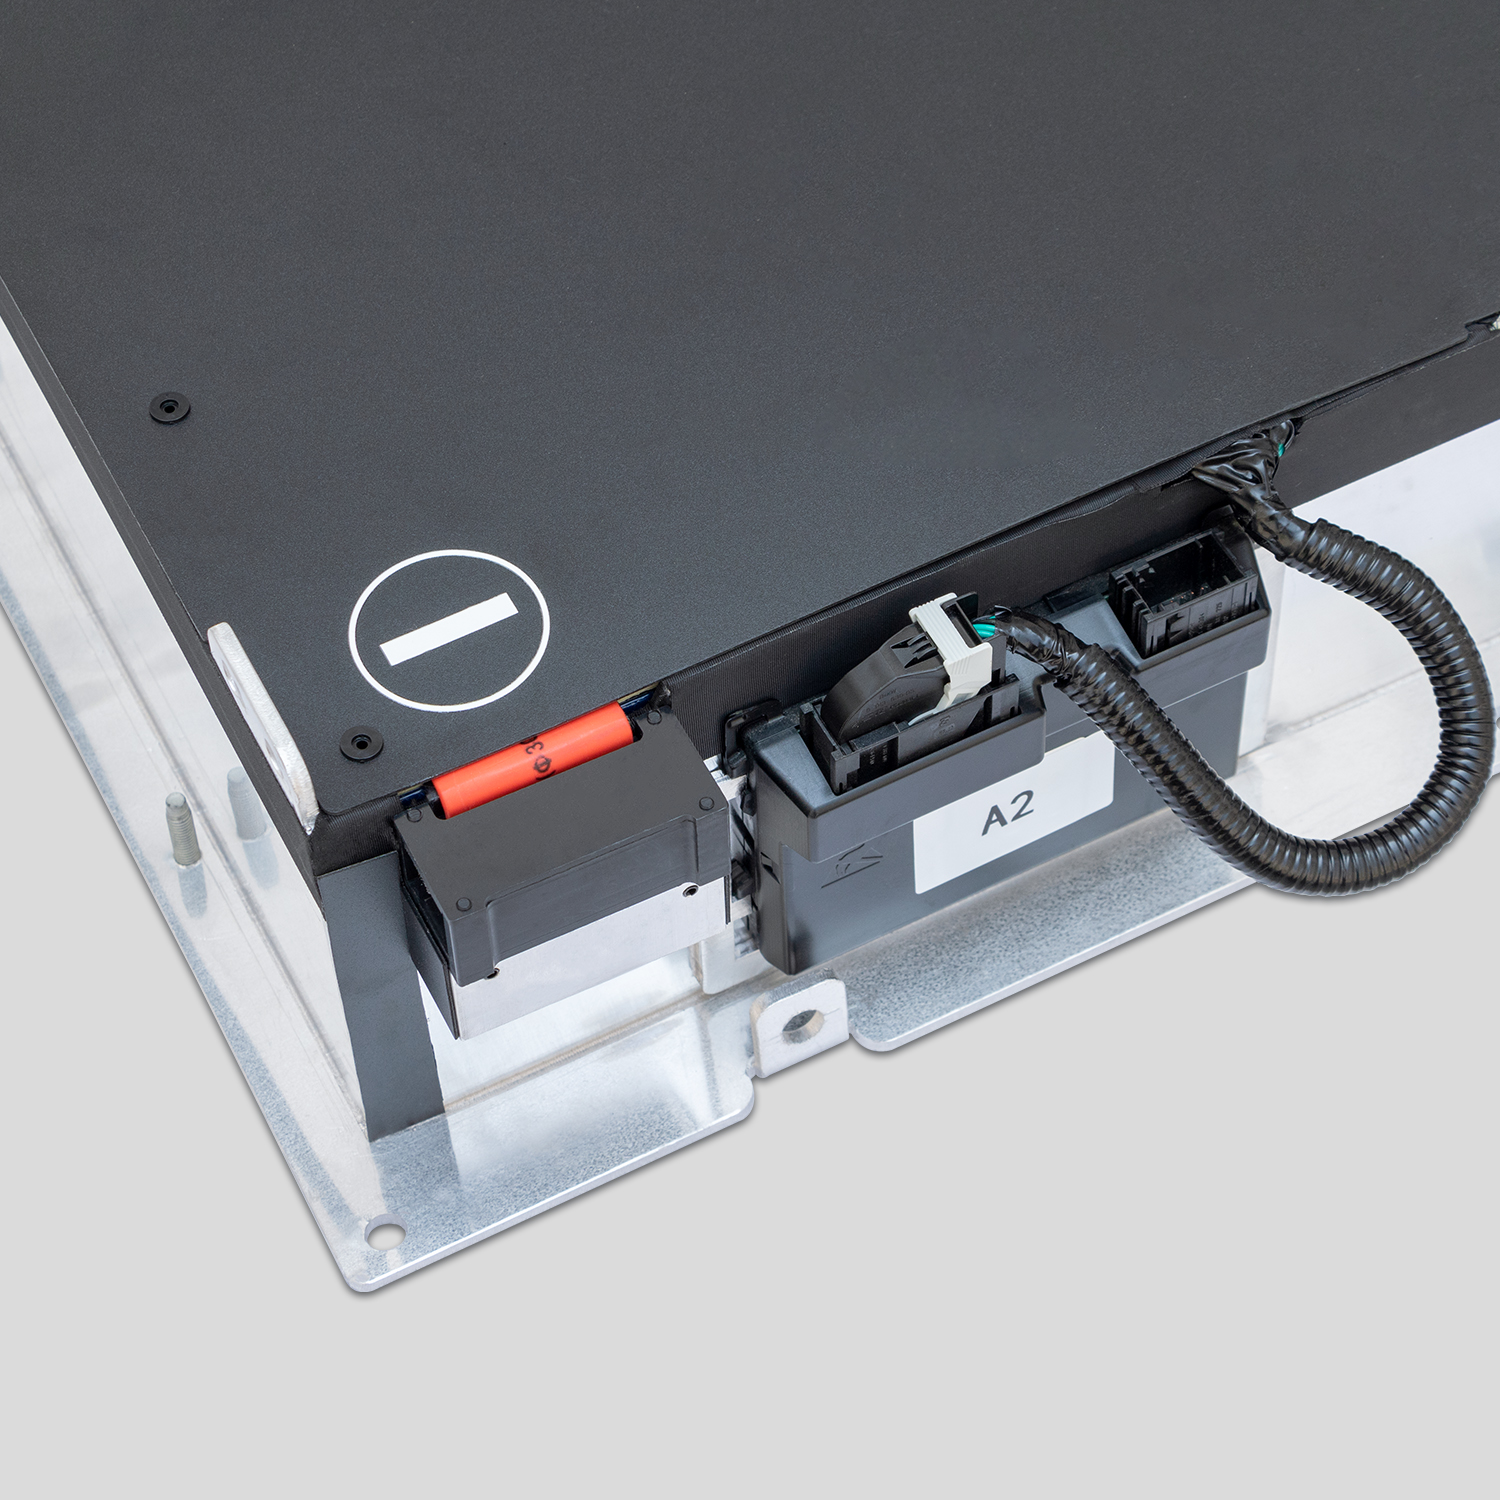
- High Voltage: Remove the protective plastic covers over the HV terminals. Using your torque wrench, carefully loosen and remove the main positive and negative cables.
- Signal/Communication Harness: Disconnect the low-voltage signal harness.
- Remove: Carefully lower the old battery using your jack.
Step 4: Installing the CNS Battery
- Position: Lift the new CNS BATTERY pack into place using your jack. Ensure the orientation matches the original (observe cable routing).
- Connect: Reattach the high-voltage cables and the signal harness. Crucially, torque these bolts to the manufacturer’s specification.
- Reassemble: Replace the plastic undertray.
Step 5: Final Checks and First Power-On
- Reconnect: Reconnect the 12V auxiliary battery.
- System Check: Turn the car on (do not drive yet). Check the dashboard for any warning lights. Use your OBD2 scanner to verify BMS communication.
- Charge: Before driving, perform a full charge cycle to allow the BMS to calibrate with the new cells.
💡 Pro Tips from CNS BATTERY Experts
Based on thousands of successful installations, here are our expert insights to make your job easier:
- The “Plug-and-Play” Advantage: Unlike refurbished or mismatched packs, CNS BATTERY packs use the exact OEM connector types and pin configurations. You should not need to cut or splice wires, reducing installation time and risk.
- Video Guidance: If you are a DIYer attempting this for the first time, utilize video call support. Watching a professional guide you through the first connection can save hours of confusion.
- Cleanliness is Key: Before connecting the HV terminals, inspect them. If there is any oxidation or debris, clean the terminals with a wire brush or contact cleaner to ensure a perfect connection.
- BMS Programming: While most Nissan Leafs automatically recognize a new battery, some older models or specific upgrades might require a simple BMS reset. Have your diagnostic tool ready just in case.
🛒 Ready to Revive Your Leaf?
Equipped with the right tools and knowledge, installing a new battery is a highly rewarding project. CNS BATTERY is committed to making this process as smooth as possible by providing OEM-standard packs that fit perfectly and perform reliably.
If you are ready to extend your driving range and improve your safety, explore our range of Nissan Leaf batteries today. For personalized advice on which pack suits your model (ZE0, AZE0, or ZE1), or to get a free quote on your next battery upgrade, contact our technical experts.
Get Your Free Custom Quote Now
❓ Frequently Asked Questions (FAQ)
Q1: Can I really install a Nissan Leaf battery myself, or do I need a mechanic?
A: Many of our customers successfully install CNS BATTERY packs themselves. If you are comfortable with basic automotive mechanics, have the correct lifting equipment (a heavy-duty jack), and follow the safety procedures (disconnecting the 12V battery first), it is a manageable DIY project. However, if you are unsure about handling high-voltage components, we always recommend consulting a certified EV technician.
Q2: What is the most common mistake people make during installation?
A: The most common mistake is not using a torque wrench. Guessing the tightness of the high-voltage terminal bolts can lead to dangerous situations. Under-tightened bolts overheat and can melt connectors, while over-tightened bolts strip threads or crack the battery housing. Always follow the torque specifications in your manual.
Q3: Do I need special software to program the new battery?
A: Usually not. CNS BATTERY packs are designed to be plug-and-play compatible with Nissan Leaf vehicles. In most cases, once you physically connect the battery, the car will recognize it automatically. However, having an OBD2 scanner is recommended to clear any old error codes from the previous battery and to verify that the Battery Management System (BMS) is communicating correctly.
Q4: What kind of warranty does CNS BATTERY offer on their packs?
A: We stand by the quality of our products. CNS BATTERY offers an industry-leading 2-year / 80,000 km warranty (whichever comes first) on our automotive batteries. This covers defects in materials and workmanship, and we also provide prorated coverage for performance degradation, ensuring your battery maintains at least 70% capacity over the warranty period.