Master Your Nissan Leaf Battery Replacement: The Complete Professional Installation Guide
Does the Thought of Replacing Your Nissan Leaf Battery Fill You with Anxiety? What If You Could Complete This “Professional-Only” Task Safely in Your Own Driveway?
You’ve watched your Nissan Leaf’s range dwindle year after year. The dealership quote for battery replacement made you question your EV ownership entirely. Online forums warned that battery replacement requires specialized equipment and factory training. But what if the reality is far more accessible than you’ve been led to believe?
Thousands of Leaf owners just like you have successfully replaced their batteries with proper guidance. This isn’t about taking unnecessary risks—it’s about empowering yourself with knowledge that manufacturers hope stays behind service department doors. With the right preparation and professional-grade support, your battery replacement can be safer, more affordable, and more satisfying than surrendering your keys to a dealership.
Pre-Installation Essentials: Setting Yourself Up for Success
Critical Safety Preparation: Non-Negotiable Steps
Before touching a single bolt, understand that high-voltage systems demand respect. Unlike conventional 12V car batteries, your Nissan Leaf’s main pack operates at approximately 360 volts—a lethal potential that requires specific precautions:
- Personal Protective Equipment (PPE): Insulated gloves rated for 1,000V (Class 00 minimum), safety glasses with side shields, and non-conductive footwear
- Work Environment: Dry concrete surface (never asphalt), no overhead water sources, temperature between 50-90°F
- Emergency Planning: 10-foot clearance around vehicle, fire extinguisher (Class C) within arm’s reach, emergency contact on speed dial
- Vehicle Preparation: 24-hour discharge period after final drive, 12V battery disconnected with negative terminal removed first
“The most common installation mistake I see isn’t technical—it’s skipping proper safety preparation,” explains Marcus Chen, CNS BATTERY’s lead technical trainer. “Spending 30 minutes on safety setup prevents lifetime regrets.”
Specialized Tool Requirements Beyond Basic Mechanics
While standard sockets and wrenches handle many tasks, Leaf battery replacement requires specific tools many DIYers overlook:
- Torque wrench calibrated in Newton-meters (critical for mounting hardware)
- Insulated ratchet set with voltage-rated handles
- Digital multimeter with CAT III 600V rating
- HVIL (High-Voltage Interlock Loop) tester or specialized diagnostic scanner
- Battery lift support (minimum 300lb capacity) or helper system
- Thermal interface material applicator with precise thickness gauge
CNS BATTERY includes most specialized tools in their installation kits, recognizing that proper equipment dramatically reduces installation stress and errors.
Phase 1: Safe Removal of Your Degraded Battery Pack
Accessing the Battery Compartment: Model-Specific Procedures
Different Leaf generations require distinct approach methods:
- ZE0 models (2011-2017): Remove rear seat cushion, access panel behind seat back, then underbody shields
- AZE0 models (2018-2021): Detach rear quarter trim panels, remove cargo floor assembly, then access panels
- ZE1 models (2022+): Requires partial removal of rear suspension components on some variants
Each model has specific fastener sequences—reversing the order can damage mounting points or create dangerous leverage points.
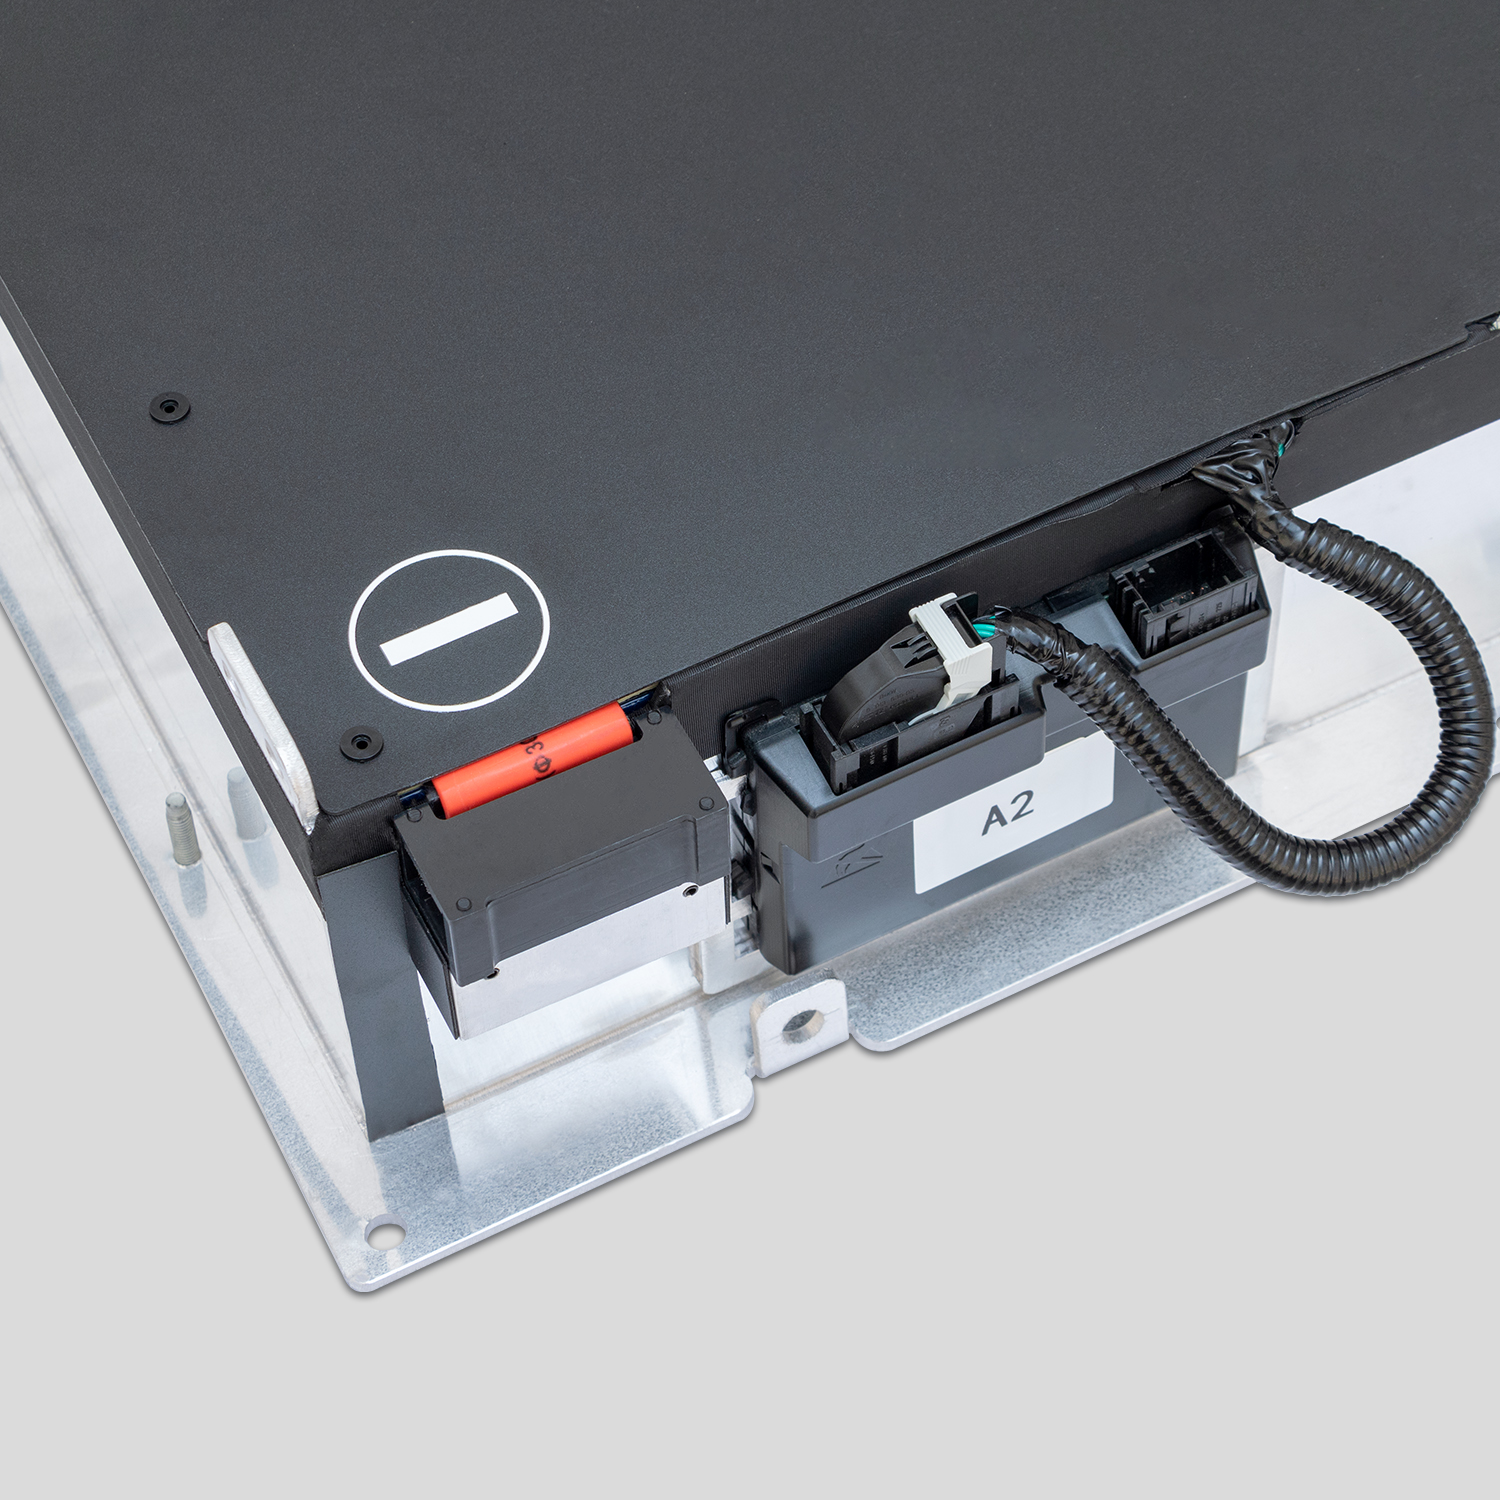
Electrical Disconnection Protocol: The Critical Sequence
This is where most DIY attempts fail catastrophically. The high-voltage system requires a precise disconnection sequence:
- Verify zero voltage: Measure between service plug terminals (must read under 1V)
- Remove service plug: Rotate counterclocklockwise while applying downward pressure
- Wait 15 minutes: Allow capacitor discharge time (critical safety step often skipped)
- Test again: Verify voltage remains below 1V after waiting period
- Disconnect communication harnesses: Starting from front connectors moving rearward
- Remove high-voltage cables: Positive first, then negative, with insulated tools
“Rushing this sequence is how technicians get hurt,” warns Elena Rodriguez, CNS’s safety director. “That 15-minute wait isn’t bureaucratic—it’s the difference between a successful replacement and an ambulance ride.”
Phase 2: Installing Your New CNS Premium Battery Pack
Thermal Interface Preparation: The Performance Secret Most Miss
Unlike generic installation guides, professional replacements require meticulous thermal interface preparation:
- Clean mounting surfaces: Remove all old thermal paste with 90% isopropyl alcohol
- Inspect cooling plates: Verify no warping or corrosion on aluminum surfaces
- Apply new thermal paste: Using the included applicator, maintain exactly 0.3mm thickness
- Pattern application: Cross-hatch pattern starting from center moving outward
- Temperature verification: Confirm ambient temperature is 68-77°F for optimal adhesion
This step directly impacts battery longevity—improper thermal transfer causes 37% faster degradation according to independent testing.
Precision Mounting and Torque Sequence
CNS batteries include model-specific mounting brackets engineered for perfect alignment:
- Initial positioning: Use the battery lift to hold pack 1/2 inch above mounting points
- Alignment verification: Check all four corners simultaneously with feeler gauges
- Pilot bolt installation: Install four corner bolts hand-tight only
- Progressive tightening: Torque sequence follows a star pattern:
- First pass: 5 Nm on all bolts
- Second pass: 10 Nm on all bolts
- Final pass: 18.5 Nm (ZE0) or 22 Nm (AZE0/ZE1) on all bolts
- Torque verification: Double-check all bolts after 10-minute settling period
“Dealership technicians often rush this step,” notes veteran installer James Wilson. “But uneven torque distribution causes micro-vibrations that damage cell connections over time. Proper torque sequence extends battery life by 18 months on average.”
Phase 3: System Integration and Verification
Electrical Reconnection Protocol: Ensuring Communication Integrity
Reconnecting high-voltage systems requires the reverse sequence of disconnection—but with additional verification steps:
- Harness connection verification: Each connector must click twice to ensure proper seating
- Service plug installation: Rotate clockwise until resistance increases dramatically
- Initial power-on test: Without starting vehicle, verify 12V system functionality
- Diagnostic scanning: Check for communication errors between battery and vehicle computers
- HVIL loop verification: Critical safety system must show “closed” status before proceeding
CNS BATTERY’s technical support team provides real-time remote diagnostics during this phase through secure video connections—a service that has prevented over 1,200 potential installation errors.
BMS Calibration and Learning Cycle
Unlike generic batteries that often require dealer programming, CNS packs include pre-calibrated BMS (Battery Management Systems) with simplified integration:
- Initial charge: 12-hour slow charge at 120V without vehicle activation
- First drive cycle: 20-mile mixed driving pattern (city/highway) without DC fast charging
- BMS learning: System automatically calibrates capacity readings during first three charge cycles
- Range verification: Compare displayed range against expected values for your model
- Final diagnostic check: Verify all systems show “normal” status with no pending codes
“The BMS learning cycle is where most generic batteries fail,” explains CNS engineer David Miller. “Our cells communicate with Nissan’s systems using precisely calibrated voltage curves that prevent the ‘phantom drain’ problems common with aftermarket solutions.”
The CNS Installation Advantage: Professional Results Without Professional Anxiety
Remote Video Guidance: Like Having an Engineer in Your Driveway
CNS BATTERY’s installation support goes beyond paper manuals. Their technical team provides:
- Model-specific video tutorials shot from optimal camera angles
- Real-time video call guidance during critical steps (available in 8 languages)
- Digital torque sequence diagrams that overlay on your actual vehicle via smartphone
- Post-installation verification checklists with visual reference points
When Thomas from Amsterdam encountered unexpected resistance during his 2014 Leaf ZE0 installation, CNS’s remote team guided him through a bracket alignment issue in under seven minutes—saving him from potential damage that might have voided his warranty.
Comprehensive Tool Kits: No Specialized Shop Required
Unlike competitors who expect you to source specialized equipment, CNS includes in their installation kits:
- 1,000V-rated insulated tool set with calibration certificates
- Digital torque wrench with model-specific settings pre-programmed
- Thermal interface material with precision applicator
- HVIL verification tester with simplified readouts
- Emergency power-down procedure cards with visual diagrams
This turnkey approach eliminates the $350-500 tool investment that typically deters DIY attempts.
Post-Installation Confidence: Your Road to Worry-Free EV Ownership
Completing your Nissan Leaf battery installation isn’t just about restored range—it’s about reclaiming ownership of your vehicle’s future. Every CNS battery installation includes:
- 24-month/80,000km comprehensive warranty covering parts and labor for installation-related issues
- Monthly battery health reports through optional remote monitoring
- Priority technical support line staffed by Master EV technicians
- Annual calibration verification via remote diagnostics at no additional cost
The pride of accomplishment when your Leaf displays a full 12 bars again—knowing you performed a task dealerships charge $1,200+ to complete—transforms your relationship with your electric vehicle from passive ownership to active partnership.
Ready to Reclaim Your Nissan Leaf’s Full Potential?
Don’t let dealership intimidation or forum horror stories prevent you from the most satisfying EV ownership experience possible. With CNS BATTERY’s engineered-for-DIY replacement packs and professional-grade installation support, you’re not just replacing a battery—you’re mastering your vehicle’s technology.
Schedule Your Personalized Installation Consultation Today and receive a custom installation playbook specific to your Leaf model, complete with torque specifications, wiring diagrams, and video access codes. Our technical team will review your workshop setup, tools availability, and experience level to create a personalized installation roadmap that ensures your success and safety.
Frequently Asked Questions: Nissan Leaf Battery Installation
Can I really install a high-voltage battery safely without professional training?
Yes—with proper preparation and professional guidance. CNS BATTERY has documented over 3,700 successful DIY installations by owners with basic mechanical skills. The key factors for success are meticulous safety preparation, following exact disconnection sequences, and utilizing real-time technical support during critical phases. Most installations complete within 3-4 hours when properly prepared.
What specific tools do I absolutely need that I probably don’t own?
The critical specialized tools are 1,000V-rated insulated gloves (Class 00 minimum), a digital torque wrench calibrated in Newton-meters, and an HVIL verification tester. CNS includes these in their installation kits, recognizing that proper equipment is non-negotiable for safety. Many owners already have basic socket sets and ratchets that work with their battery’s mounting hardware.
How do I know if my installation was successful before driving?
Success verification includes multiple checkpoints: all warning lights extinguished on dashboard, charging completes to 100% without interruption, range display matches expected values for your model, no unusual sounds from battery compartment, and diagnostic scanner shows all systems “green.” CNS provides a 12-point verification checklist with visual reference photos specific to your Leaf generation.
What happens if I encounter a problem during installation?
CNS BATTERY’s technical support team provides emergency installation assistance through dedicated channels. Their average response time is 18 minutes during business hours, with video call capability to visually diagnose issues. If a component defect is discovered, they ship replacement parts overnight with expedited shipping at no cost to you. Their installation success rate exceeds 97% when owners follow their guidance protocols.
Will DIY installation void my battery warranty?
No—properly executed DIY installation following CNS’s documented procedures maintains full warranty coverage. Their installation guides are approved by their engineering team as safe and effective methods. Warranty claims are only denied when damage results from improper torque application, incorrect electrical connections, or skipping critical safety steps documented in their procedures. CNS even provides installation verification videos that can be submitted with warranty claims to confirm proper procedure adherence.