Step-by-Step Nissan Leaf 30kWh Upgrade: Boost Range Safely (2026 Guide)
Are you ready to upgrade your Nissan Leaf to a 30kWh battery for a 27% range boost—from 135km to 172km EPA—but worried about botching the process, compatibility issues, or safety risks? The Nissan Leaf 30kWh upgrade is the most popular choice for ZE0/AZE0 models (2011-2019), reviving older Leafs with faded 24kWh batteries. However, improper installation can damage your vehicle’s BMS, void remaining warranty, or even cause thermal hazards. As CNS BATTERY experts, we’ve crafted a foolproof step-by-step guide, tailored to 2026 safety standards and Leaf-specific engineering. This guide walks you through every stage—from pre-upgrade checks to post-installation testing—ensuring a seamless, reliable upgrade that unlocks more range and longevity.
Pre-Upgrade Essentials: Compatibility & Preparation
safety and precision first. The 30kWh upgrade is compatible with 2011-2019 Leaf models (ZE0/AZE0) originally equipped with 24kWh batteries—confirm your VIN with a Nissan dealer or CNS expert if unsure. Gather these tools and safety gear to avoid delays:
1. Safety Equipment (Non-Negotiable)
-
1000V-rated insulated gloves and safety glasses to protect against high-voltage shock (Leaf batteries operate at 360V).
-
Class D fire extinguisher (for lithium-ion incidents) and non-conductive work boots to mitigate fire risks.
-
Anti-static mat and wristband to prevent electrostatic discharge (ESD) damage to sensitive BMS components.
2. Mechanical & Electrical Tools
-
3-ton hydraulic jack, 2-ton jack stands, and battery lifting hoist (to handle the 130kg 30kWh pack safely).
-
Torque wrench (20-60 N·m range), socket set (10-19mm), Torx screwdriver (T20-T40), and wire brush.
-
Multimeter (to test voltage), battery terminal cleaner, and insulating tape for secure connections.
-
CNS-provided BMS calibration tool (included with our 30kWh batteries) for Leaf-specific programming.
3. Pre-Upgrade Vehicle Checks
Before starting, perform these checks to ensure a smooth upgrade: Disconnect the 12V battery (negative terminal first) and wait 10 minutes to discharge high-voltage capacitors—this eliminates shock risks. Test the old 24kWh battery’s State of Health (SOH) with a diagnostic tool; a reading below 60% confirms an upgrade is necessary. Inspect the battery compartment for corrosion or damaged wiring—repair issues before installing the new 30kWh pack.
Step-by-Step Nissan Leaf 30kWh Upgrade Process
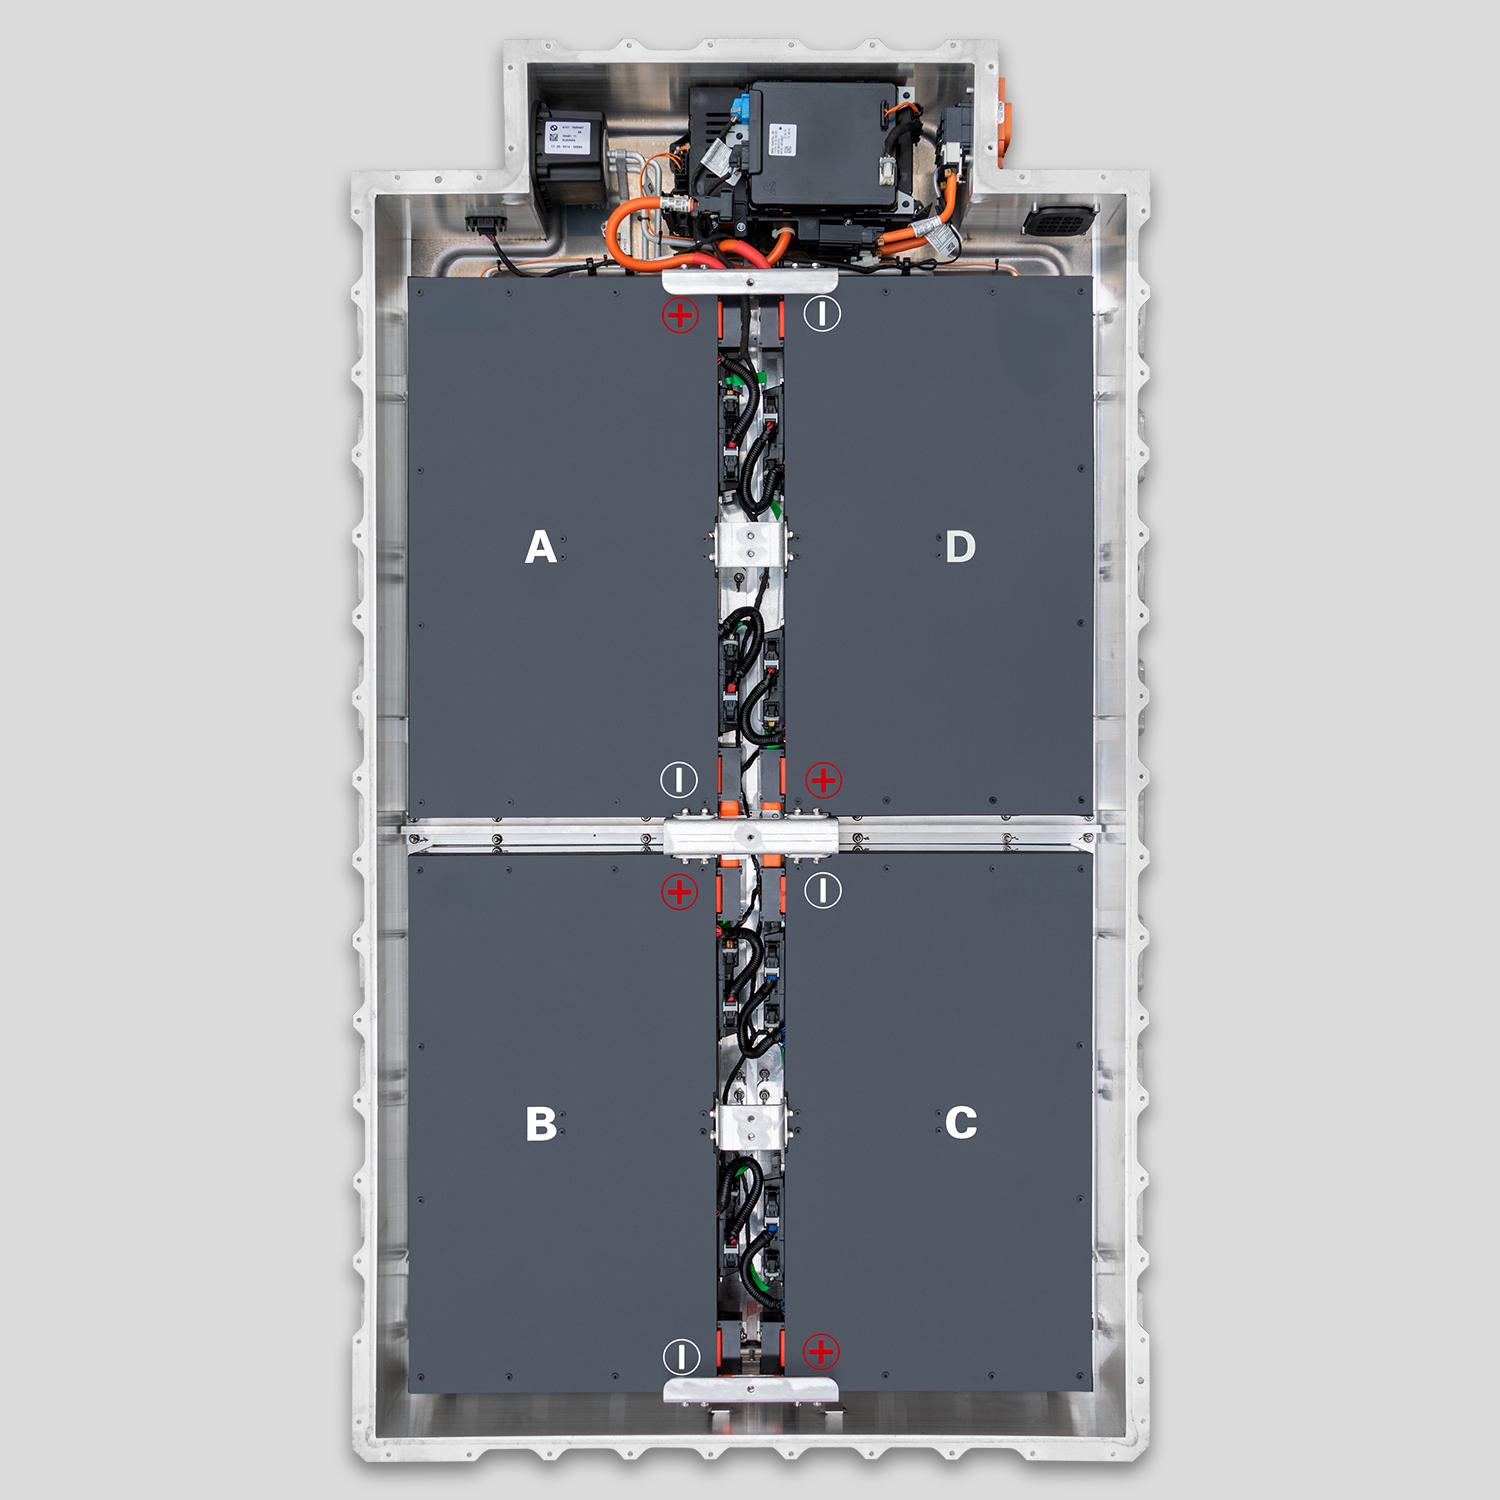
Follow these steps closely—our guide is tailored to the 30kWh pack’s dimensions (1620*1280*450mm) and Leaf’s factory mounting points. For first-timers, we recommend having a certified technician assist with high-voltage steps.
Step 1: Access the Battery Pack
-
Park the Leaf on level ground, engage the parking brake, and lift the vehicle with the hydraulic jack. Secure it with jack stands—never rely on the jack alone.
-
Remove the underbody covers (10-12 bolts) using a socket wrench. Locate the orange high-voltage wiring harness (color-coded for safety) and label all connectors to avoid mix-ups during reinstallation.
Step 2: Remove the Old 24kWh Battery
-
Disconnect the high-voltage harness by pressing the release tab—do not force the connection. Remove the battery mounting bolts (6-8 bolts, 55 N·m torque) in a crisscross pattern to avoid warping the tray.
-
Attach the lifting hoist to the old battery’s lifting points and carefully lift it out. Place it on an anti-static mat and cover terminals with insulating tape—your old pack qualifies for a $300 core credit from CNS.
Step 3: Prepare the Battery Compartment
-
Clean the battery tray with a wire brush to remove dirt and corrosion. Apply a thin layer of anti-seize compound to the mounting bolt threads to prevent rust.
-
Inspect the wiring harness and connectors for wear. Replace frayed wires or cracked connectors to avoid short circuits with the new 30kWh pack.
Step 4: Install the 30kWh Battery Pack
-
Attach the lifting hoist to the CNS 30kWh battery and lower it into the tray—align with mounting holes to avoid damage. Do not force the pack; adjust the hoist until it sits flush.
-
Install the mounting bolts and torque to 55 N·m (crisscross pattern) for a secure fit. Reconnect the high-voltage harness—listen for a click to confirm it’s locked in place.
-
Reconnect the 12V battery (positive terminal first) and tighten terminals to 8 N·m. Ensure all connectors are free of debris and fully seated.
Step 5: BMS Calibration (Critical for Performance)
-
Connect the CNS BMS calibration tool to the Leaf’s OBD-II port. Select “30kWh Upgrade” from the menu and follow on-screen prompts—this syncs the new battery with the vehicle’s electronics.