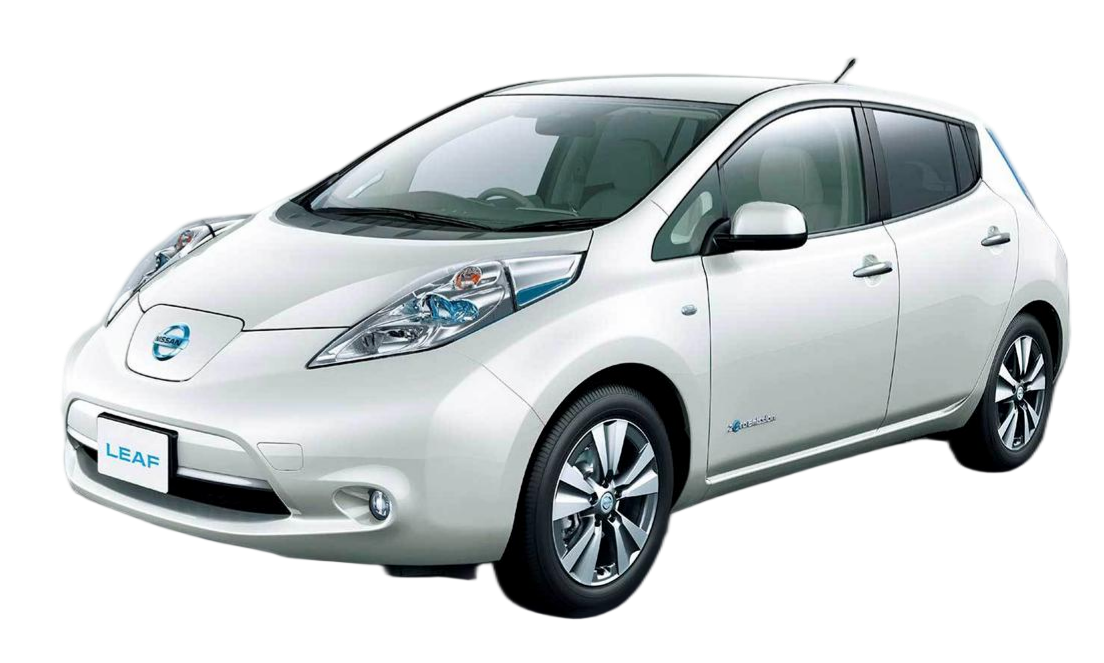
🛠️ DIY Nissan e-NV200 Lithium Battery Replacement: Stop Paying for Degradation
Is your Nissan e-NV200 struggling to hold a charge? If your electric van is suffering from severe battery degradation, leaving you stranded or unable to complete your daily routes, you are not alone. Many e-NV200 owners face the dilemma of either paying exorbitant fees for OEM replacements or scrapping a perfectly good vehicle.
As a seasoned expert in EV battery solutions, I am here to tell you there is a third, superior option: a DIY Lithium Battery Replacement. In this comprehensive guide, we will walk through exactly how to install a new battery pack yourself, restoring your van’s range and saving you thousands of dollars in the process.
📉 Why Battery Degradation Kills Your e-NV200’s Value
Before we dive into the “how,” let’s address the “why.” The original Nissan e-NV200 was often equipped with older Lizard (Lithium Manganese Oxide) chemistry or early NMC cells. After 5-7 years, these batteries often degrade to 30%-50% State of Health (SOH).
- The Range Problem: A degraded battery might only give you 80-100km (50-60 miles) of range, which is insufficient for modern delivery or passenger needs.
- The Cost Trap: Dealerships often quote prices exceeding $12,000 – $15,000 for a factory replacement, making the repair cost higher than the vehicle’s resale value.
The Solution: Replace the degraded pack with a brand-new 50kWh Lithium Battery Pack. This upgrade not only restores the battery but often improves upon the original specifications.
📋 Step 1: Pre-Installation Preparation
Safety is paramount. Before touching a wrench, ensure you have the correct gear and environment.
⚙️ Tools You Will Need
- Insulated Socket Wrench Set
- Torque Wrench (Recommended setting: 15-20 Nm for most bolts)
- Insulated Gloves and Safety Glasses
- New Battery: CNS BATTERY 50kWh Lithium Battery Pack for Nissan e-NV200
⚠️ Critical Safety Check
- Park on Level Ground: Engage the handbrake.
- Disconnect Power: You must disconnect the 12V auxiliary battery first to kill all power to the vehicle’s systems before accessing the high-voltage traction battery.
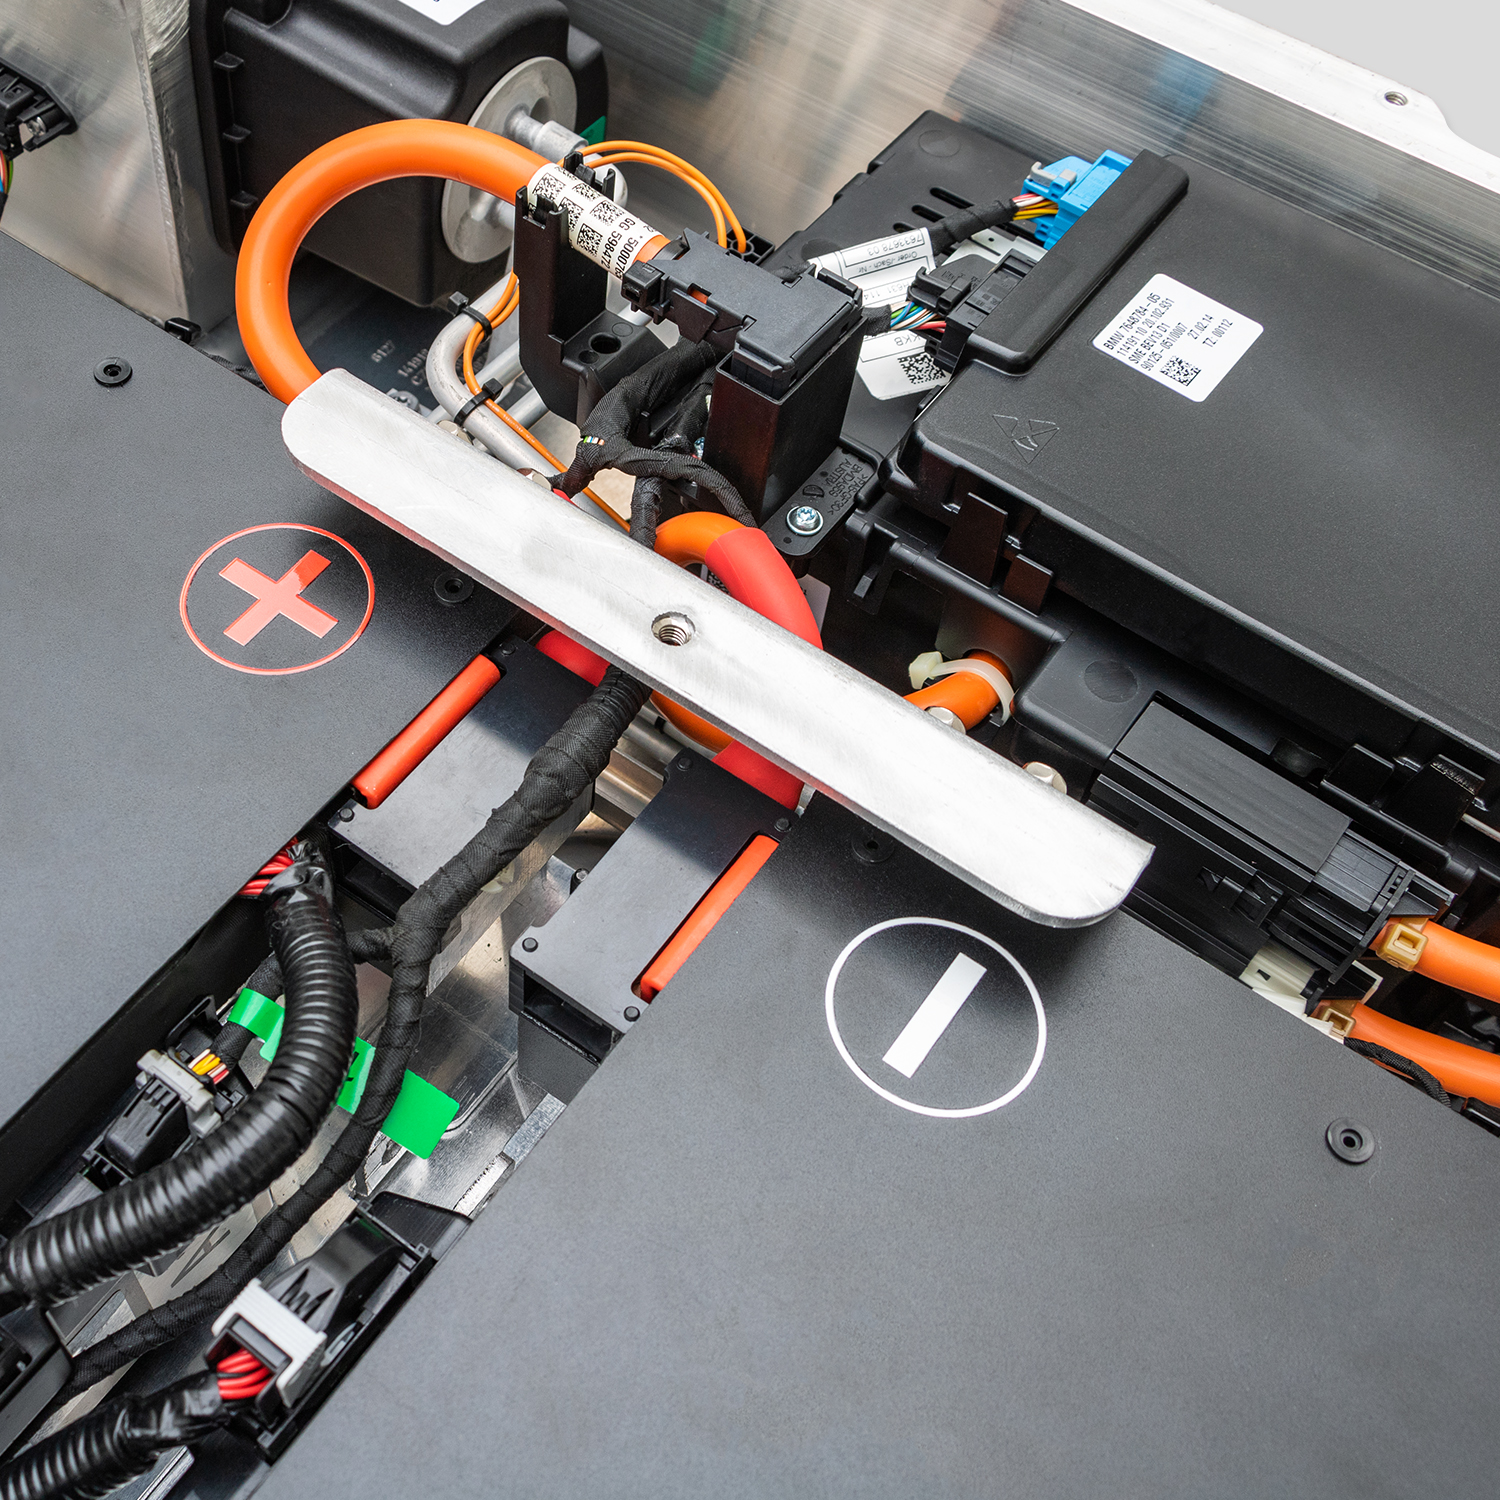
🔧 Step 2: Removing the Degraded Battery
This is the most labor-intensive part of the process. The e-NV200 battery is located under the floor of the cargo area.
- Remove Interior Trims: Carefully lift the rubber mats and remove the plastic floor panels to expose the battery access hatch.
- Disconnect High Voltage (HV): Locate the main service disconnect (MSD). Pull this to physically break the high-voltage circuit.
- Unbolt the Pack: The battery is secured by approximately 24-30 bolts to the chassis. Remove these systematically.
- Disconnect Cables: Label the connection points of the signal wires and the main DC cables. This ensures you know exactly where to plug the new battery in later.
- Extract: With the help of a floor jack or a trolley, slide the old, degraded battery out.
⚡ Step 3: Installing the New Lithium Battery
Now, install the new 50kWh Lithium Battery Pack. This is where the magic happens.
Why choose a CNS Battery?
Unlike your degraded old pack, our batteries utilize brand-new CATL cells. These cells offer superior thermal management and a higher energy density compared to older Lizard chemistries.
- Positioning: Slide the new battery pack into place. The chassis mounting points are OEM-standard, ensuring a perfect fit.
- Reconnect Cables: Reattach the main DC cables and the signal harness. Ensure the polarity is correct.
- Torque Bolts: Tighten all chassis bolts to the manufacturer’s specification to prevent rattling.
- Reconnect Power: Reinsert the MSD and reconnect the 12V battery.
📱 Step 4: BMS Programming & Testing
You might be tempted to just drive off, but the Battery Management System (BMS) needs to communicate with your car.
- Initial Boot: Turn the ignition on. The dashboard may show errors initially—this is normal.
- BMS Activation: The new battery comes with a pre-programmed BMS. However, you may need to perform a “reset” cycle. Drive the car for 5-10 minutes, then charge it to 100% using a Level 1 or Level 2 charger.
- Verify Range: After the first full charge cycle, your dashboard should display the full range restored to approximately 348km+ (depending on driving conditions).
Expert Tip: If you encounter any error codes during this process, do not panic. Our technical support team offers remote video guidance to help you troubleshoot the BMS connection in real-time.
💰 The Value Proposition: Why DIY Saves You Money
Let’s look at the math. By choosing a DIY replacement, you cut out the expensive labor fees associated with dealership work.
| Cost Factor | Dealership OEM Replacement | DIY CNS Battery |
|---|---|---|
| Battery Cost | $12,000 – $15,000 | $6,500 – $7,500 |
| Labor Cost | $1,500 – $2,000 | $0 (Self-installed) |
| Total Cost | $13,500 – $17,000 | $6,500 – $7,500 |
| Savings | — | Save 50%+ |
By installing it yourself, you save enough money to cover the cost of a brand-new set of tires or a year’s worth of electricity.
🛡️ Trust & Reliability: Backing Your Investment
I understand that replacing a battery is a big decision. That is why we stand behind our product with unmatched support.
- Warranty: We offer a 24-month / 80,000km warranty on all our battery packs. This is significantly longer than what most aftermarket suppliers offer and provides peace of mind that your investment is protected.
- Quality Assurance: Every pack undergoes rigorous testing for insulation resistance, voltage stability, and thermal performance before it leaves our factory in Zhengzhou.
❓ Frequently Asked Questions (FAQ)
Q1: Is the installation really “Plug and Play”?
Yes, for the most part. The physical connectors (both the high-voltage DC and the signal wires) are designed to match the OEM Nissan specifications exactly. However, the BMS software may require a reset cycle (driving and charging) to synchronize with your car’s existing systems.
Q2: What if I run into problems during the installation?
While the process is straightforward, we understand that technical issues can arise. We provide a comprehensive installation video guide and offer free remote video guidance from our technical experts. If you get stuck on a wiring connection or a BMS error, we will guide you through it step-by-step.
Q3: How much range can I expect after installing the new 50kWh pack?
You can expect a full charge range of approximately 340km – 350km under normal driving conditions. This is a significant upgrade from the degraded 100km you were likely getting before.
Q4: Do I need special tools for the BMS programming?
No, you do not need to purchase any specialized diagnostic tools. The battery comes pre-programmed. However, if you need to perform a deep reset or calibration, our technical team can walk you through the process using the car’s existing dashboard functions or a standard OBD2 scanner.
📞 Ready to Revive Your e-NV200?
Don’t let battery degradation force you into buying a new van. With a DIY 50kWh Lithium Battery Replacement, you can restore your Nissan e-NV200 to “like new” condition at half the price.
If you are ready to take the next step, Get a Free Custom Quote for your specific vehicle model today. Our experts are standing by to confirm compatibility and answer any final questions you might have.