BMW i3 Battery Cell Balancing: DIY Methods That Work (And the One Risk You’re Probably Ignoring)
“I Spent 3 Weekends Balancing My i3 Pack—Only to Learn It Was Already Too Far Gone”
You’ve noticed your BMW i3’s range dropping faster than expected. The 12-bar display still looks full, but you’re getting only 140km on a ‘100%’ charge. You pull up diagnostic data and see it: Module D reads 3.4V while others are at 4.05V.
Your next thought? “I’ll just balance the cells myself—it’s just electrons, right?”
Many i3 owners dive into DIY cell balancing hoping to squeeze extra life from their aging pack. Some succeed temporarily. Most end up frustrated—or worse, damage their battery further.
The hard truth? True cell balancing isn’t a weekend fix. It’s a complex process that depends entirely on your pack’s underlying health. And in many cases, balancing is like repainting a rusted frame—it hides the symptom but doesn’t stop the decay.
Let’s cut through the YouTube myths and explore what actually works, when it’s safe—and when it’s time to consider a smarter solution.
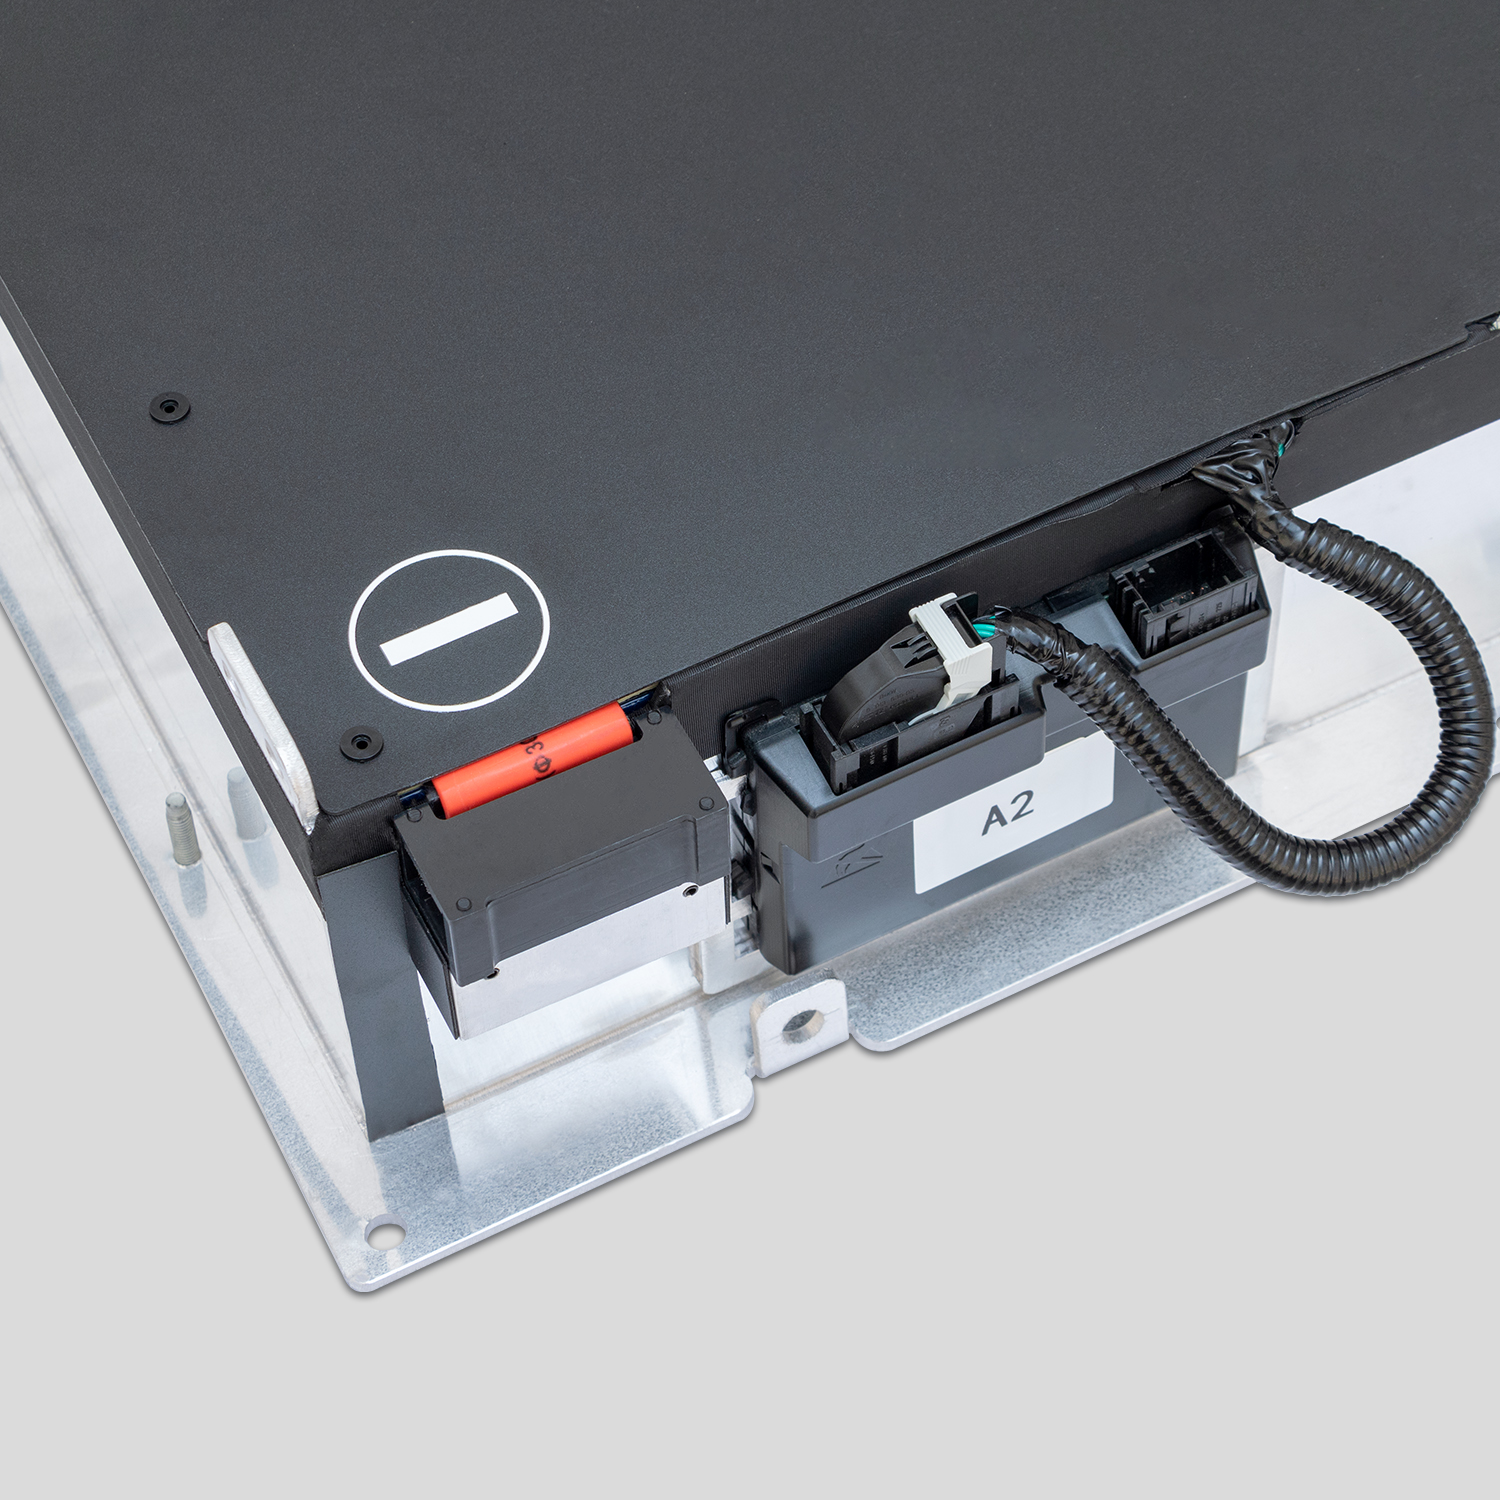
What Is Cell Balancing—And Why Your i3 Needs It
All lithium-ion packs consist of 96+ individual cells grouped into modules. Over time, slight manufacturing variances cause some cells to:
- Charge faster
- Discharge slower
- Degrade quicker
This leads to voltage imbalance. If left unchecked, the BMS will:
- Cut off charging early (to protect the highest-voltage cell)
- Limit regenerative braking (to avoid over-discharging the weakest cell)
- Reduce usable range dramatically
The i3’s BMS performs passive balancing during charging—bleeding excess voltage from stronger cells via resistors. But this only works if:
- All cells are still healthy
- Imbalance is minor (<0.2V)
- The pack hasn’t suffered deep degradation
Once cells lose capacity permanently, no amount of balancing restores lost energy.
🔧 Realistic DIY Cell Balancing Methods (Ranked by Safety & Effectiveness)
✅ Method 1: Extended Top-Balancing Charge (Safest)
- How: Drive to ~20%, then plug into a Level 2 AC charger and leave it connected for 12–24 hours after reaching 100%.
- Why it works: Gives the BMS time to equalize all modules at high voltage.
- Limitations: Only effective for mild imbalance in otherwise healthy packs.
- Risk: Low—uses factory systems only.
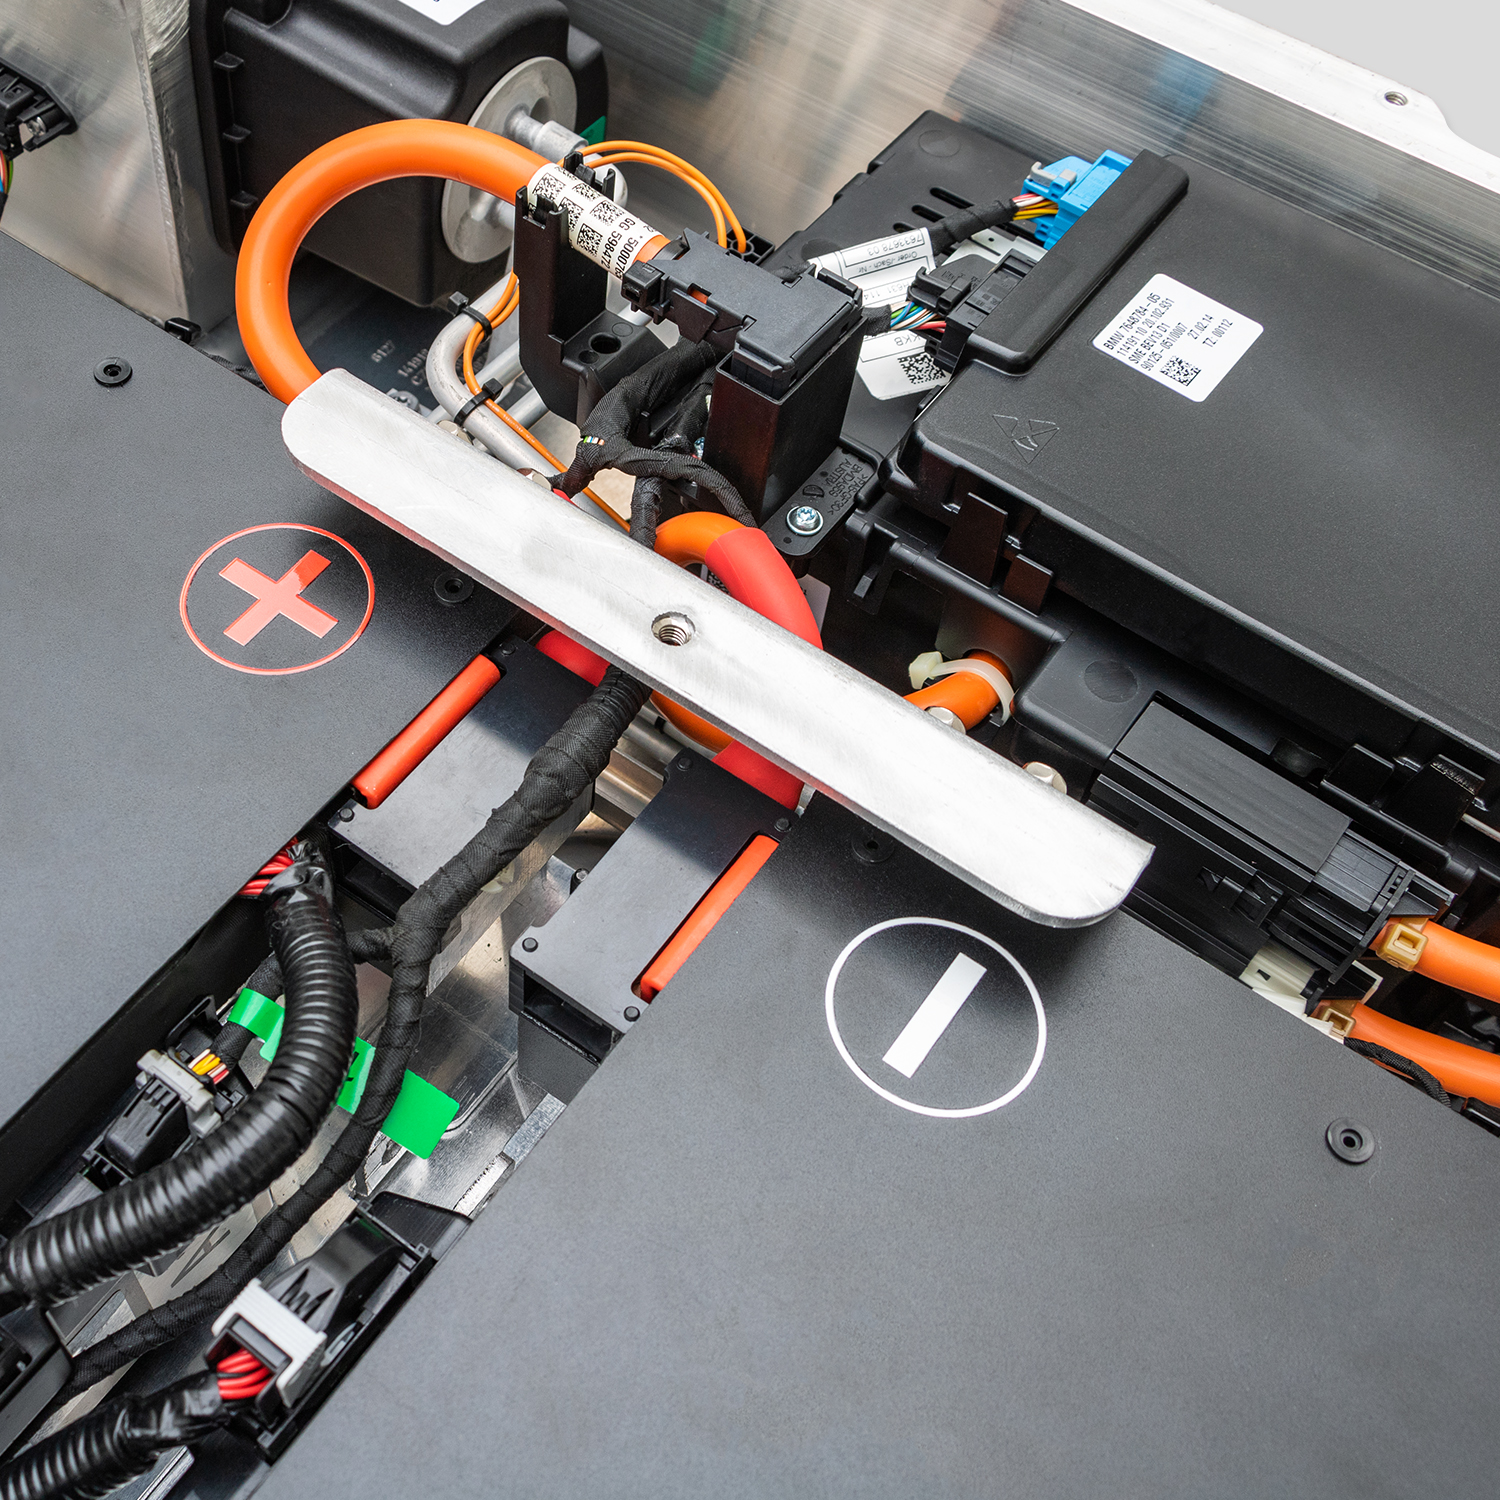
⚠️ Method 2: External Passive Balancer (Moderate Risk)
- How: Use a device like the ISDT BC-8S on accessible module terminals to bleed high-voltage cells.
- Requirements: Full pack disassembly, HV safety gear, multimeter verification.
- Reality: Time-consuming (6–12 hours per cycle), and won’t fix low-capacity cells—only masks voltage differences.
- Risk: Medium—exposes you to live HV terminals; improper use can cause shorts.
❌ Method 3: Active Balancing or Cell Replacement (High Risk / Not Recommended)
- Involves swapping individual cells or using active balancers that shuttle charge between modules.
- Problem: New cells have different internal resistance and aging profiles—creating new imbalances within weeks.
- Professional shops avoid this for good reason: it rarely delivers long-term gains.
💡 Key insight: If your weakest module drops below 3.0V under light load, balancing won’t help. The cell is permanently degraded—not just out of sync.
The Hidden Cost of DIY Balancing: Time vs. Value
Consider this:
- A full top-balance takes 24+ hours of charging time
- External balancing requires 8–12 hours of hands-on work
- Even if successful, you might gain 10–15km of range—for a pack that’s already at 60% health
Meanwhile, a new CNS BATTERY 50kWh pack delivers 290km of reliable range, zero imbalance, and a 2-year warranty—often for less than the cumulative cost of tools, electricity, and your time.
“I balanced my 2015 i3 three times. Each ‘fix’ lasted shorter than the last. After switching to CNS BATTERY, I realized I’d wasted 40 hours trying to revive a dying pack.”
— Javier R., Paris
When Balancing Actually Makes Sense
DIY balancing is worth attempting only if:
- Your pack is <5 years old
- Voltage spread is <0.25V at rest
- You’re seeing early signs of imbalance (e.g., 1–2 bar drop, minor range loss)
- You plan to replace the pack within 6–12 months anyway
For older packs with significant degradation, balancing is a temporary illusion—not a solution.
The Smarter Alternative: Start Fresh with Perfect Balance
CNS BATTERY packs eliminate balancing worries from day one:
- All cells are brand-new CATL units from the same production batch
- Factory pre-balanced before shipping
- Tight voltage tolerance: <0.02V variance across all modules
- No need for user intervention—the BMS maintains balance effortlessly
You don’t manage the battery. You just drive.
Frequently Asked Questions: BMW i3 Cell Balancing
Q: Can I balance using DC fast charging?
A: No. Fast charging skips the balancing phase to save time. Always use AC Level 2 for balancing attempts.
Q: Does CNS BATTERY require manual balancing after install?
A: Never. Our packs arrive fully balanced and stay that way thanks to consistent cell chemistry and robust BMS logic.
Q: How do I check module voltages at home?
A: Use OBDX Pro + BimmerLink (iOS)—the only reliable consumer tool for real-time module-level data.
Q: Will balancing restore lost range?
A: Only if the loss was due to temporary imbalance, not capacity fade. True capacity loss is irreversible.
Q: How often should I balance?
A: Healthy packs self-balance during normal use. Only intervene if diagnostics show >0.3V spread at rest.
Don’t Patch a Failing System—Upgrade to a Balanced One
Cell balancing might feel like a clever hack, but in an aging BMW i3 pack, it’s often just delaying the inevitable. True performance comes not from managing decline—but from starting fresh with a system built to stay in harmony.
Ready to Experience Perfect Balance—Without Lifting a Multimeter?
Get a 50kWh or 62kWh BMW i3 battery with factory-matched cells, zero imbalance, and lifelong reliability—so you never waste another weekend chasing phantom volts.
Click below to request your quote and drive with confidence:
👉 https://cnsbattery.com/ev-battery-home/ev-battery-contact/