Best DIY Tools for Nissan Leaf 40kWh Upgrade: 2026 Expert Toolkit Guide
Why the Right Tools Are Critical for a DIY 40kWh Upgrade
- High-Voltage Safety Hazards
Uninsulated tools can conduct electricity from the high-voltage system, leading to severe shocks or even fatal injuries. Skimping on safety gear is never worth the cost savings.
- Battery or Vehicle Damage
Ill-fitting wrenches or incorrect torque settings can strip battery mounting bolts or damage the custom wiring loom. This can add $500–$1,000 in unexpected repair costs.
- Lengthy Installation Delays
Missing a single essential tool—like a hydraulic jack—can halt your project mid-way, turning a planned 2–3 hour job into a multi-day hassle.
Must-Have DIY Tools for Nissan Leaf 40kWh Upgrade
1. Non-Negotiable Safety Gear (100% Required)
- Class 00 Insulating Gloves (1,000V Rated): Mandatory for handling high-voltage connectors. Standard work gloves offer zero protection against electrical current.
- Safety Glasses with Side Shields: Prevents battery dust, debris, or accidental liquid splashes from damaging your eyes during the swap.
- Non-Contact Voltage Tester (12V–1,000V): Confirms that the high-voltage system is fully disconnected (0V reading) before you start working. This is the single most important safety check.
- High-Temperature Insulating Tape: Used to wrap exposed wiring or terminals to prevent short circuits during the installation process.
- Flame-Resistant Work Shirt: Adds an extra layer of protection against potential sparks or thermal incidents while handling the battery.
2. Core Installation Tools (Essential for the Swap)
- 1/2-Inch Drive Metric Socket Wrench Set: Includes 10mm, 12mm, 14mm, and 17mm sockets—the exact sizes needed for Leaf battery mounting bolts and access panels.
- 25Nm Calibrated Torque Wrench: Critical for tightening battery mounting bolts to the exact 25Nm specification. Over-tightening can crack the battery case, while under-tightening causes dangerous vibration damage.
- 3-Ton Hydraulic Floor Jack: Lifts your Leaf safely to access the battery bay (for ZE1 models) or helps hoist the 260kg 40kWh pack in and out of the vehicle. Always pair it with jack stands for extra stability.
- Battery Terminal Cleaner Brush: Removes corrosion from the battery bay terminals to ensure a secure, low-resistance electrical connection with your new pack.
- Magnetic Flathead & Phillips Screwdrivers: For removing plastic access panels and disconnecting small wiring harnesses. Magnetic tips prevent screws from falling into hard-to-reach areas of the battery bay.
3. Optional Accessories (To Streamline Installation)
- Heavy-Duty Battery Lift Strap: Makes it easier to maneuver the 260kg 40kWh pack into the battery bay without straining your back or damaging the pack’s casing.
- Cordless Impact Driver: Speeds up the removal of stubborn, rusted mounting bolts—especially useful for older ZE0 Leaf models.
- LED Work Light or Headlamp: Illuminates dark areas of the battery bay, ensuring you don’t miss a wiring connection or loose bolt.
- Zip Ties & Wire Labels: Helps organize wiring looms and label connections for easy reference during reassembly.
How CNS BATTERY’s 40kWh Pack Simplifies DIY Tool Requirements
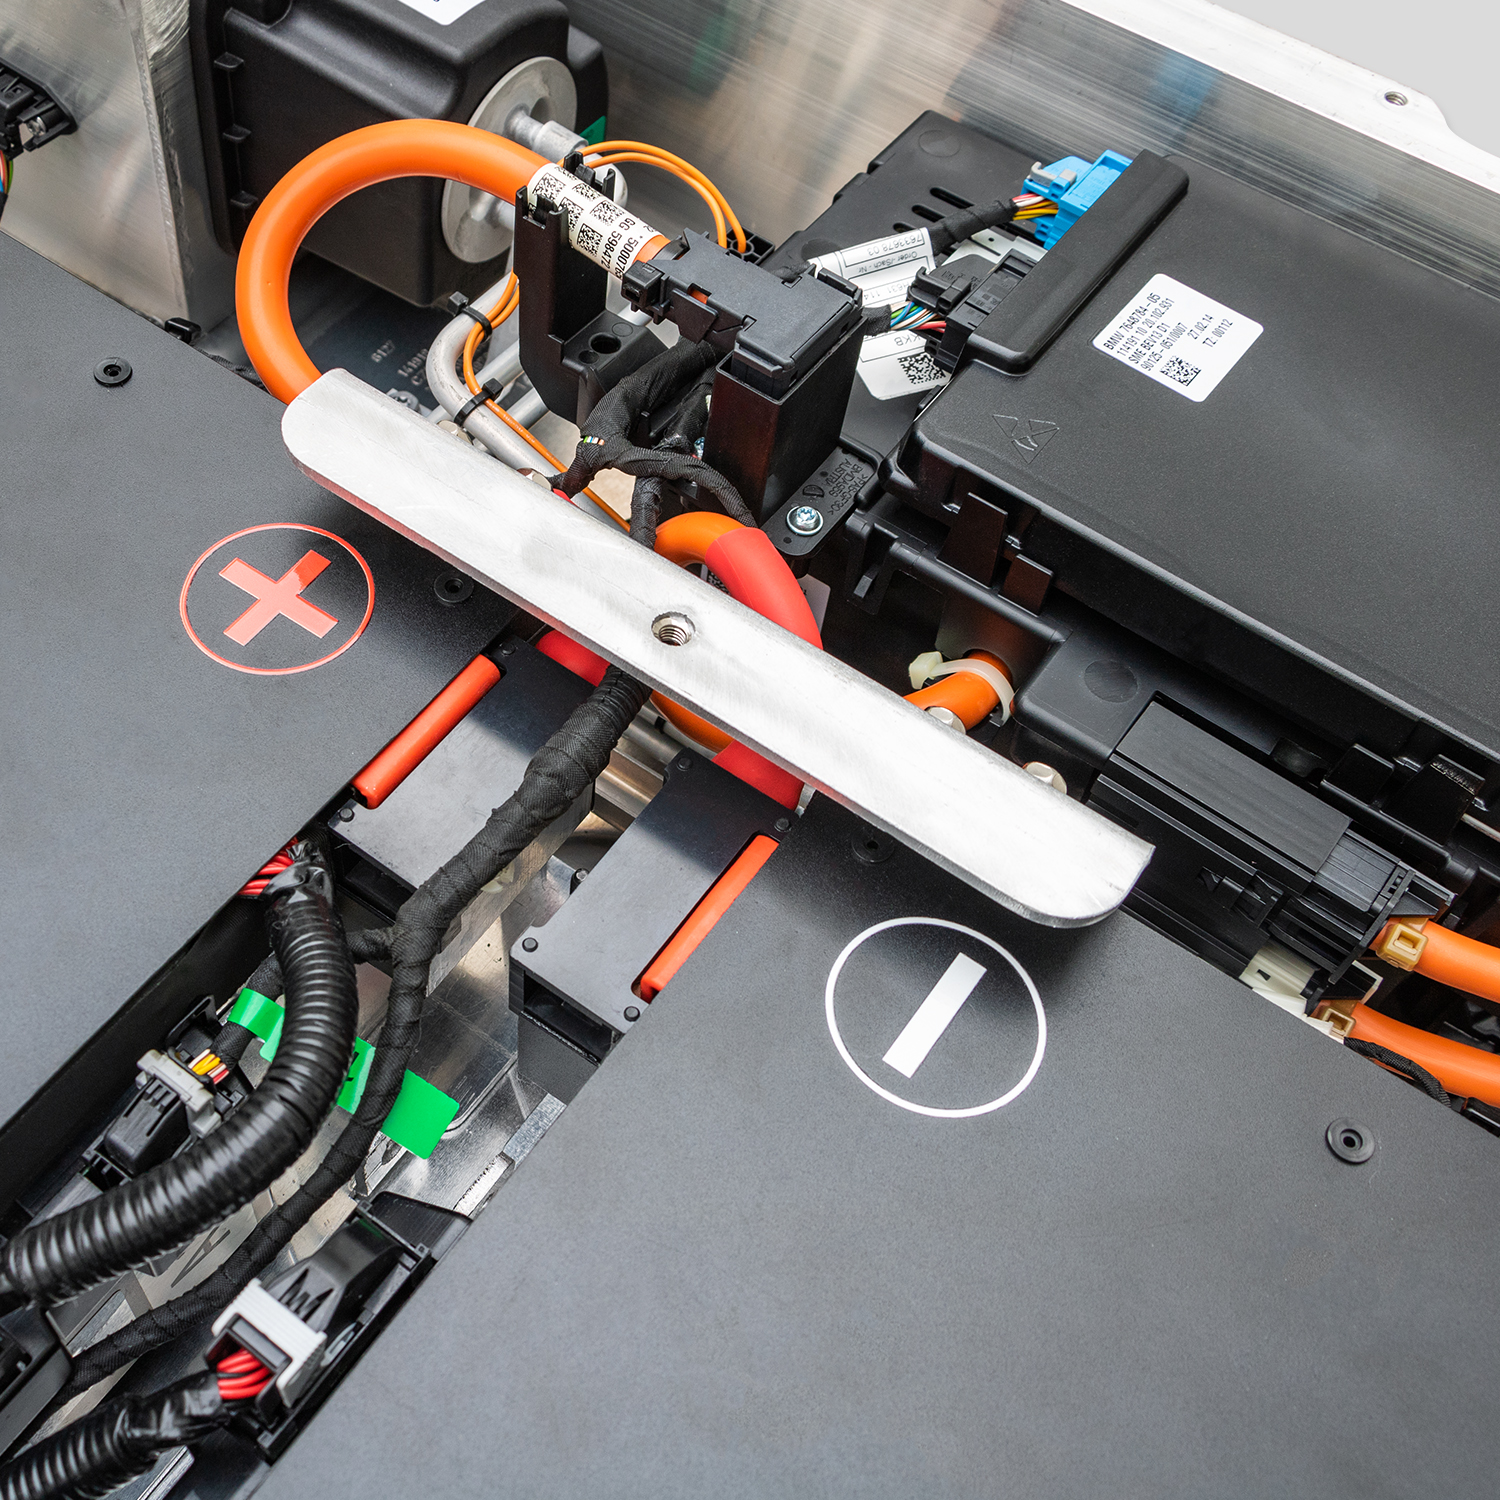
- Plug-and-Play Wiring Loom
No wire cutters or crimping tools are needed. Our custom wiring loom is tailored to the original BMS/LBC, with color-coded connectors that only fit one way to prevent mistakes.
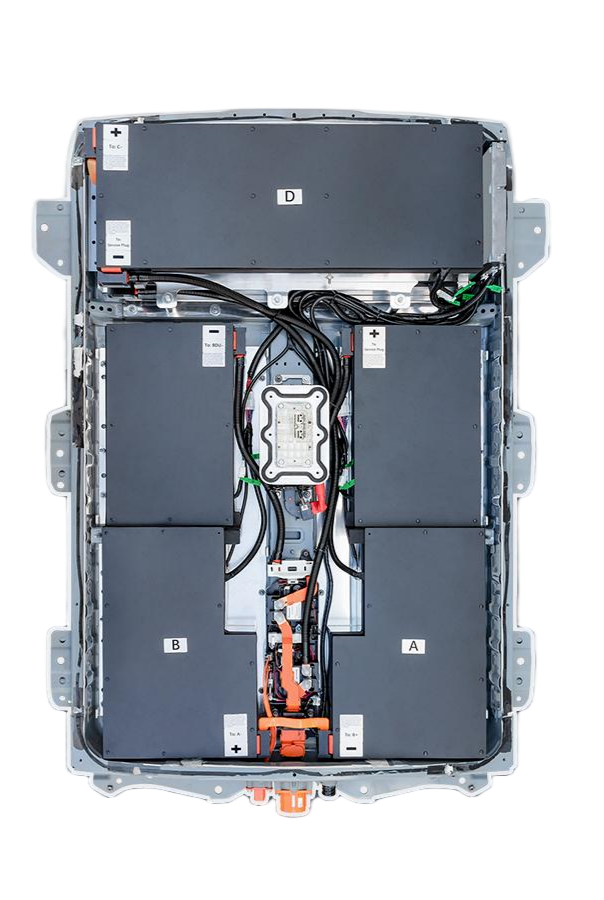
- Exact-Fit Battery Case
The 40kWh pack fits perfectly into the Leaf’s original battery bay. You don’t need tools to modify mounting points or the cooling system.
- Free Step-by-Step Video Tutorial
Our detailed installation video highlights exactly which tools to use for each step. You’ll never waste time guessing which socket size or torque setting to apply.
Step-by-Step Tool Usage Guide for 40kWh Upgrade
- Pre-Installation Safety Check: Use the voltage tester to confirm a 0V reading in the high-voltage system. Put on your insulating gloves and safety glasses before touching any components.
- Access Panel Removal: Use the socket wrench set to remove the battery bay access panel—located under the rear seat for ZE0/AZE0 models, or under the vehicle for ZE1 models.
- Old Battery Removal: Use the hydraulic jack and lift strap to safely hoist the old battery pack out of the bay. Loosen mounting bolts to the 25Nm torque setting before removal.
- Terminal Cleaning: Scrub the battery bay terminals with the cleaner brush to remove corrosion. Wipe away debris with a dry cloth before installing the new pack.
- New Pack Installation: Lower the 40kWh pack into the bay with the jack and lift strap. Tighten the mounting bolts to the exact 25Nm torque specification with the torque wrench.
- Wiring Connection: Match the color-coded wiring loom connectors—no tools needed, just a firm push to secure them in place.
- Post-Installation Test: Reconnect the 12V auxiliary battery and use the voltage tester to confirm secure connections. Test the system before removing your safety gear.
Benefits of a DIY 40kWh Upgrade with the Right Tools
- Save $800–$1,500 in Labor Costs: Professional installation fees for a 40kWh upgrade range from $800–$1,500. Doing it yourself keeps that money in your pocket.
- Faster Installation Time: With the right tools, you can complete the swap in 2–3 hours—faster than most professional technicians, who take 3–4 hours on average.
- Full Control Over the Process: You’ll know exactly how your battery is installed, with no shortcuts or mistakes that could compromise safety or performance.
- 280km Range Boost: Our 40kWh pack doubles the range of a degraded 24kWh Leaf, turning it from a city-only commuter into a long-distance capable EV.