The Ultimate Guide to DIY Nissan Leaf Battery Replacement
The Nissan Leaf is a legendary car in the EV world. It’s reliable, efficient, and beloved by drivers globally. However, even the best cars face the inevitable: battery degradation. If your Leaf’s range has dropped from a robust 150 miles to a nerve-wracking 60, you might feel stuck. Replacing the battery with a new OEM unit often costs thousands of dollars—sometimes even more than the car is worth.
This is where the DIY route comes in. Replacing your Nissan Leaf battery yourself is no longer just for hardcore mechanics. With the right information and a trusted supplier, you can breathe new life into your vehicle. In this guide, we will walk you through why DIY makes sense, what to look for in a new pack, and how to get your Leaf back on the road with confidence.
Why Replace Your Leaf’s Battery? The Degradation Reality
Nissan Leafs, especially the earlier ZE0 and ZE1 models, have been on the road for over a decade. Lithium-ion batteries degrade over time. Factors like heat, frequent DC fast charging, and simply the passage of time cause the battery cells to lose their ability to hold a charge.
You might notice the symptoms:
- The “Bar” Drop: Watching your battery health drop from 12 bars to 10, then 9, is disheartening.
- Range Anxiety: Your daily commute suddenly requires planning three charging stops.
- Costly Repairs: Dealerships often quote prices exceeding $10,000 for a factory replacement.
This is the perfect storm for a DIY intervention. By sourcing a compatible aftermarket battery and installing it yourself, you can cut the cost by 50% or more while restoring your car to “like new” condition.
The DIY Mindset: Is This For You?
Before you grab your wrench, let’s be honest about the requirements. While this isn’t brain surgery, it is serious electrical work.
What you need:
- Basic Mechanical Skills: You should be comfortable working under the car and handling heavy objects (the battery pack is heavy).
- Safety Gear: Insulated gloves and safety glasses are non-negotiable when dealing with high-voltage systems.
- Time: Most professionals take about 1-2 hours. As a DIYer, budget a full afternoon to take your time.
If you can change your own oil or replace a brake caliper, you have the mechanical aptitude for this job.
Choosing the Right Pack: New Cells vs. Refurbished
When searching for a replacement, you will face a critical choice: do you buy a refurbished pack made from used cells, or do you invest in a new pack made with brand-new cells?
The Refurbished Trap: Many cheap options on the market are “repaired” using cells pulled from other dead batteries. These cells are already aged. You might save money upfront, but you are buying another 2-3 years of life, not a long-term solution.
The New Cell Advantage: This is where the CNS BATTERY solution stands out. We specialize in manufacturing new battery packs using brand-new, top-tier CATL cells.
- Brand-New Chemistry: Unlike refurbished junk, new cells mean you start the degradation clock at zero.
- Performance: New cells offer better thermal management, faster charging acceptance, and the full rated range (up to 440km for the 62kWh variant).
- Peace of Mind: There is no mystery about the history of the cells. They come from the factory floor directly to you.
Step-by-Step: The Replacement Process
The beauty of the Nissan Leaf (and why it is a favorite for DIYers) is its modular design. The battery pack is located under the cabin floor and is accessible from underneath the vehicle.
Here is a simplified overview of the process:
- Safety First: Disconnect the 12V auxiliary battery. This cuts power to the BMS (Battery Management System).
- Lift the Car: You will need a jack or a lift. Do not skip this—safety is paramount.
- Remove the Undertray: The battery is protected by a plastic or metal undertray. Remove the bolts to expose the pack.
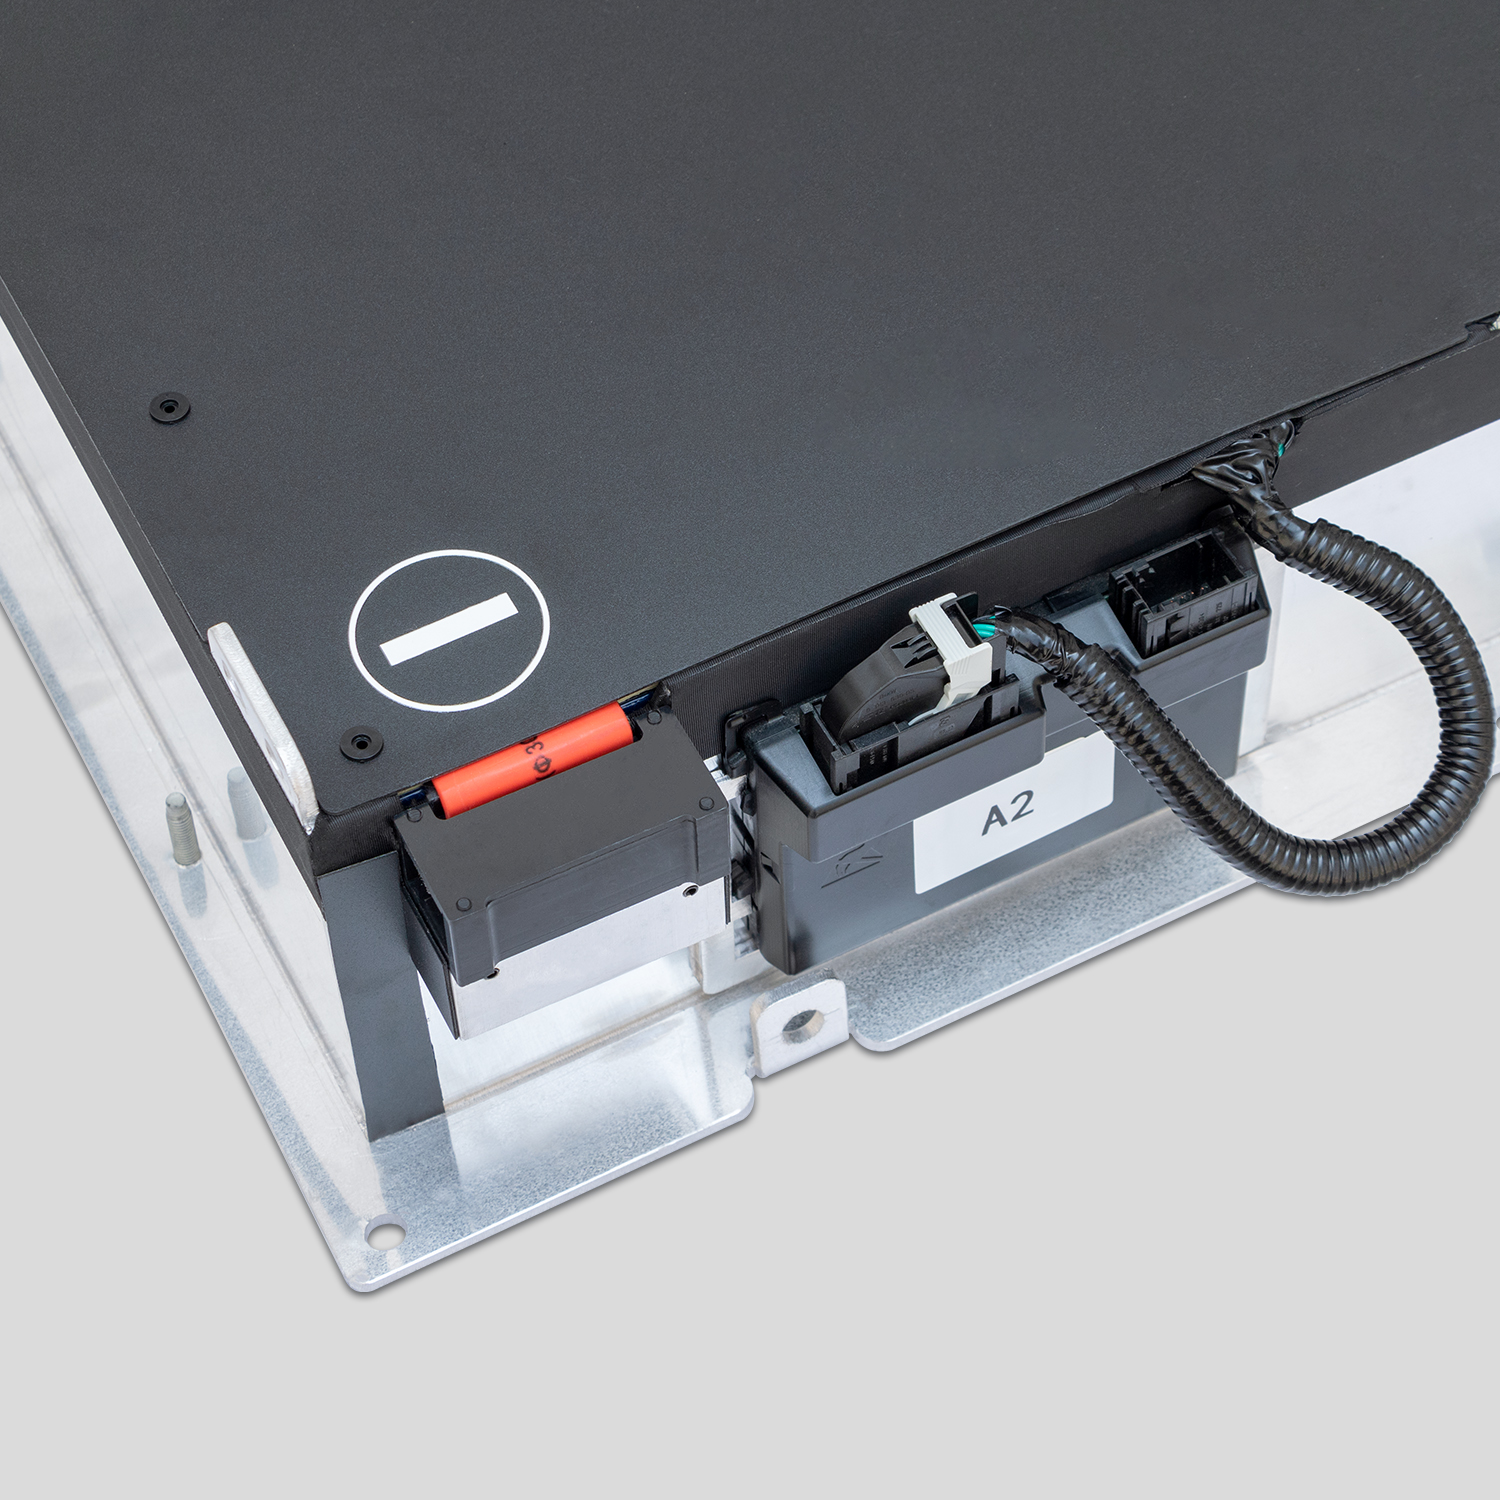
- Disconnect the Cables: There are high-voltage cables and low-voltage signal connectors. Mark or photograph them so you know where they go back.
- Unbolt the Pack: The battery is held in with several large bolts. Remove them and carefully lower the old pack.
- Install the New CNS Pack: Lift the new CNS battery into place. Because we engineer our packs to OEM specifications, the bolt holes and connectors match perfectly.
- Reconnect and Test: Bolt it down, reconnect the cables, and reattach the undertray.
- The “Reset”: This is the trickiest part for DIYers. You need to reset the BMS. CNS provides detailed video tutorials and even remote video guidance to help you program the new battery so your car recognizes it.
Why CNS BATTERY is the Smart Choice for DIY
At CNS, we don’t just sell batteries; we support the DIY community. We understand that when you buy from us, you are trusting us with your transportation.
- OEM-Level Fitment: Our packs are engineered to fit Nissan Leaf ZE0, AZE0, and ZE1 models perfectly. No modifications, no hacks.
- Unbeatable Warranty: We back our confidence in new cells with a 2-year / 80,000 km warranty. This is significantly longer than what most refurbished battery sellers offer. It covers defects and ensures the battery maintains at least 70% capacity.
- Expert Support: Stuck on a step? Our customer service team includes automotive battery experts. We offer remote video guidance to walk you through the installation and programming.
Frequently Asked Questions (FAQ)
Q1: Can I really install this myself, or do I need a mechanic?
A: If you have basic tools and can follow instructions, you can do it. The physical removal and installation are mechanical tasks (unbolting and bolting). The complexity lies in the BMS programming. However, with CNS, we provide step-by-step video tutorials and remote support. Many of our customers are first-time DIYers who successfully installed the battery with the help of a friend who knows cars.
Q2: How much money will I save compared to the dealership?
A: You can expect to save over 50%. While a dealership might charge $12,000 to $16,000 for a new OEM battery, a high-quality new pack from CNS costs a fraction of that, often around $7,000 to $8,000, depending on the capacity (40kWh, 62kWh, or upgraded 68kWh).
Q3: What if my car doesn’t accept the new battery?
A: This is a valid concern, which is why compatibility is our priority. Before you buy, we offer a free compatibility check using your VIN number. Our packs are designed to meet OEM voltage and interface standards. Furthermore, our warranty covers manufacturing defects, and our technical team is available to troubleshoot any integration issues you might face.
Q4: How long does the installation take?
A: For a professional technician, it usually takes about 50 minutes to 1 hour. For a DIYer, especially your first time, plan for 2 to 3 hours. This includes the time to safely lift the car, disconnect the old unit, and carefully install the new one.
Q5: Are there any risks involved in doing this myself?
A: The main risk is high-voltage electricity. Always disconnect the 12V battery first. There is also a risk of dropping the heavy battery pack, so use proper lifting equipment. If you are uncomfortable with the BMS programming steps, it is wise to hire a local mechanic just for the programming part, even if you do the physical swap yourself.
Ready to Revive Your Leaf?
Don’t let a dead battery sentence your Nissan Leaf to the scrapyard. Replacing it with a new, high-capacity pack is the most cost-effective way to enjoy electric driving again.
CNS BATTERY is here to help you every step of the way. We provide the premium hardware—brand-new cells in a precision-engineered pack—and the expert support to get it installed.
Get Your Custom Quote Now and see how little it costs to restore your freedom to drive.