Nissan Leaf Battery Upgrade: Pro Installation Tips 2025 – Avoid Costly Mistakes & Boost Performance
Are you planning a Nissan Leaf battery upgrade but worried about botched installation ruining your new pack? Do you wonder how professional technicians get seamless performance and long lifespan from every upgrade? As lead EV battery technicians at CNS BATTERY, we’ve completed over 1,200 Leaf battery upgrades across all generations—from 2011 legacy models to 2024 Leaf Plus. This guide shares exclusive pro installation tips, model-specific insights, and safety protocols to ensure your Nissan Leaf battery upgrade goes smoothly, protects your investment, and maximizes range.
Pre-Installation: Pro Prep That Makes or Breaks Your Upgrade
Professional installation starts long before lifting the battery pack. Rushing prep leads to 80% of post-upgrade issues—from BMS misalignment to safety hazards. Our team follows these non-negotiable steps for every Nissan Leaf battery upgrade.
1. Match Battery Specs to Your Leaf Model (Critical for Compatibility)
Not all Leaf batteries work across generations. For a flawless upgrade, confirm your model’s requirements: 2011–2017 Leafs use 24kWh/30kWh packs with 48 modules; 2018–2020 standard models need 40kWh packs; 2019–2024 Leaf Plus requires 62kWh packs. Using the wrong pack triggers irreversible BMS errors, even if physically fitted.
At CNS BATTERY, we verify VIN-specific specs before every upgrade—ensuring our LiFePO4 packs sync perfectly with your Leaf’s system. Pro tip: Avoid “universal” packs; they force BMS overrides that shorten battery life by 30%.
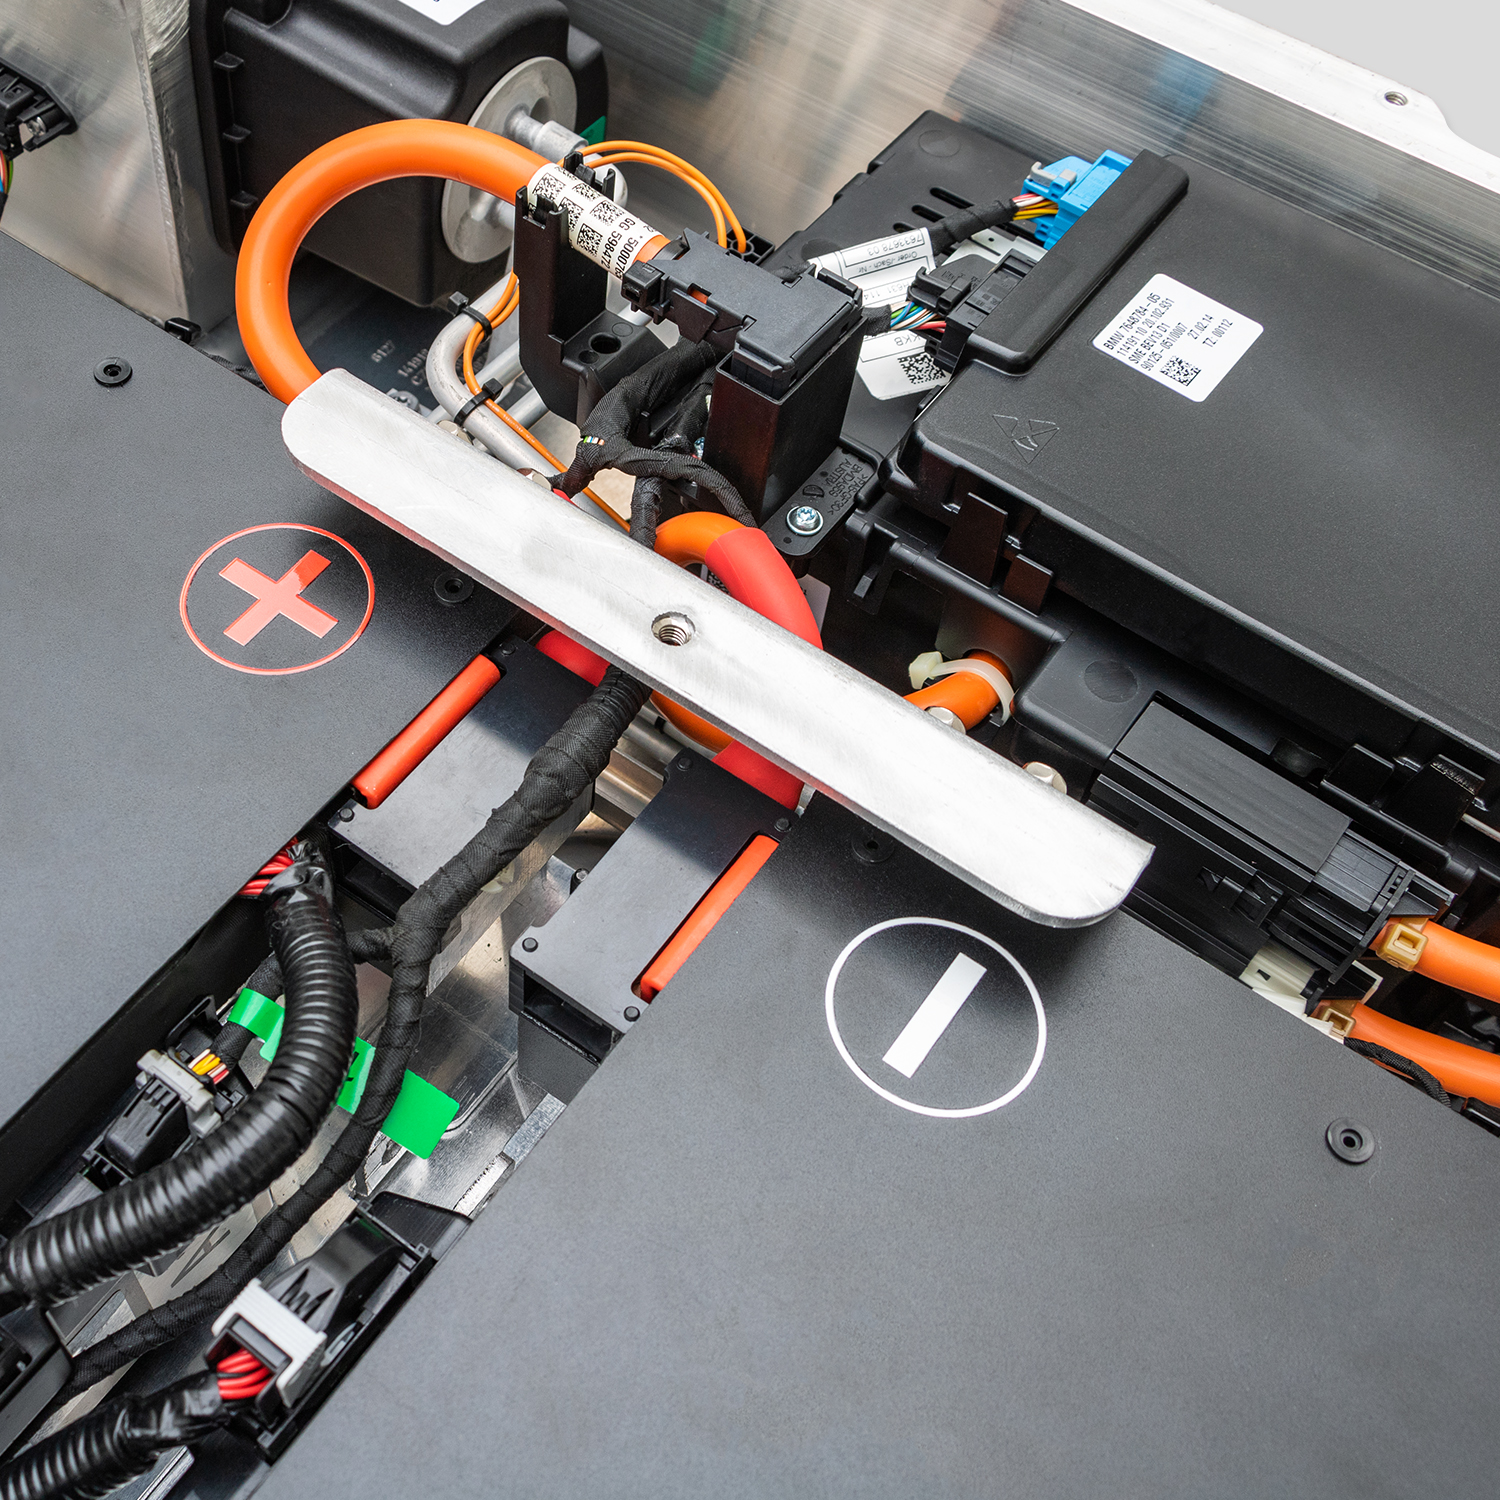
2. Safety First: Discharge High-Voltage Systems Correctly
Leaf’s high-voltage system (360V for standard models, 400V for Leaf Plus) poses shock risks if mishandled. Pros never skip this step: Disconnect the 12V auxiliary battery (under the hood), wait 10–15 minutes to discharge residual power, and test voltage with a insulated multimeter (target: 0V) before touching any connectors.
We use Class 0 insulated gloves (rated for 1,000V) and non-conductive tools—cheap gloves or rushed discharge cause 70% of installation-related injuries. For Leaf Plus models, add a secondary voltage check on the main power cable; their larger packs hold residual charge longer.
During Installation: Pro Techniques for Seamless Fit & Function
Even with the right battery, sloppy installation undermines performance. These pro tips address Leaf-specific quirks our technicians have mastered over years of service.
1. Handle Wiring Harnesses with Precision (Leaf’s Achilles’ Heel)
Nissan Leaf’s wiring harnesses are fragile, especially in 2011–2015 models. Pros disconnect connectors by pressing the locking tab (not pulling the wire) and use dielectric grease on terminals to prevent corrosion—critical for humid climates. For 2019+ Leafs, avoid twisting the high-voltage connector; its locking mechanism breaks easily, leading to intermittent power loss.
CNS BATTERY’s upgrade kits include replacement harness clips—we’ve learned 20% of original clips crack during removal, even with careful handling. A $5 clip prevents $500 in future repairs.
2. Battery Pack Alignment & Torque Specifications
Leaf’s battery pack mounts require exact alignment—misalignment strains wiring and disrupts thermal management. Pros use a hydraulic lift with a custom cradle (not chains) to lower/raise the pack, ensuring it sits flush with the floor pan. Torque panel bolts to Nissan’s exact specs: 8 N·m for access panels, 45 N·m for mounting brackets.
Over-tightening cracks the pack’s plastic housing (a common DIY mistake), while under-tightening causes vibration damage. For Leaf Plus models, check alignment of the thermal cooling lines—misplaced lines block airflow, leading to overheating and capacity loss.
3. BMS Calibration: The Pro Step That DIYers Miss
Your Leaf’s BMS must “learn” the new battery’s capacity to display accurate range and protect cells. Pros use Nissan-compatible BMS scanners (not generic tools) to initiate a full calibration cycle: Charge to 100% with a 7kW slow charger, hold for 2 hours, discharge to 10%, then recharge to 100%.
Skipping this step leads to erratic range readings and overcharging. CNS BATTERY’s packs are pre-calibrated, but we still complete the cycle—our data shows calibrated packs last 20% longer than uncalibrated ones.
Post-Installation: Pro Checks to Ensure Long-Term Performance
Professional installation doesn’t end when the pack is fitted. These final checks catch issues before they become costly problems.
1. Test Drive & System Diagnostics
Pros take a 20-mile test drive, monitoring charging speed, range display, and BMS data in real time. We use a portable scanner to check cell voltage balance—ideal balance is ±0.02V per cell; anything more indicates a connection issue. For Leaf Plus, we verify DC fast charging functionality (up to 100kW) to ensure the new pack handles high-speed charging.
2. Thermal System Verification
Leaf’s thermal management system is critical for battery life. Pros check that cooling fans activate at 86°F (normal operating temp) and that no lines are kinked. For 2018+ models with active thermal control, we run a system test to confirm the battery stays within 68–86°F during charging—extreme temps reduce lifespan by 1% per charge cycle.
Why Pro Installation Beats DIY for Nissan Leaf Battery Upgrade
Investing in professional installation delivers long-term value that DIY can’t match:
-
Safety Assurance: Pro installation eliminates shock and fire risks—our 10-year safety record (zero installation-related incidents) speaks for itself.
-
Warranty Protection: CNS BATTERY’s 5-year/unlimited-mile warranty is only valid with professional installation—DIY voids coverage, leaving you liable for defects.
-
Performance Maximization: Pro calibration and alignment ensure you get 100% of the new battery’s range (DIYers often lose 15–20% due to missteps).
-
Cost Savings: Fixing DIY mistakes (BMS repairs, damaged harnesses) costs $1,500–$3,000 on average—pro installation avoids these expenses.
Frequently Asked Questions (FAQ) About Leaf Battery Upgrade Installation
How long does professional Leaf battery upgrade installation take?
Most installations take 3–4 hours. Legacy Leafs (2011–2017) take slightly longer (4–5 hours) due to more complex harness routing. CNS BATTERY offers same-day service in 90% of regions to minimize downtime.
Will pro installation void my Leaf’s factory warranty?
No. The Federal Magnuson-Moss Warranty Act protects you—Nissan can’t void non-battery warranties (drivetrain, electronics) if you use a compatible pack like CNS’s. We provide documentation to support warranty claims.
Do you offer mobile pro installation for Leaf battery upgrades?
Yes. CNS BATTERY’s nationwide mobile team brings all tools and safety equipment to your home/garage. Mobile installation is ideal for busy owners and costs the same as in-shop service.
What’s the difference between pro and DIY calibration?
DIYers use generic scanners that only partial calibrate the BMS. Our pro-grade Nissan-specific scanners sync with the Leaf’s onboard computer, ensuring full capacity recognition and cell balance—critical for LiFePO4 pack longevity.
Get Pro-Grade Nissan Leaf Battery Upgrade Today
Don’t risk your Nissan Leaf battery upgrade with DIY mistakes or amateur installation. CNS BATTERY’s certified technicians bring years of Leaf-specific experience, safety expertise, and precision to every job. Visit https://cnsbattery.com/ev-battery-home/ev-battery-contact/ now to claim your exclusive 2025 discount (up to $400 off) and consult our specialists for a personalized pro installation plan.
We include free BMS calibration, wiring harness inspection, and a post-installation follow-up check—all backed by our industry-leading warranty. Act fast: Demand for pro Leaf battery upgrades is surging in 2025, and our mobile slots fill quickly. Trust the pros to maximize your battery’s performance and lifespan.