DIY Guide to Nissan Leaf 62kWh Battery Installation: Step-by-Step for Safe Success
Are you an experienced DIY enthusiast looking to upgrade your Nissan Leaf with a 62kWh battery, but worried about navigating high-voltage systems and complex pairing protocols? The 62kWh battery—found in Leaf e+ models—delivers 212+ EPA miles of range, making it a game-changing upgrade for eligible Leafs. While professional installation is recommended, a well-prepared DIYer can complete the job with the right tools and knowledge. ThisDIY guide to Nissan Leaf 62kWh battery installation breaks down every critical step, safety rule, and pro tip from CNS BATTERY’s experts, ensuring you avoid costly mistakes and achieve seamless performance.
Which Nissan Leaf Models Support 62kWh Battery Installation?
The 62kWh battery is compatible with select second-generation Nissan Leaf ZE1 models (2018-2023) and some late first-generation ZE0 models (2017+) with minor modifications. It’s important to note that the 62kWh pack has the same footprint as the 40kWh unit but requires compatibility with the Leaf’s battery management system (BMS) and wiring harness.
Before starting, verify your Leaf’s VIN to confirm BMS compatibility. ZE1 models originally equipped with 40kWh batteries are the easiest to upgrade, as their BMS can be reprogrammed to recognize the 62kWh pack. Older ZE0 models may need a CAN-bridge adapter to ensure proper communication between the new battery and vehicle ECU.
Essential Tools & Safety Equipment for DIY Installation
Working with the Nissan Leaf’s high-voltage 62kWh battery demands specialized tools and strict safety gear to mitigate risks. Below is a non-negotiable list of equipment every DIYer must have before starting:
Safety Gear (Non-Negotiable)
• Insulated gloves (Class 00 or higher, rated for 1000V+): Prevents electrical shock when handling high-voltage connectors. • Safety goggles and flame-resistant (FR) clothing: Shields against battery acid splatters and thermal incidents. • Lithium-ion fire extinguisher (Class D): Critical for suppressing battery fires, which regular extinguishers cannot handle. • Insulated tools set (wrenches, screwdrivers, pliers): Ensures no accidental short circuits during disassembly.
Specialized Tools
• Leaf Spy Pro (with compatible OBD-II adapter): For BMS reprogramming, fault code clearing, and battery pairing. • Hydraulic jacks and heavy-duty jack stands (rated for 3+ tons): Safely lifts the Leaf to access the underfloor battery pack. • Torque wrench (calibrated to Nissan specs): Ensures battery mounting bolts are tightened to 45 N·m (factory standard). • CAN-bridge adapter (for ZE0 models): Enables communication between the 62kWh battery and older Leaf ECUs.
Step-by-Step DIY Nissan Leaf 62kWh Battery Installation
This process takes 4-6 hours for first-time DIYers. Always work in a well-ventilated garage, disconnect the vehicle from all power sources, and have a knowledgeable partner nearby for emergencies.
1. Pre-Installation Preparation & High-Voltage Disconnect
Start by parking the Leaf on a flat, level surface and engaging the emergency brake. Turn off the ignition and wait 10+ minutes for the high-voltage system to discharge (critical for safety). Locate the high-voltage service plug—usually under the rear passenger seat or hood—remove the cover, and disconnect it (wear insulated gloves during this step).
Use Leaf Spy Pro to run a pre-installation diagnostic: check for existing fault codes, record the current battery’s SOH, and confirm BMS compatibility with the 62kWh pack. If errors appear, resolve them before proceeding to avoid post-installation issues.
2. Remove the Old Battery Pack
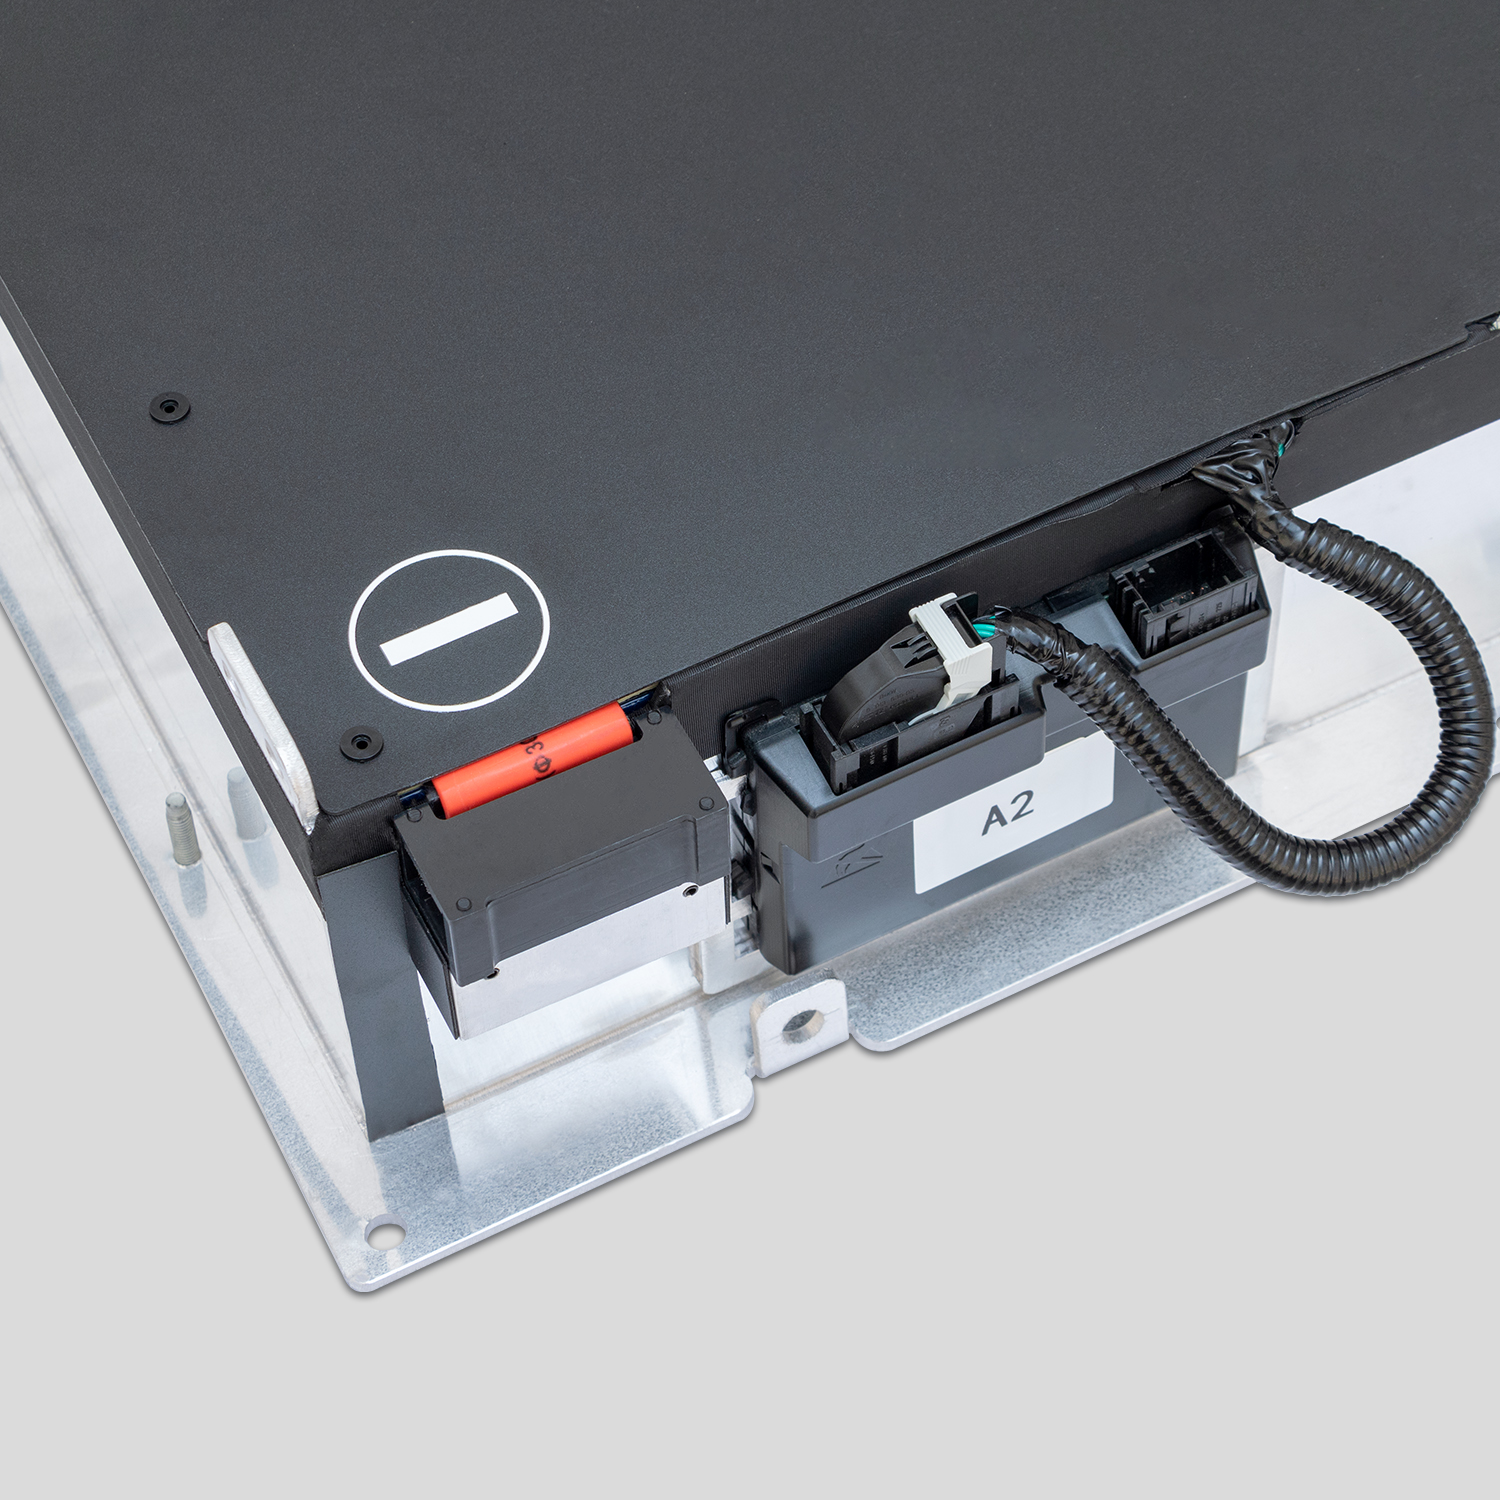
Remove the underbody splash guards and heat shields using a socket wrench to expose the battery pack. Disconnect the three main connectors: the power connector (red casing), signal connector, and ground cable. Loosen the 12 mounting bolts securing the battery to the chassis—work in a crisscross pattern to avoid uneven pressure.
Use hydraulic jacks to support the battery pack (place a sturdy board between the jack and battery to prevent damage). Slowly lower the jacks to remove the old battery, then set it aside in a fire-resistant container (never place it on concrete directly).
3. Prepare the 62kWh Battery Pack
Unbox the 62kWh battery (preferably a certified refurbished unit from CNS BATTERY) and inspect for damage—check for leaking coolant, frayed wires, or dented casings. If using a refurbished pack, verify it has an SOH of 90%+ via Leaf Spy Pro. For ZE0 models, install the CAN-bridge adapter to the battery’s wiring harness.
4. Mount the New 62kWh Battery
Lift the 62kWh pack into position using the hydraulic jacks, aligning it with the chassis mounting points. Tighten the 12 mounting bolts in a crisscross pattern to 45 N·m using the torque wrench—over-tightening can damage the battery casing. Reconnect the connectors in reverse order: ground cable first, then signal connector, then power connector (red casing last).
5. BMS Reprogramming & Pairing
Reconnect the high-voltage service plug and turn on the ignition. Use Leaf Spy Pro to initiate BMS reprogramming—this syncs the ECU with the 62kWh battery’s capacity and charging parameters. Clear any P3102 (battery mismatch) fault codes, then run a battery balancing cycle (drive the Leaf for 20+ miles, then charge to 100%).
Perform a post-installation diagnostic: check range accuracy, verify charging speed, and confirm no new fault codes appear. If the Leaf enters “turtle mode,” recheck the connectors and re-run the BMS pairing process.
Benefits of Upgrading to a 62kWh Battery (DIY vs. Professional)
While DIY installation saves $1,500-$2,000 in labor costs, the real value lies in the performance gains of the 62kWh battery. Here’s how it transforms your Leaf:
1. Game-Changing Range Boost
The 62kWh battery delivers 212 EPA miles (190-200 real-world miles)—a 50%+ increase over the 40kWh pack. This eliminates range anxiety, letting you take long-distance trips without frequent charging stops.
2. Improved Performance in Extreme Temperatures
The 62kWh pack features advanced thermal management, retaining 15-20% more capacity in sub-freezing or hot weather compared to smaller batteries. It also charges faster in cold conditions, reducing wait times at public chargers.
3. Long-Term Cost Savings
A certified refurbished 62kWh battery from CNS BATTERY costs $6,800-$7,500—far less than a new OEM pack ($12,000+) and cheaper than trading in for a new EV. With a 2-year warranty, it extends your Leaf’s lifespan by 5+ years.
4. DIY Satisfaction & Customization
For enthusiasts, DIY installation offers full control over the process. You can inspect every component, ensure quality craftsmanship, and use Leaf Spy Pro to fine-tune the BMS for optimal efficiency.
Why Choose CNS BATTERY for Your 62kWh Battery?
DIY success depends on the quality of the battery. CNS BATTERY’s certified refurbished 62kWh packs are the gold standard for DIYers—each undergoes a 15-point inspection, including cell balancing, thermal testing, and BMS calibration. Our packs use genuine Nissan cells, match OEM specifications, and come with a 2-year warranty (covering parts and technical support).
We also provide DIYers with exclusive resources: step-by-step video tutorials, personalized BMS programming guides, and 24/7 expert support. Unlike generic batteries, our 62kWh packs are pre-configured for Leaf compatibility, reducing the risk of pairing errors or performance issues.
Frequently Asked Questions (FAQ)
Is DIY 62kWh battery installation safe for beginners?
No—this project requires experience with high-voltage systems. If you’ve never worked on EV batteries before, we recommend professional installation. For DIYers, our team offers virtual consultations to guide you through critical steps.
Will a DIY installation void my Nissan warranty?
Yes—third-party modifications typically void the remaining factory warranty. However, CNS BATTERY’s 2-year warranty covers the 62kWh battery and related components, providing comparable protection.
Can I reuse the old battery’s mounting hardware?
Yes—Nissan’s mounting bolts and connectors are compatible with the 62kWh pack. Inspect hardware for rust or wear; replace any damaged parts with OEM replacements (available through CNS BATTERY).
How long will a refurbished 62kWh battery last?
Our certified refurbished packs retain 90%+ SOH and last 5-7 years with proper care (avoid frequent fast charging and extreme temperatures). The 2-year warranty covers any capacity loss below 80% during this period.
Ready to Start Your DIY 62kWh Battery Upgrade?
A DIY guide to Nissan Leaf 62kWh battery installation empowers you to boost range and performance without overpaying for professional labor—but only with the right battery and tools. CNS BATTERY’s certified refurbished 62kWh packs are designed for DIY success, backed by expert support and a rock-solid warranty.
Visit https://cnsbattery.com/nissan-leaf-battery/ to get an exclusive discount on a 62kWh battery and access our DIY resource kit (including Leaf Spy Pro tips and step-by-step videos). Our team will help you confirm model compatibility and answer all your installation questions. Elevate your Leaf’s range—start your DIY upgrade today!