Here is the SEO-optimized article tailored for the Nissan Leaf ZE1 68kWh battery market.
Mastering the Upgrade: Expert Tips for Leaf ZE1 68kWh Battery Installation
The Nissan Leaf ZE1 (2011-2017) has proven to be a reliable workhorse in the electric vehicle revolution. However, as these cars age, the original 24kWh or 30kWh battery packs often degrade to a point where daily usability becomes a challenge. If you own a ZE1 and are looking to restore, or even surpass, the car’s original range, upgrading to a 68kWh lithium-ion battery pack is the definitive solution.
At CNS BATTERY, we specialize in OEM-compatible powertrains for Nissan and BMW. Based on our extensive technical experience and customer feedback, we have compiled this essential guide to ensure your Leaf ZE1 68kWh battery installation is seamless, safe, and successful.
Why Upgrade Your ZE1 to 68kWh?
Before diving into the installation tips, it is crucial to understand the “why.” Replacing your ZE1’s depleted core with a modern 68kWh pack transforms the vehicle:
- Range Revival: You can expect a full-charge range of approximately 470km (290 miles), effectively turning your older Leaf into a long-range EV rivaling newer models.
- Modern Technology: The 68kWh upgrade typically utilizes cutting-edge CATL (Contemporary Amperex Technology Co. Limited) cells, known for their energy density and thermal stability.
- Cost Efficiency: Compared to buying a new electric car, this upgrade saves you over 50% of the cost while retaining the familiar mechanics of your trusted ZE1.
Preparation: The Key to a Smooth Swap
A successful installation starts long before the wrench touches the bolt. Proper preparation prevents damage to your vehicle and the new battery.
1. VIN Compatibility Check (Non-Negotiable)
Do not assume a 68kWh pack will fit. The ZE1 chassis has specific mounting points and wiring harness layouts. Always perform a VIN compatibility check with your battery supplier before purchase. At CNS, we offer free pre-sales assessments to guarantee the battery tray dimensions and connector positions match your specific 2011-2017 Leaf model.
2. Gather the Right Tools
While the installation is largely “plug-and-play,” you will need specific equipment:
- A hydraulic jack or lift (the new pack is heavy).
- Basic mechanics tools (wrenches, screwdrivers).
- Insulated gloves and safety glasses (lithium batteries carry high voltage).
- A diagnostic scanner capable of reading Nissan EV systems (for post-installation BMS programming).
3. Workspace Safety
Ensure your workspace is clean, dry, and well-ventilated. Lithium batteries are sensitive to moisture and short circuits. Disconnect the 12V auxiliary battery first to isolate the vehicle’s low-voltage system.
Step-by-Step Installation Strategy
Based on feedback from professional garages and DIY enthusiasts, here is the recommended workflow:
- Drain and Disconnect: If your old battery has any charge, drain it to a safe level (20-30%) to reduce risk. Disconnect all high-voltage cables and the signal connectors.
- Remove the Old Unit: The ZE1 battery is heavy. Use proper lifting equipment to remove the old degraded pack. This is often the most physically demanding part.
- Inspect the Chassis: Before lowering in the new CNS 68kWh pack, inspect the chassis rails for rust or debris. A clean surface ensures a perfect seal.
- Lower the New Pack: Carefully align the new battery with the chassis mounting points. The connectors should line up effortlessly if it is a true OEM-compatible design.
- Reconnect in Reverse: Reattach the high-voltage cables and signal wires. Ensure all torque specifications are met to prevent arcing or loose connections.
The Critical Phase: BMS Programming & Calibration
Many users encounter issues at this stage, but it is actually straightforward with the right support.
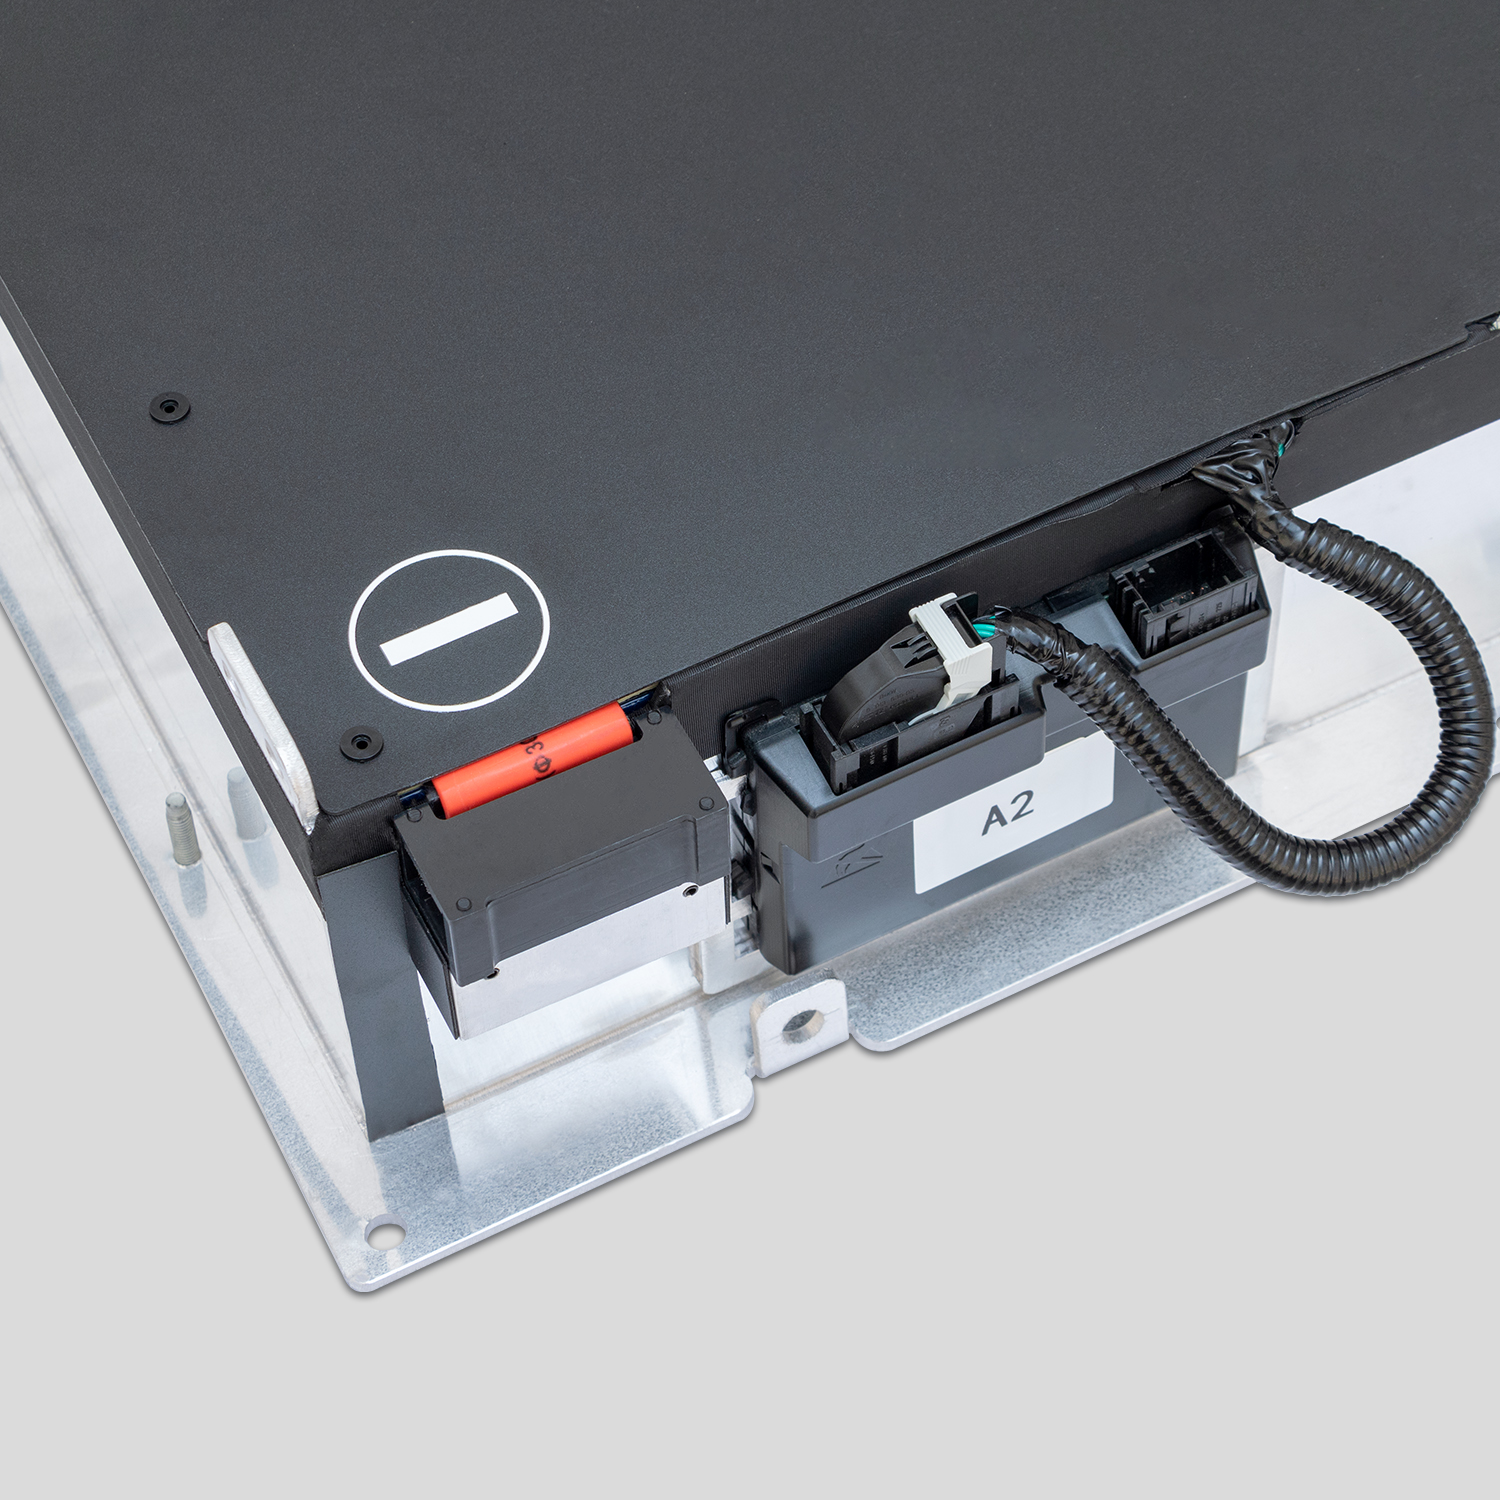
The Battery Management System (BMS) in the 68kWh pack needs to communicate with the Leaf’s Vehicle Control Unit (VCU). Unlike older Leaf batteries that used passive communication, the 68kWh upgrade often requires active programming.
- The Process: After physical installation, the BMS usually needs to be “awakened” or synchronized. This often involves plugging a programming cable into the OBD2 port or the BMS module itself.
- Expert Support: If you encounter a communication error, do not panic. Most technical issues (like programming hiccups) can be resolved within minutes via remote video guidance from a technical expert. As seen in user reviews, a quick 5-minute video call often solves connectivity problems, ensuring the BMS reads 12 bars immediately.
Post-Installation Best Practices
Once the battery is in and communicating, follow these tips to maximize longevity:
- First Charge: Perform the first charge slowly (using a Level 1 or Level 2 charger) while monitoring the battery temperature via the dashboard or a diagnostic app.
- Break-in Period: For the first 500km, avoid full 0%-100% discharge cycles. Gentle driving helps the BMS learn the new cell characteristics.
- Winter Adaptation: If you live in a cold climate (like our base in Zhengzhou, which experiences cold winters), pre-condition the battery while plugged in before driving to maintain optimal performance.
Why Choose a Professional-Grade Solution?
When sourcing a 68kWh upgrade for your Leaf ZE1, quality control is paramount. Refurbished or low-quality cells can lead to swelling, fire hazards, or rapid degradation.
CNS BATTERY provides brand-new, factory-standard packs specifically designed for Nissan models. We back our products with a 24-month / 80,000km warranty, far exceeding industry standards for such conversions. Our packs are rigorously tested for vibration resistance and thermal management, ensuring they handle the ZE1 chassis dynamics perfectly.
Pro Tip: If you are a repair shop or bulk buyer, OEM customization is available to match specific fleet requirements or regional voltage standards.
Frequently Asked Questions (FAQ)
Q1: Is the 68kWh installation truly plug-and-play for the Leaf ZE1?
Yes, the physical installation is plug-and-play regarding the chassis mounts and connectors. However, the BMS software requires activation or programming to sync with the car’s computer. This is a standard procedure in EV upgrades and is supported by our technical team.
Q2: How much does a 68kWh upgrade cost compared to a new Nissan Leaf?
The 68kWh upgrade typically costs about 50% less than purchasing a new base-model Nissan Leaf. It is the most cost-effective way to gain long-range capability without buying a new car.
Q3: Will this upgrade affect my car’s warranty or registration?
Since this is a mechanical replacement (swapping one battery pack for another of the same physical specifications), it generally does not affect the drivetrain warranty of the ZE1. However, for road registration, we recommend checking local regulations, though in most jurisdictions, replacing a degraded EV battery with a new compatible unit is standard practice.
Q4: How long does the entire process take?
For a professional mechanic, the physical swap takes approximately 1-2 hours. Including the BMS programming and first-charge diagnostics, budget for half a day to ensure everything is perfect.
Q5: Where can I get a genuine 68kWh pack for my Leaf ZE1?
You can get a free custom quote and compatibility check by contacting our experts. We ship globally with DDP (Delivered Duty Paid) service.
Ready to revive your Nissan Leaf ZE1 with a factory-new 68kWh heart? Get Your Free Custom Quote Now and speak to a technical expert today.