Here is the SEO-optimized article tailored for your requirements.
Ultimate Nissan Leaf ZE0 50kWh to 68kWh Installation Guide
Are you ready to double your driving range?
If you own a Nissan Leaf ZE0 and are tired of “range anxiety,” upgrading from the stock 50kWh battery to a high-capacity 68kWh pack is the ultimate solution. As an expert at CNS BATTERY, I’ve helped hundreds of customers transform their aging ZE0 into a long-range electric vehicle.
This comprehensive guide will walk you through the entire process of swapping your Nissan Leaf ZE0 50kWh battery for a 68kWh pack. We’ll cover the preparation, the installation steps, and the critical post-installation setup to ensure a seamless transition.
Why Upgrade Your ZE0 from 50kWh to 68kWh?
Before we dive into the tools and torque specs, let’s talk about the “why.” The ZE0 generation (2013-2017) is a reliable workhorse, but the original 50kWh battery often suffers from degradation.
By installing a brand-new 68kWh lithium battery pack from CNS, you are not just replacing an old part; you are upgrading the car’s DNA.
- Massive Range Boost: Expect a realistic range increase from roughly 160km (old 50kWh) to over 400km on a full charge.
- New Core Technology: Unlike refurbished batteries, our packs use brand-new CATL cells, ensuring maximum energy density and safety.
- Cost Efficiency: This upgrade typically costs less than half of what a dealership would charge for an OEM replacement.
Step 1: Pre-Installation Preparation
Safety is paramount. High-voltage batteries require strict protocols.
Tools You Will Need:
- Insulated wrenches and sockets (10mm, 13mm, 14mm, 17mm)
- Torque wrench (set to 25-30 Nm for main bolts)
- Insulated gloves and safety glasses
- A floor jack and axle stands
- Diagnostic Tool: You will need a Nissan Consult III+ or a compatible aftermarket scanner to reset the BMS (Battery Management System).
The Vehicle State:
- Park on a flat surface and engage the parking brake.
- Disconnect the 12V Battery: Always start by removing the negative terminal of the 12V auxiliary battery. Wait at least 10 minutes to let the capacitors discharge.
- Drain the Coolant: The ZE0 battery uses a liquid cooling system. You must drain the coolant from the radiator side to prevent spills.
Step 2: Removing the Old 50kWh Battery
The ZE0 battery is located under the floor of the vehicle.
- Remove the Under Cover: Jack up the car and remove the plastic underbody shield.
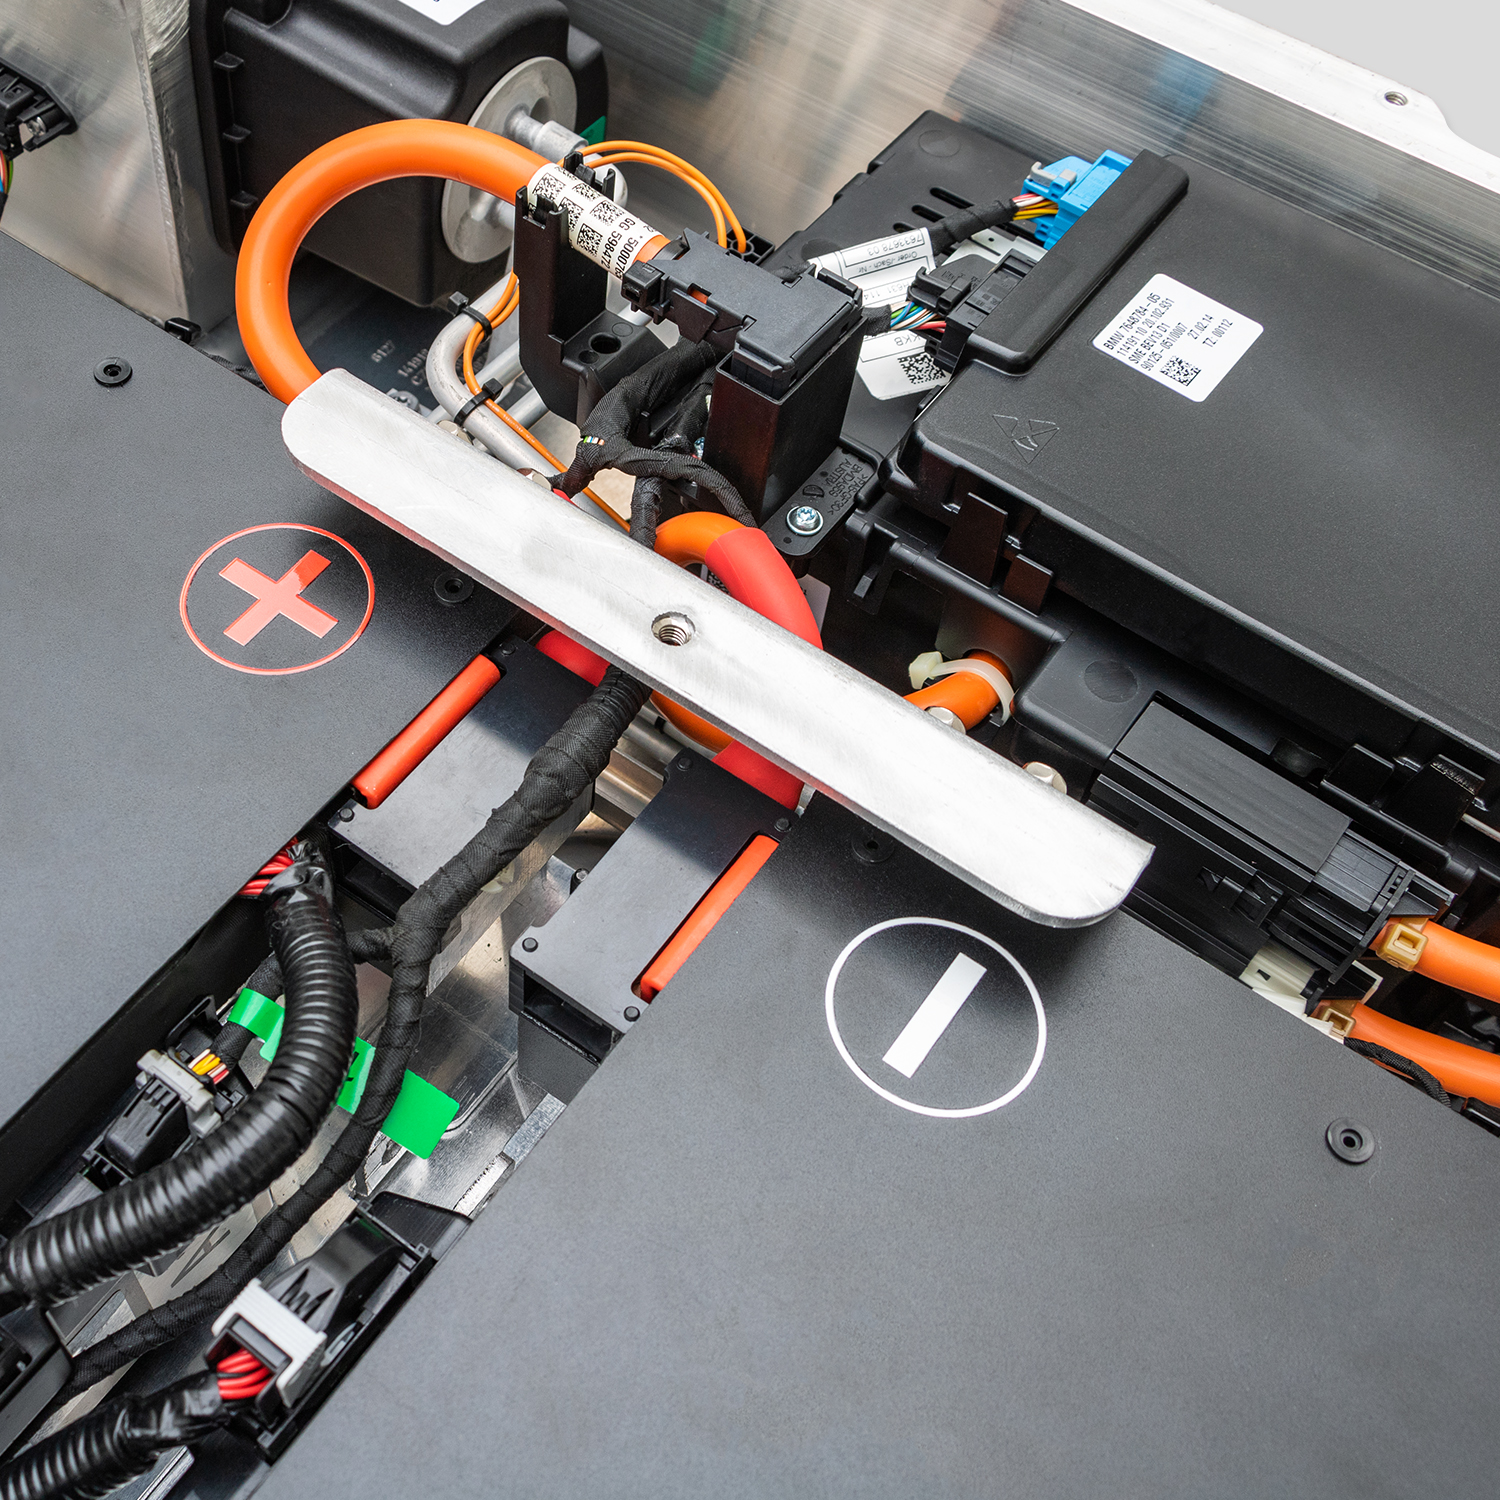
- Disconnect the HV Cables: Locate the main orange high-voltage connectors. Carefully disconnect the positive and negative terminals. Note the routing of these cables for reinstallation.
- Disconnect the Cooling Lines: There are two coolant hoses connected to the battery pack. Use a pan to catch any residual fluid.
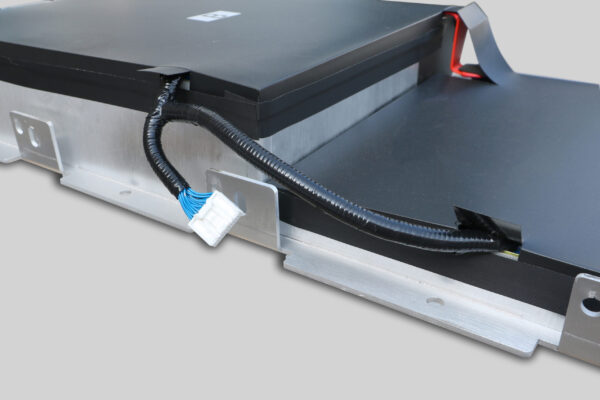
- Remove the Signal Harness: Unclip the low-voltage communication harness.
- Unbolt the Pack: There are approximately 24 bolts securing the battery to the chassis. Remove them systematically.
- Lower the Battery: Use a floor jack to support the battery and slowly lower it out.
Step 3: Installing the New 68kWh Battery Pack
This is where the magic happens. The CNS 68kWh pack is designed as a direct OEM replacement, meaning the dimensions and connector positions are identical to the factory unit.
- Position the New Pack: Slide the new 68kWh lithium battery pack onto the jack and raise it into position.
- Reconnect the Cooling Lines: Attach the coolant hoses and tighten the clamps. Refill the coolant reservoir.
- Reconnect the HV Cables: Reattach the orange high-voltage terminals. Ensure they are fully seated and locked.
- Reconnect the Signal Harness: Plug in the communication harness.
- Secure the Bolts: Install the 24 chassis bolts. Crucially, torque these bolts to the manufacturer’s specification (usually 25-30 Nm). Do not overtighten, as this can crack the battery casing.
Step 4: Post-Installation & BMS Reset
Simply bolting in the battery is not enough. The car’s brain (BMS) still thinks it has a 50kWh battery.
- Reconnect the 12V: Reattach the negative terminal.
- The “Soft Reset”: Turn the ignition on (do not start the car). Press the accelerator pedal to the floor 5 times within 7 seconds. This initiates a handshake protocol.
- Hard Coding (Required for 68kWh): Because you are changing the capacity, you must use a diagnostic scanner to write the new battery profile (68kWh) into the BMS. Without this step, the car will likely show an error or limit the charge to 50%.
Expert Tip: If you encounter a BMS programming error during this step, do not panic. Our technical support team offers free remote video guidance to walk you through the coding process. Many of our customers complete this step successfully with a simple video call.
Why Choose a CNS 68kWh Battery?
At CNS BATTERY, we don’t just sell boxes of cells; we provide complete powertrain solutions.
- Plug-and-Play Design: Our packs are engineered to fit the ZE0 chassis perfectly, with OEM-standard connectors.
- Unbeatable Warranty: We back our batteries with a 2-year / 80,000 km warranty, far exceeding industry standards for aftermarket batteries.
- Real-World Reliability: We use top-tier CATL (Contemporary Amperex Technology) cells, the same quality found in premium EVs, ensuring your battery lasts for hundreds of thousands of kilometers.
Frequently Asked Questions (FAQ)
Q1: Is the 68kWh battery a direct fit for my ZE0?
Yes. The physical dimensions, mounting points, and connector layouts of our 68kWh pack are identical to the original Nissan factory specifications. No cutting or drilling is required.
Q2: How much does the 68kWh upgrade cost compared to a dealership?
Our 68kWh solution is designed to save you money. It typically costs 50% less than purchasing a new battery from a Nissan dealership, while offering even better range and performance.
Q3: What if I don’t have a diagnostic tool for the BMS reset?
If you are not comfortable with the coding process, we highly recommend taking the vehicle to a professional mechanic. However, if you are a DIY enthusiast, our customer service team can provide detailed video tutorials and remote support to help you configure the BMS using common OBD2 scanners.
Q4: How long does the installation take?
For a professional technician, the physical swap usually takes about 1 to 2 hours. If you are doing it yourself for the first time, budgeting 3-4 hours is wise to account for draining coolant and double-checking connections.
Ready to Transform Your Nissan Leaf?
Upgrading your Nissan Leaf ZE0 from 50kWh to 68kWh is the most cost-effective way to give your car a second life. With a new CNS battery, you gain longer range, faster charging compatibility, and the peace of mind that comes with a 2-year warranty.
Don’t let an old battery limit your adventures. Get a Free Custom Quote today and see how easy it is to upgrade.