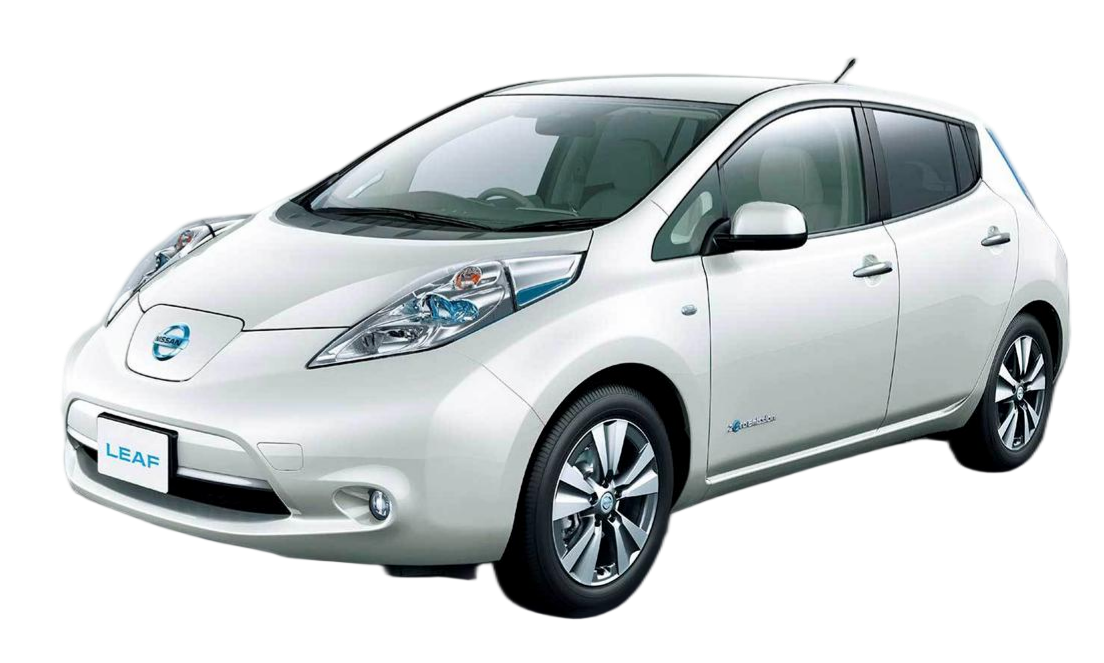
How to Install a New Battery in a Nissan Leaf Plus: A Comprehensive Guide
Note: The Nissan Leaf Plus (specifically the ZE1 model) utilizes a 62 kWh battery pack. While the physical installation process is similar to the standard 40 kWh model, the electrical specifications and Battery Management System (BMS) are different. This guide covers the essential steps and critical considerations for a successful upgrade or replacement.
Upgrading your Nissan Leaf Plus to a new battery is a significant step toward restoring your vehicle’s range and performance. Whether you are replacing a degraded unit or upgrading from a standard Leaf to the Plus configuration, the process requires precision and the right tools.
At CNS BATTERY, we specialize in OEM-compatible lithium-ion battery packs for Nissan and BMW models. Our expertise ensures that you receive not just a product, but a reliable power solution backed by a 2-year/80,000 km warranty. This guide is designed to walk you through the installation process safely and efficiently.
Why Choose a CNS Battery for Your Leaf Plus?
Before diving into the installation, it is crucial to select the right battery. The Nissan Leaf Plus (ZE1) requires a specific 62 kWh configuration. Many users face compatibility issues when sourcing aftermarket parts.
CNS BATTERY stands out by offering:
- OEM Compatibility: Our packs are engineered to fit Nissan Leaf ZE1 standards perfectly.
- Premium Cells: We utilize brand-new, high-quality cells (such as CATL) to ensure longevity and safety.
- Cost Efficiency: Save over 50% compared to dealership prices without compromising on quality.
- Expert Support: We offer remote video guidance and technical support to assist during installation.
Preparation: Tools and Safety
Safety is paramount when working with high-voltage EV batteries. The Nissan Leaf Plus battery pack operates at a high voltage, and improper handling can lead to serious injury or damage.
Safety Gear Required:
- Insulated rubber gloves (rated for high voltage)
- Safety goggles
- Non-conductive footwear
Tools Required:
- Torque wrench
- Socket set (specifically for automotive use)
- Insulated screwdrivers
- Diagnostic scanner (compatible with Nissan Leaf for BMS programming)
- Jack stands and a hydraulic jack
Pre-Work Checklist:
- Disconnect the Vehicle: Ensure the car is powered off and the key fob is far away from the vehicle to prevent accidental activation.
- Disconnect the 12V Battery: Always start by disconnecting the negative terminal of the 12V auxiliary battery to cut power to the vehicle’s systems.
- Cooling System: The Leaf Plus uses a liquid cooling system. You will need containers to catch the coolant during disconnection.
Step-by-Step Installation Guide
This section details the physical replacement of the battery pack. The process generally takes 1-2 hours for a professional technician.
Step 1: Accessing the Battery Pack
- Lift the vehicle using a hydraulic jack and secure it firmly on jack stands. Ensure the vehicle is stable before working underneath.
- Remove the underbody shield/cover. This is held in place by multiple bolts. Keep the bolts organized as you remove them.
Step 2: Disconnecting the High-Voltage Components
- Coolant Lines: Locate the coolant inlet and outlet pipes connected to the battery. Carefully disconnect these using the appropriate tools and drain the fluid into a container. Be mindful of spills.
- Electrical Connectors: Disconnect the high-voltage orange cables. Important: Always handle these with insulated gloves. Also, disconnect the low-voltage signal cables and communication wires.
Step 3: Removing the Old Battery
- The battery pack is secured to the chassis with multiple mounting bolts.
- Remove these bolts systematically. Due to the weight of the pack (approximately 300-350 kg for the 62 kWh unit), it is highly recommended to use a transmission jack or a specialized EV battery lift to support the pack as you slide it out.
- Slowly lower and remove the old battery from the vehicle chassis.
Step 4: Installing the New CNS Battery
- Inspection: Before installation, inspect the new CNS battery pack for any shipping damage.
- Lifting: Using the jack, lift the new 62 kWh battery into the chassis cavity.
- Mounting: Align the battery with the mounting points and reinstall the bolts. Torque them to the manufacturer’s specifications (typically around 80-100 Nm, but refer to your specific torque specs).
- Reconnection: Reconnect the coolant lines first, ensuring the O-rings are seated correctly to prevent leaks. Then, reconnect all electrical connectors (high voltage and low voltage).
Step 5: Reassembly
- Reinstall the underbody shield.
- Refill the cooling system with the appropriate coolant and bleed any air from the system.
- Reconnect the 12V battery.
Post-Installation: BMS Programming and Testing
Simply plugging in the battery does not guarantee the car will start. The Battery Management System (BMS) must be programmed to recognize the new pack.
- Initial Power-Up: Turn on the vehicle ignition (do not start driving yet). Check the dashboard for any error codes.
- BMS Programming: Use a Nissan-compatible diagnostic tool (like Nissan Consult) to program the BMS. This step is critical for the vehicle to communicate with the new battery’s state of charge (SOC) and health (SOH).
- Test Drive: Take the car for a short test drive to ensure the traction battery warning light does not illuminate and that the charging function works correctly.
Expert Tip: If you encounter errors during programming, CNS BATTERY offers real-time video support. Our engineers can guide you through the BMS setup to ensure a seamless integration.
Frequently Asked Questions (FAQ)
Q1: Can I install a Nissan Leaf Plus (62 kWh) battery myself?
While it is technically possible, we strongly recommend having the installation performed by a certified technician or a mechanic experienced with EVs. The battery pack is heavy and contains high-voltage components. Furthermore, the BMS programming requires specialized diagnostic tools. If you are a DIY enthusiast, ensure you have the proper lifting equipment and safety gear.
Q2: Is the installation process different for the Leaf Plus compared to the standard Leaf?
Yes and no. The physical removal and installation steps are very similar. However, the Leaf Plus (ZE1) battery has different voltage, capacity, and cooling requirements compared to the 40 kWh (ZE0) model. You cannot simply swap a 40 kWh battery into a Plus model without significant reprogramming and hardware changes. You must install a 62 kWh pack designed for the ZE1.
Q3: What is the warranty on a newly installed CNS battery?
CNS BATTERY offers an industry-leading 2-year or 80,000 km warranty (whichever comes first). This covers defects in materials and workmanship. We also provide pro-rated coverage for performance degradation, ensuring your battery maintains at least 70% capacity over the warranty period.
Q4: How much does it cost to replace a Nissan Leaf Plus battery?
The cost varies depending on the supplier. At CNS BATTERY, we offer significant savings—typically 50% less than dealership prices—while using brand-new, premium-grade cells. For an exact quote tailored to your vehicle, please contact our team.
Restore Your Range Today
Replacing your Nissan Leaf Plus battery with a high-quality unit from CNS BATTERY is the most cost-effective way to revive your vehicle’s performance. With our support, you can expect a range restoration close to factory specifications.
Don’t let a degraded battery limit your driving range. Get a free, personalized quote today and speak with our technical experts to ensure you get the right battery for your Nissan Leaf Plus.